Ep. 3 - Matthew's Intro to Orchids

When we have really dense, fact-heavy episodes (don’t worry, they won’t all be like that!), we’ll supplement that with a blog post that covers the information we researched for the podcast.
This is Matthew here, to talk about my favorite family of plants, Orchidaceae, the Orchids.
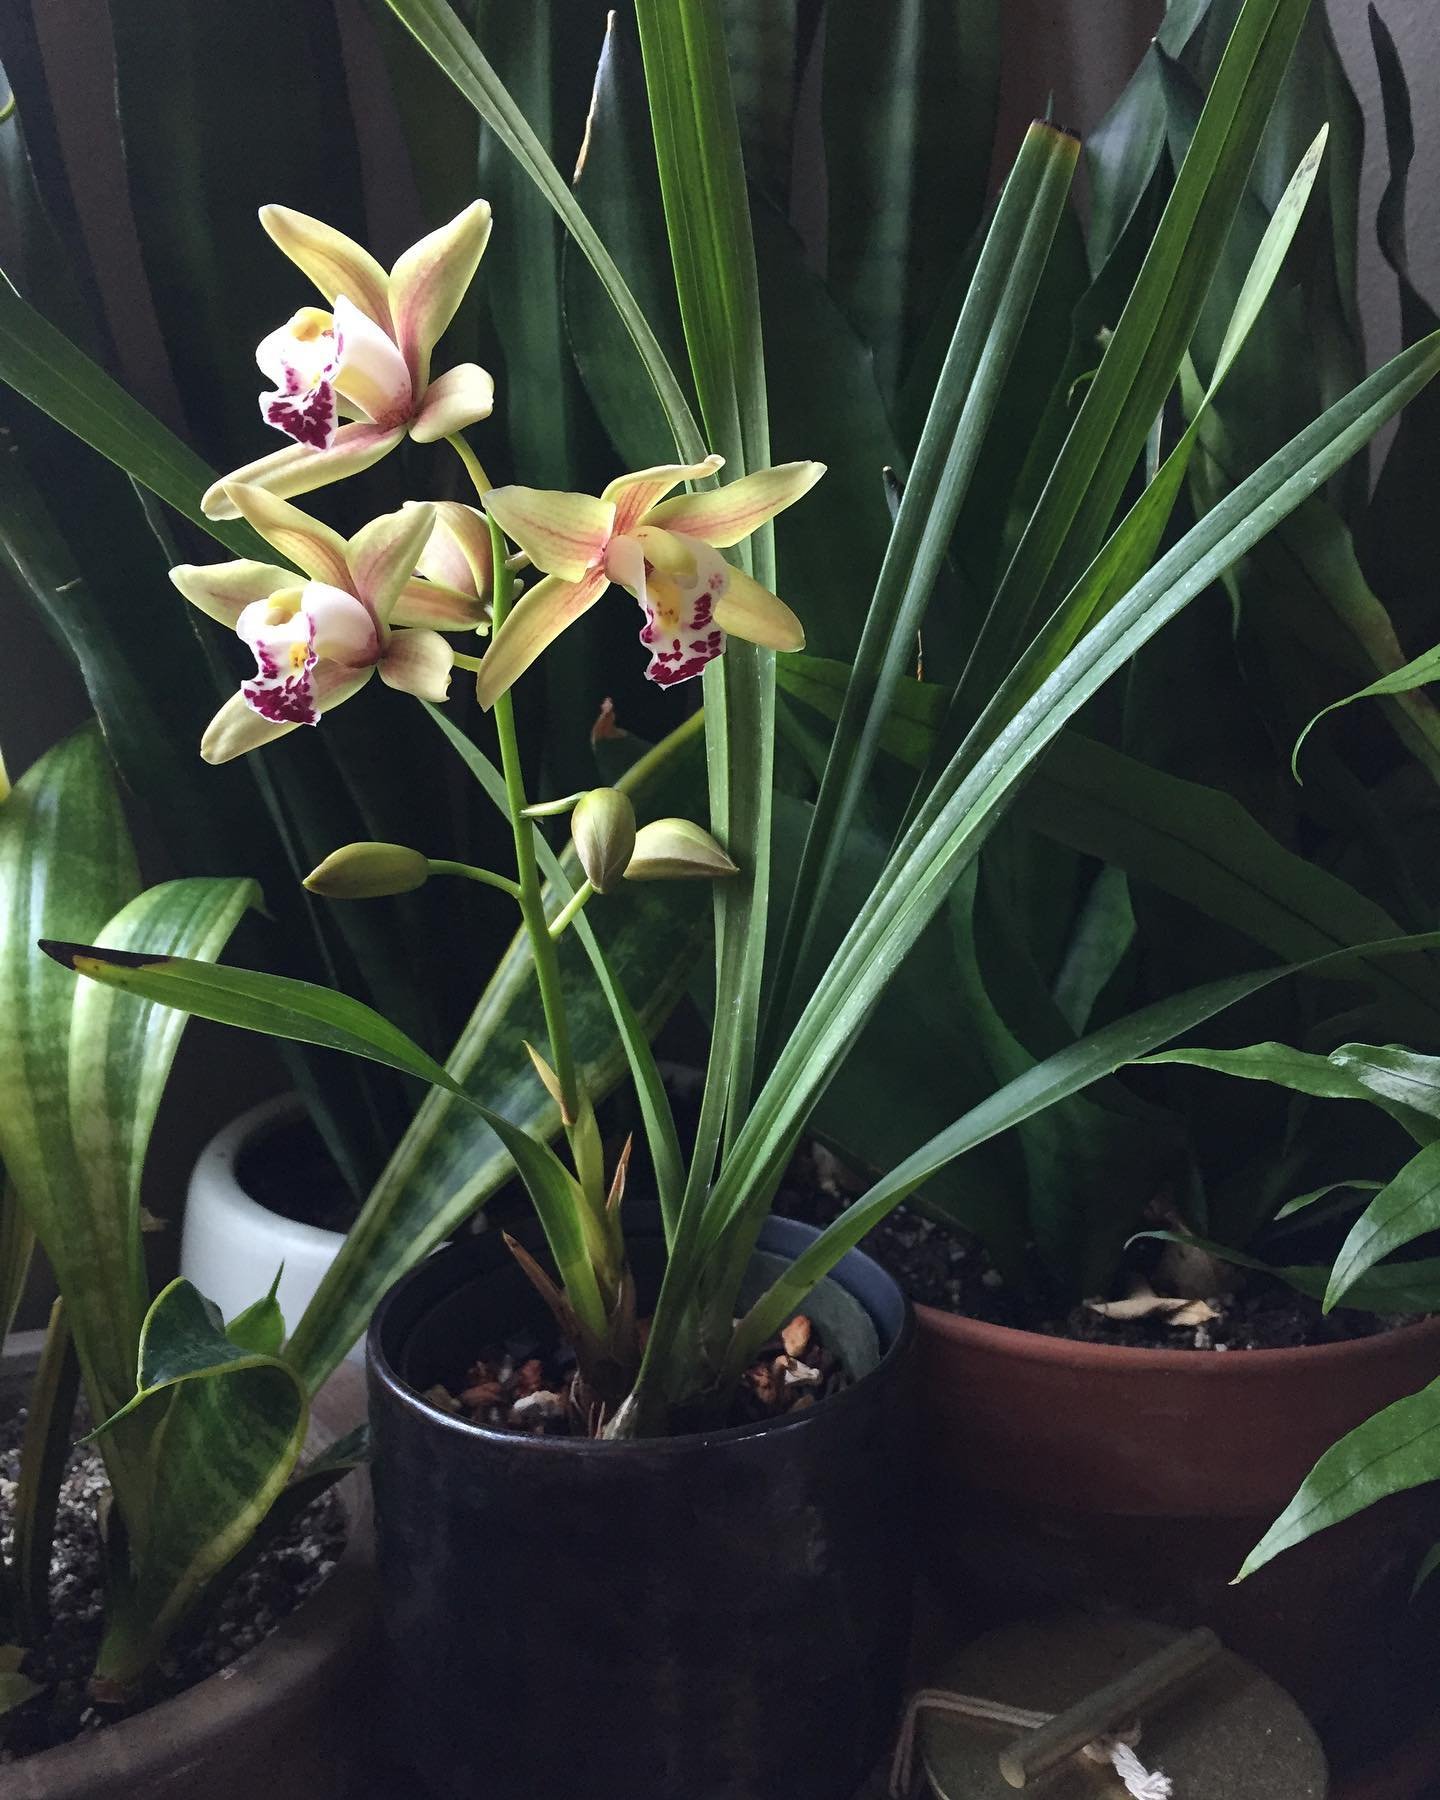
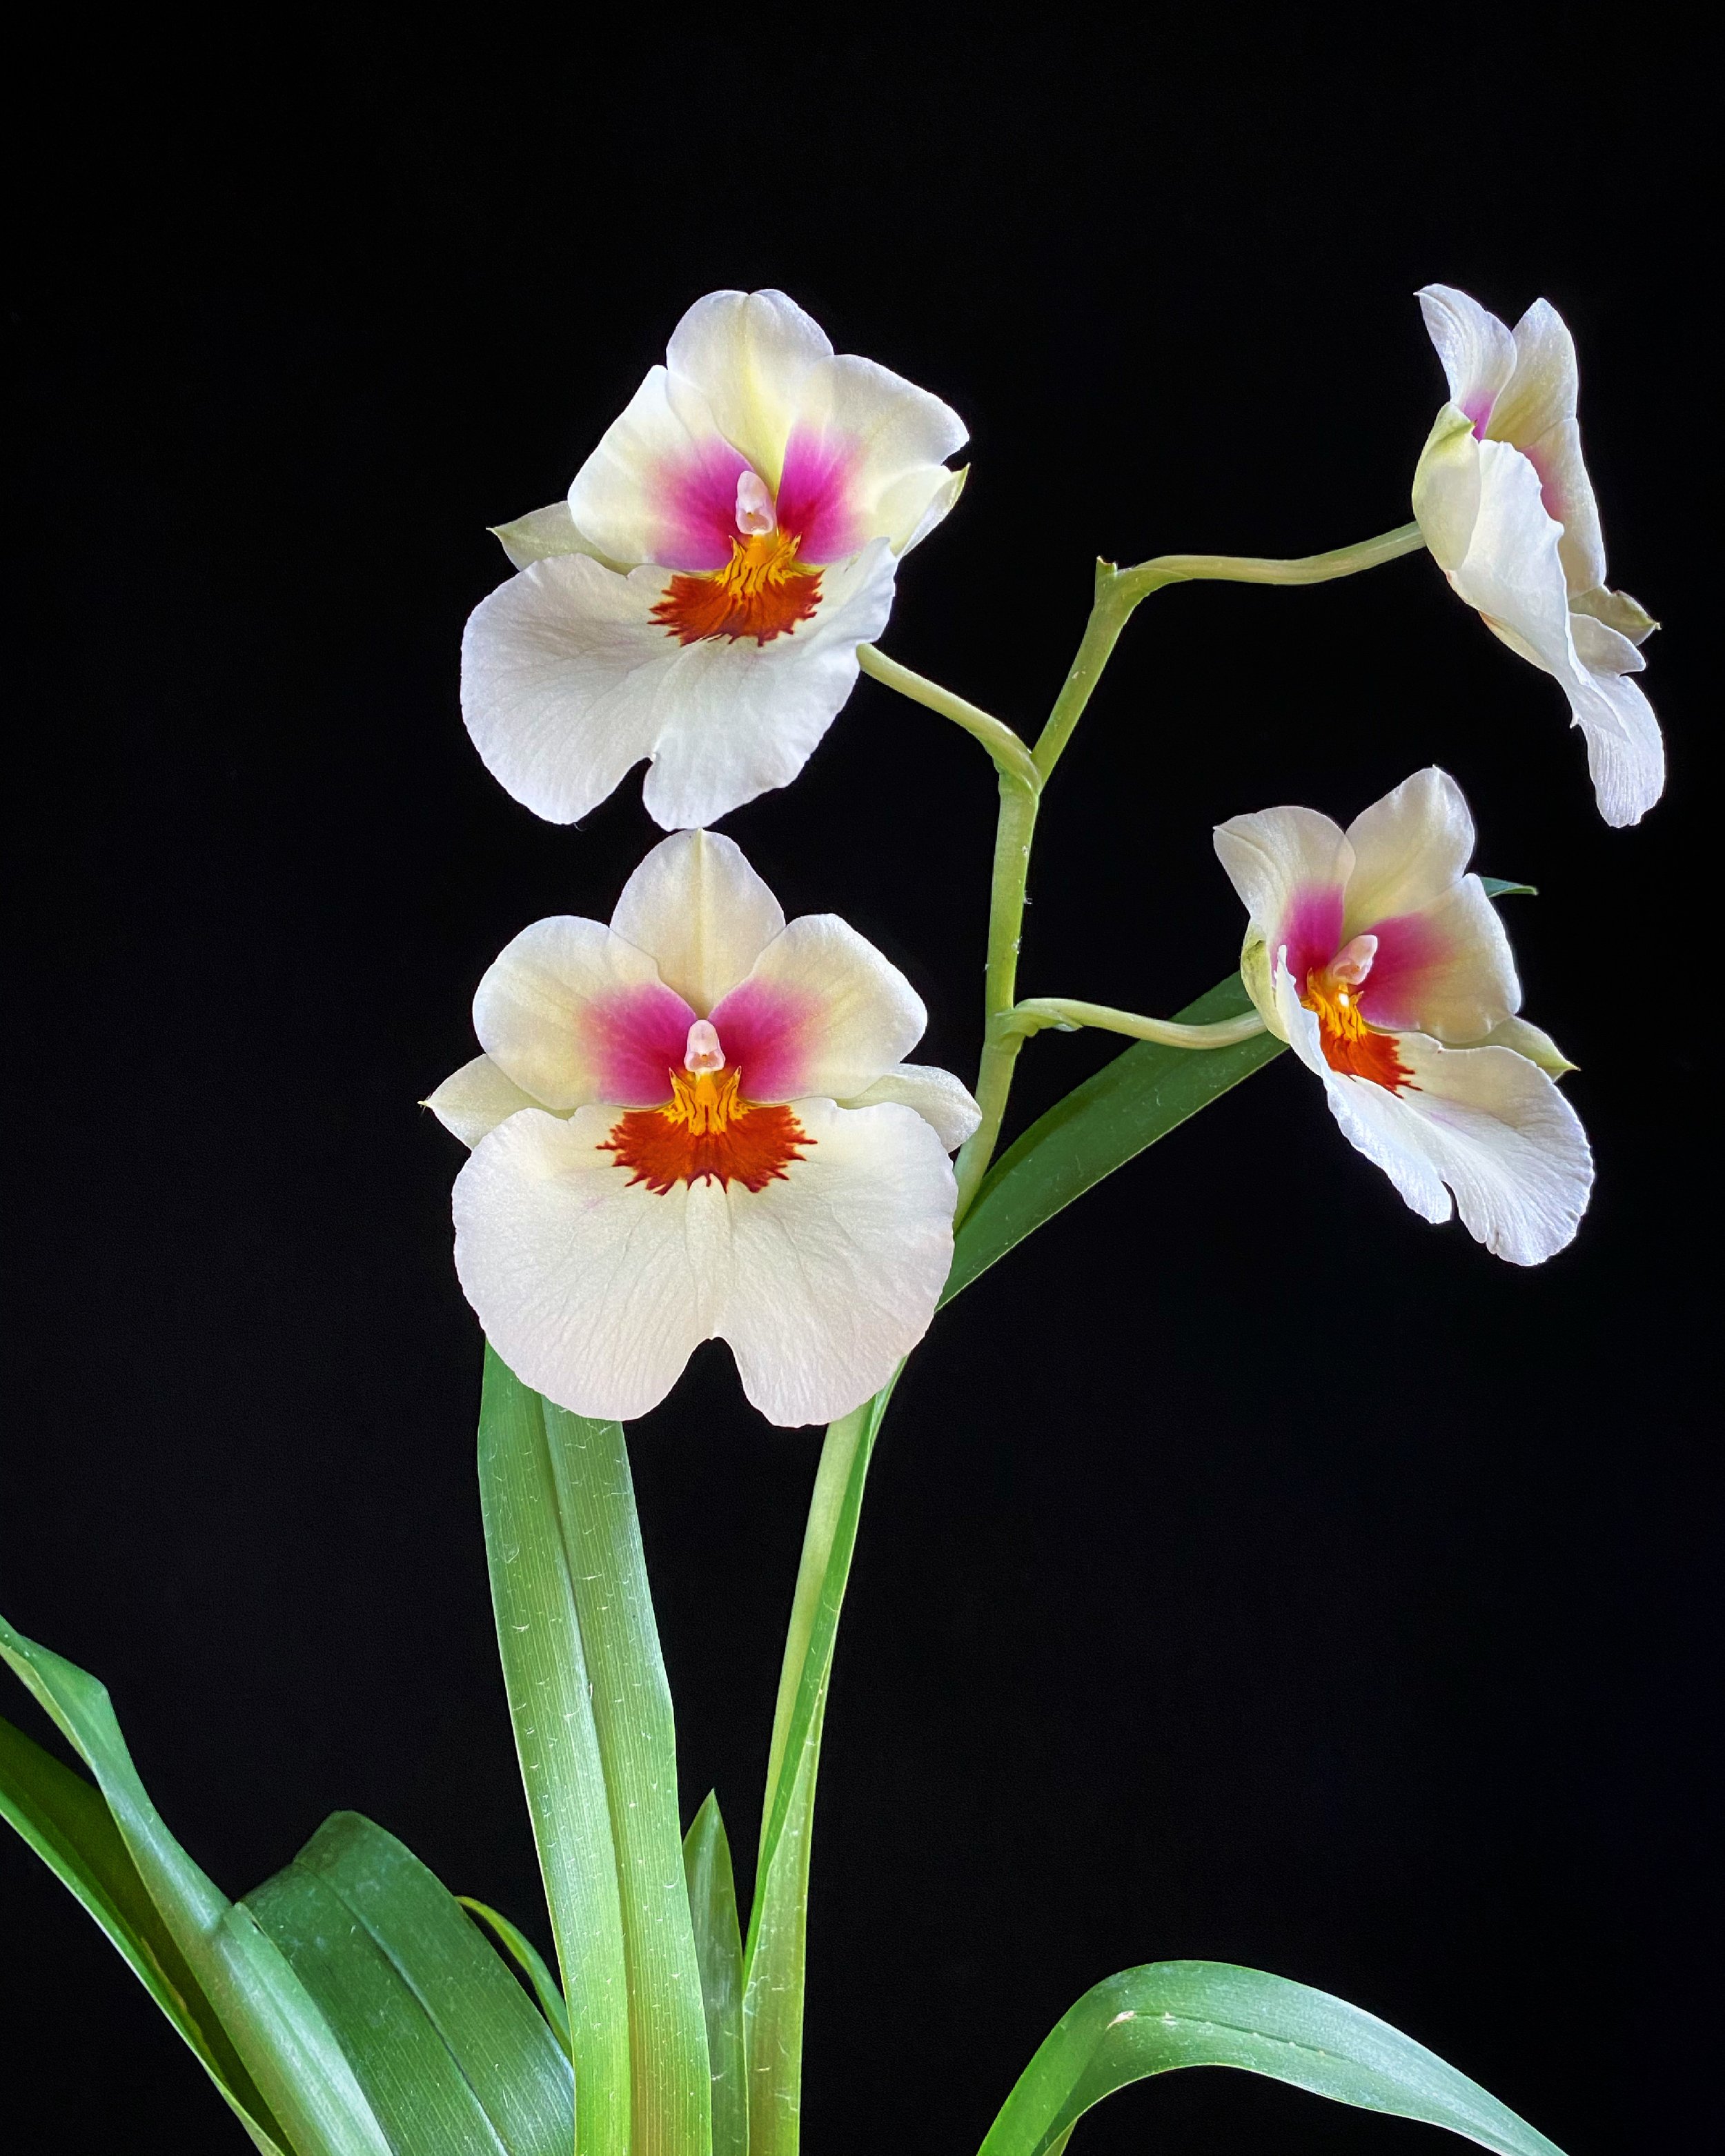
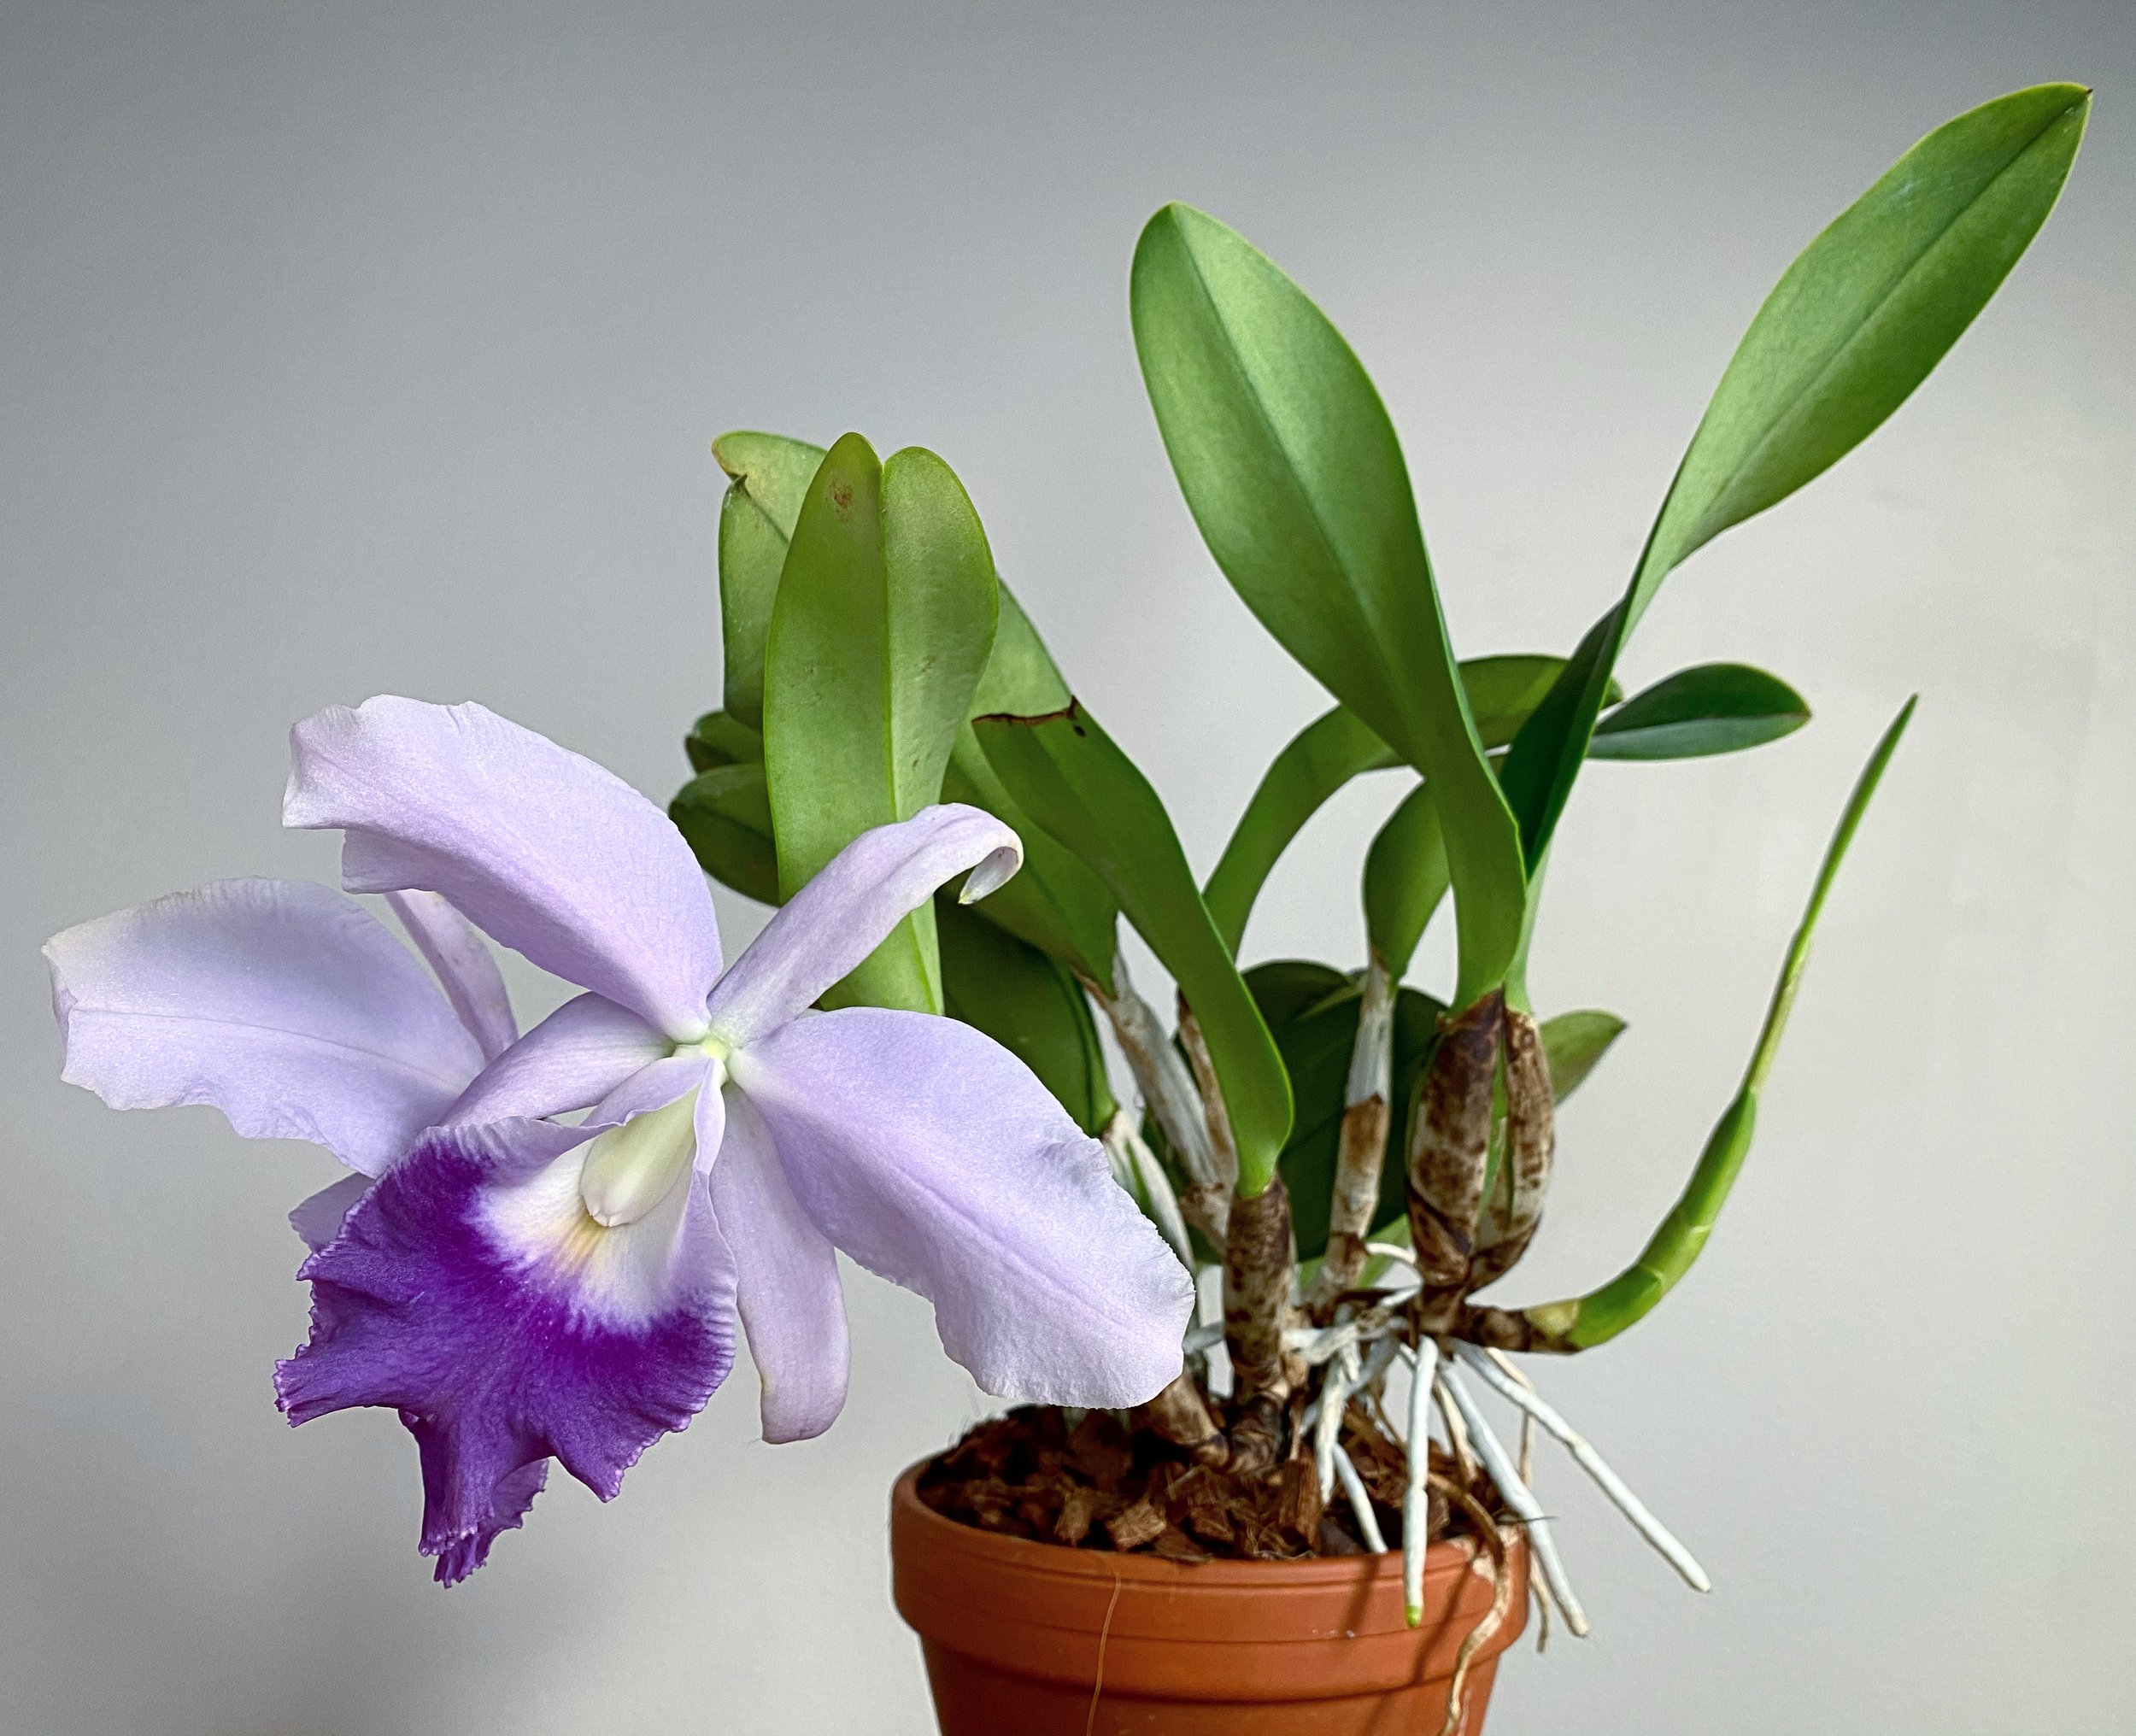
I am sure you’re familiar with orchids, since even people who don’t know many plants usually know orchids. The orchids with which most people are familiar are the varieties usually found at grocery stores, like the Phalaenopsis, Cymbidium, Oncidium, Odontoglossum, Dendrobium, Cattleya, Paphiopedilum, Miltonia and Miltonopsis, among others. But these are just a few genera of the 763 in this family, represented by 28,000 species, which makes it one of the two largest taxonomic plant families, numbering between six and 11 percent of all seed plants. According to Wikipedia, there are as many bony fish species as orchid species, twice as many orchid species as bird species, and about four times more than the number of mammal species. Asteraceae, the daisy family, has almost 33,000 species in almost 1200 genera, but as is the nature of taxonomy, there is confusion and disagreement about how to split species, and orchid growers are familiar with scientific restructuring genera and species. There are significant changes to how plants have been classified over time, so one plant may go by multiple species names in multiple genera in the trade. Of course there is always one currently recognized name for each plant, but some plants went so long described in a currently incorrect genera that they may still go by that obsolete name just for the practicality of consistency, especially when they have been used in hybridization and historical names are used in the documentation of parentage of modern hybrid plants.
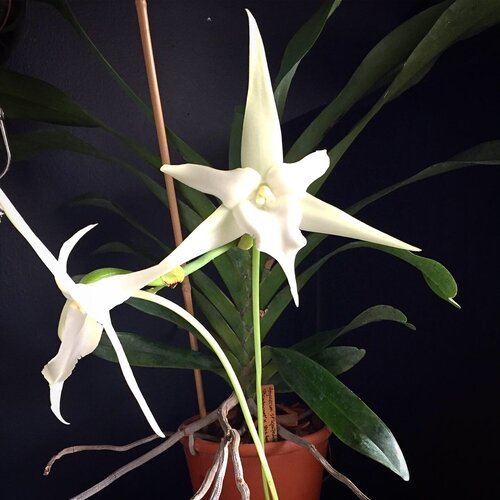
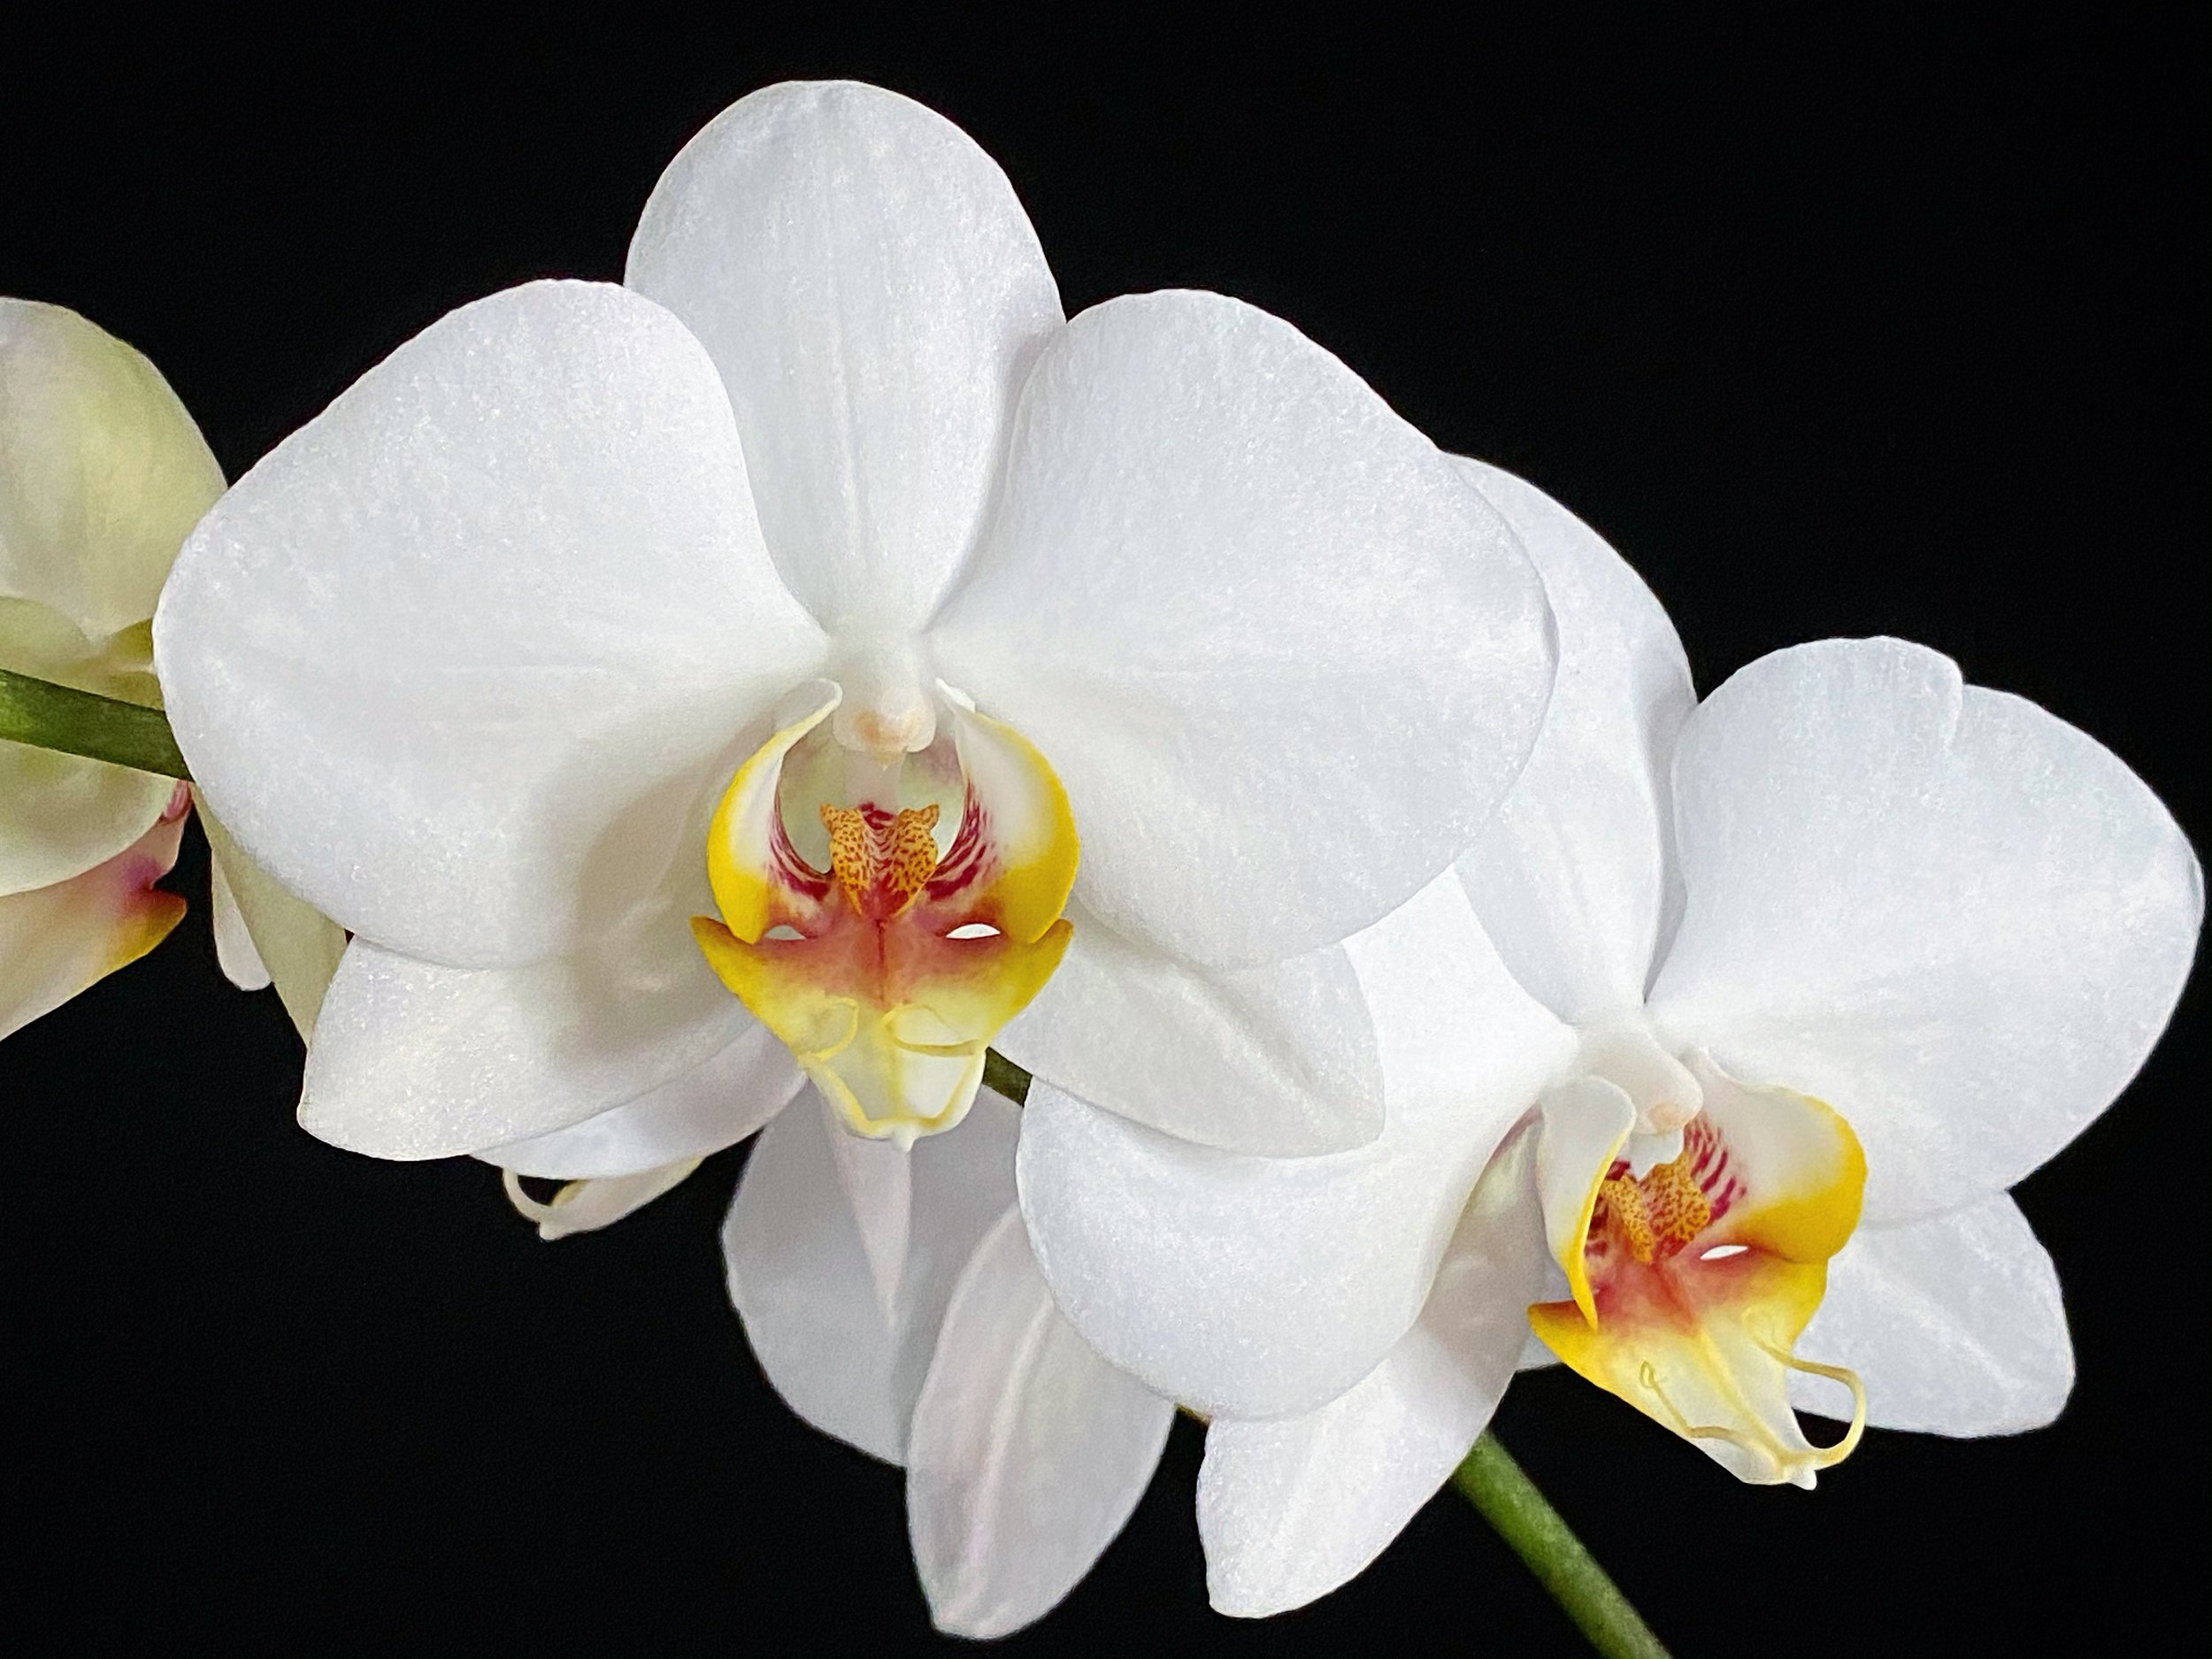
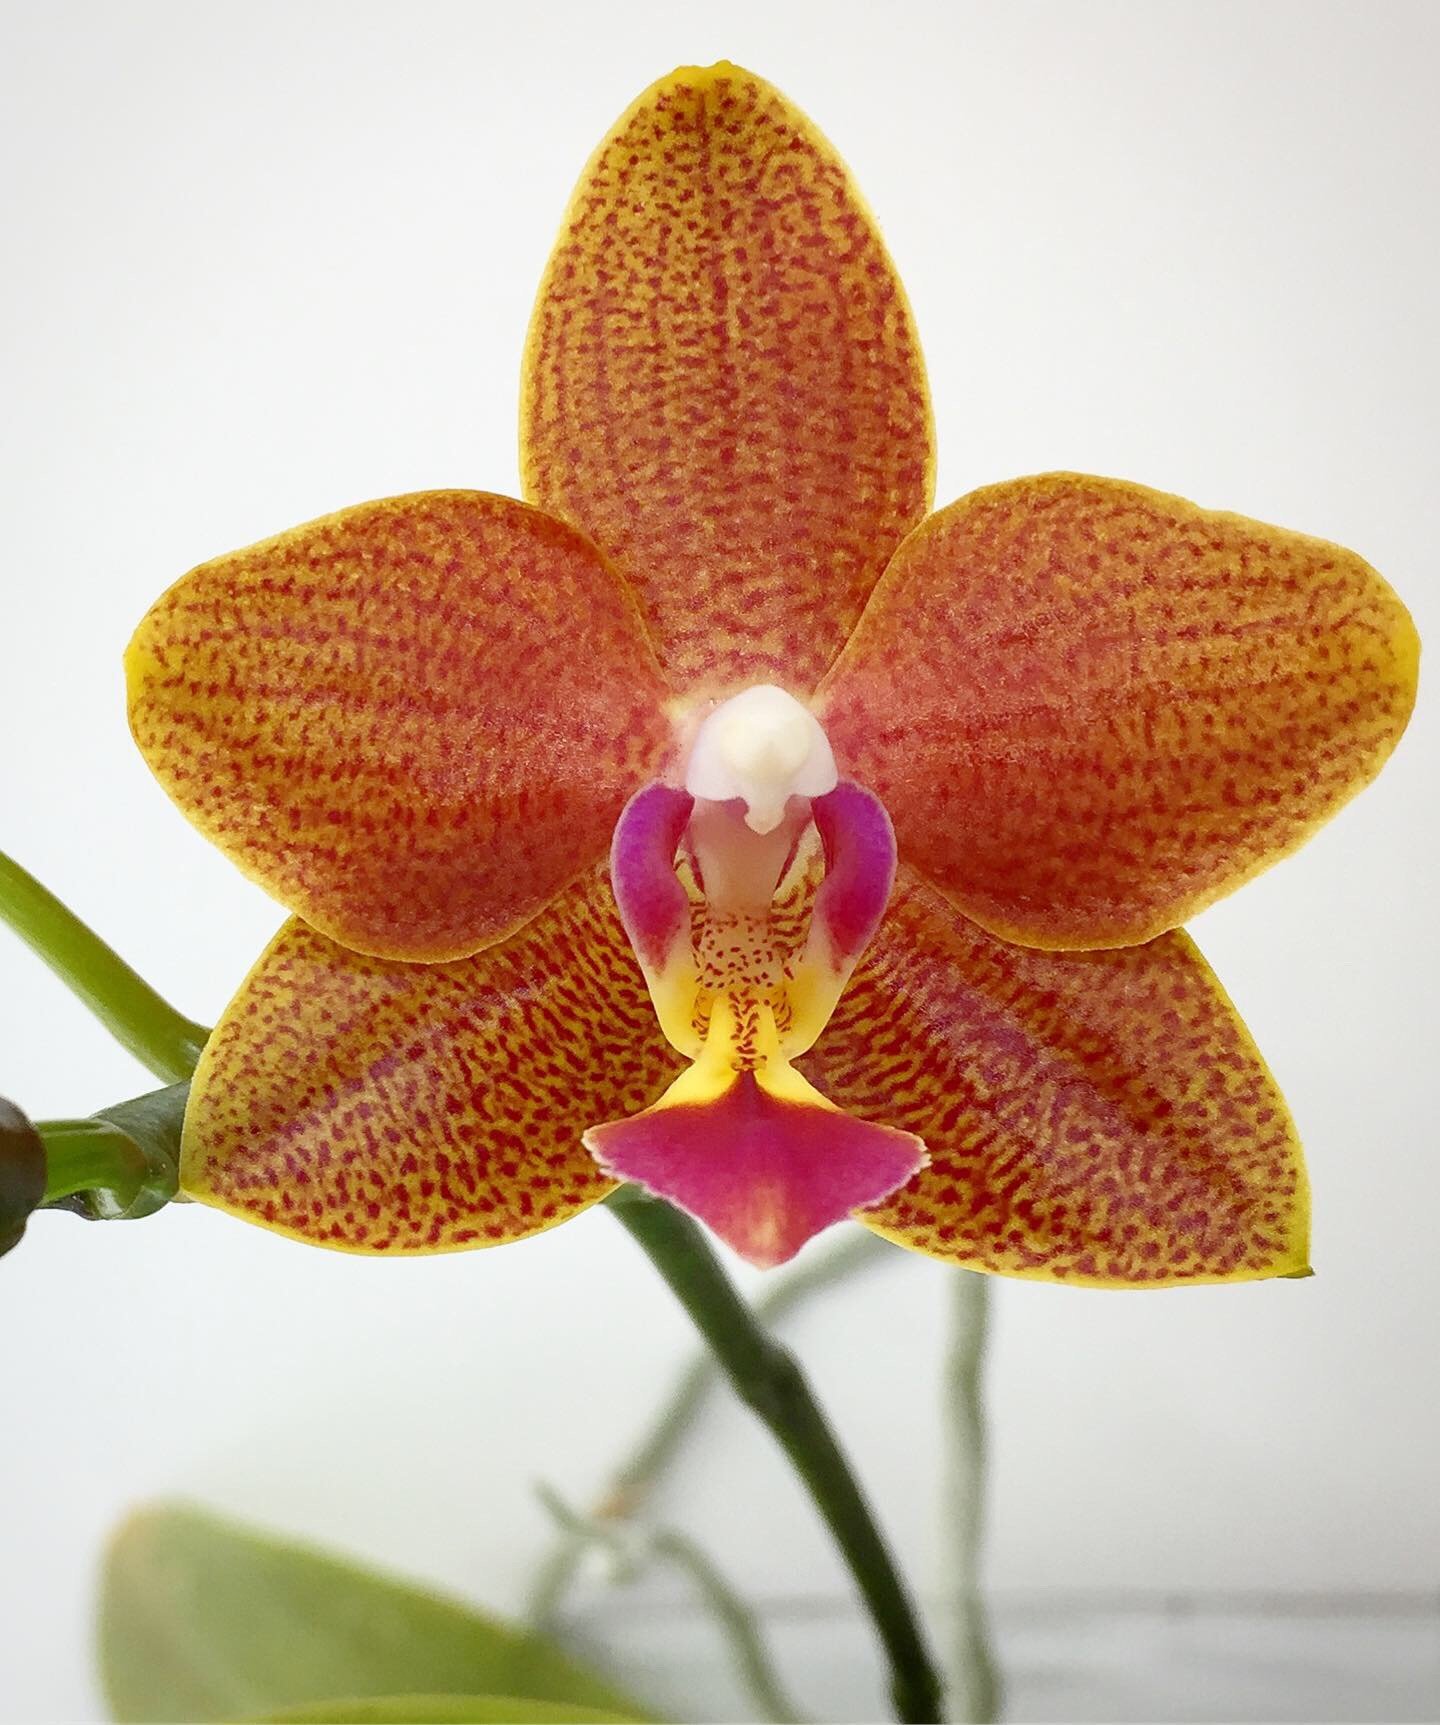
Orchids are found on every continent besides Antarctica, and grow in almost every type of biome. Some of the smallest flowering plants are orchids, while others can become enormous individual plants or colonies, or even vines. There is an orchid for every situation from temperate to tropical, swamps and rainforest, to grasslands and deserts. The defining characteristics are easy to identify, as all orchids share some specific traits. Their flowers are bilaterally symmetrical, comprised of three sepals and three petals. One of these petals, typically the one that points downwards at the 6:00 position, is highly modified into a lip, or labellum, which is frequently the most ornate and decorated part of the flower and often obscures or covers the fused stamens and carpels. This fused reproductive structure is called a column or gynandrium, and the pollen is usually found in the form of two pollina in the anther. These waxy masses of pollen grains have a sticky filaments, called viscidium, that attaches a pollinator that brushes up against it, releasing the pollina so that the pollen masses can then be carried to the next flower, where they will hopefully find the sticky stigma of the second flower, detach from the pollinator, and pollinate the flower. There are many absolutely wild examples of orchid species co-evolving alongside its primary pollinator to the point where only one insect species pollinates a particular orchid. One of the best known of these is the Madagascan orchid, Angraecum sesquipedale, commonly called Darwin’s Orchid. With large, white, nocturnally fragrant flowers, Darwin posited that the orchid must be pollinated by a nocturnal species since the flower seemed designed to attract attention at night. Between the flat flower face that didn’t offer a good place to land, and unexpectedly long nectar spur trailing behind the flower, he also theorized that it would be pollinated by a hovering insect with a longer proboscis than that of any known species. There were species of Sphinx moths (family Sphingidae) that came close to matching this description, but none with a proboscis long enough to reach the eight to 14” required to access the orchid’s nectar, so Darwin suggested that a species would be discovered as the pollinator of the Angraecum. Sure enough, Xanthopan morganii praedicta was later discovered, and is the exclusive pollinator of Angraecum sesquipedale.
With such specialized pollination adaptations, flowers tend to remain receptive to pollination for very long times, which is necessary if you can’t count on just any insect to help you set seeds. It’s actually this specific feature that has helped them establish their popularity as ornamental plants for home growers, since man of them hold their blossoms for weeks and sometimes months.
When a flower is pollinated, it will fade prematurely, having served its purpose. The fruit forms from the ovary of the flower, which is the portion of stem directly behind the sepals. It swells into a capsule that houses up to a million seeds, which are nearly microscopic, and when the capsule ripens and bursts open, the seeds are released on the air like dust. The seeds are indeed so small because they lack an endosperm to store food for the orchid embryo, so to germinate, they must enter a symbiotic relationship with certain fungi that can provide them these precious nutrients. Because the seeds dispersed by air have a very low chance of encountering these fungi, only a small number of seeds become adult plants. It was this very reason that orchids were so expensive and challenging for the European growers of the nineteenth century who were among the first to encounter many of the exotic species of the neotropics as the novel orchids began to receive scientific description and entered the European plant market. Without the ability to propagate new plants from the seed they were able to produce, the only available specimens were either wild-collected or divisions of wild-collected plants. The first successes in growing orchids from seed came from discovering seeds germinating in the planting media of established mature plants where they had ended up inadvertently. They built on this success by sowing seeds into trays of used planting substrate which already harbored the necessary fungi to produce new seed-grown plants, but the modern technique involves sowing the seeds onto an artificial nutrient medium in flasks, and then separating the seedlings into their own individual pots once they are large enough to support themselves on their own roots. Unlocking the potential for seed-propagation led to extensive opportunity for hybridization, which yielded plants that were hardier and easier to grow, as well as countless new colors, forms, and floral characteristics. Every orchid you encounter at a grocery store is a hybridized cultivar, and their low price indicates that they are easy enough to propagate, grow quickly, and bloom while young in greenhouse settings that they can become as common and affordable as any other ornamental plant, with care requirements just slightly more specialized than your average foliage plant.
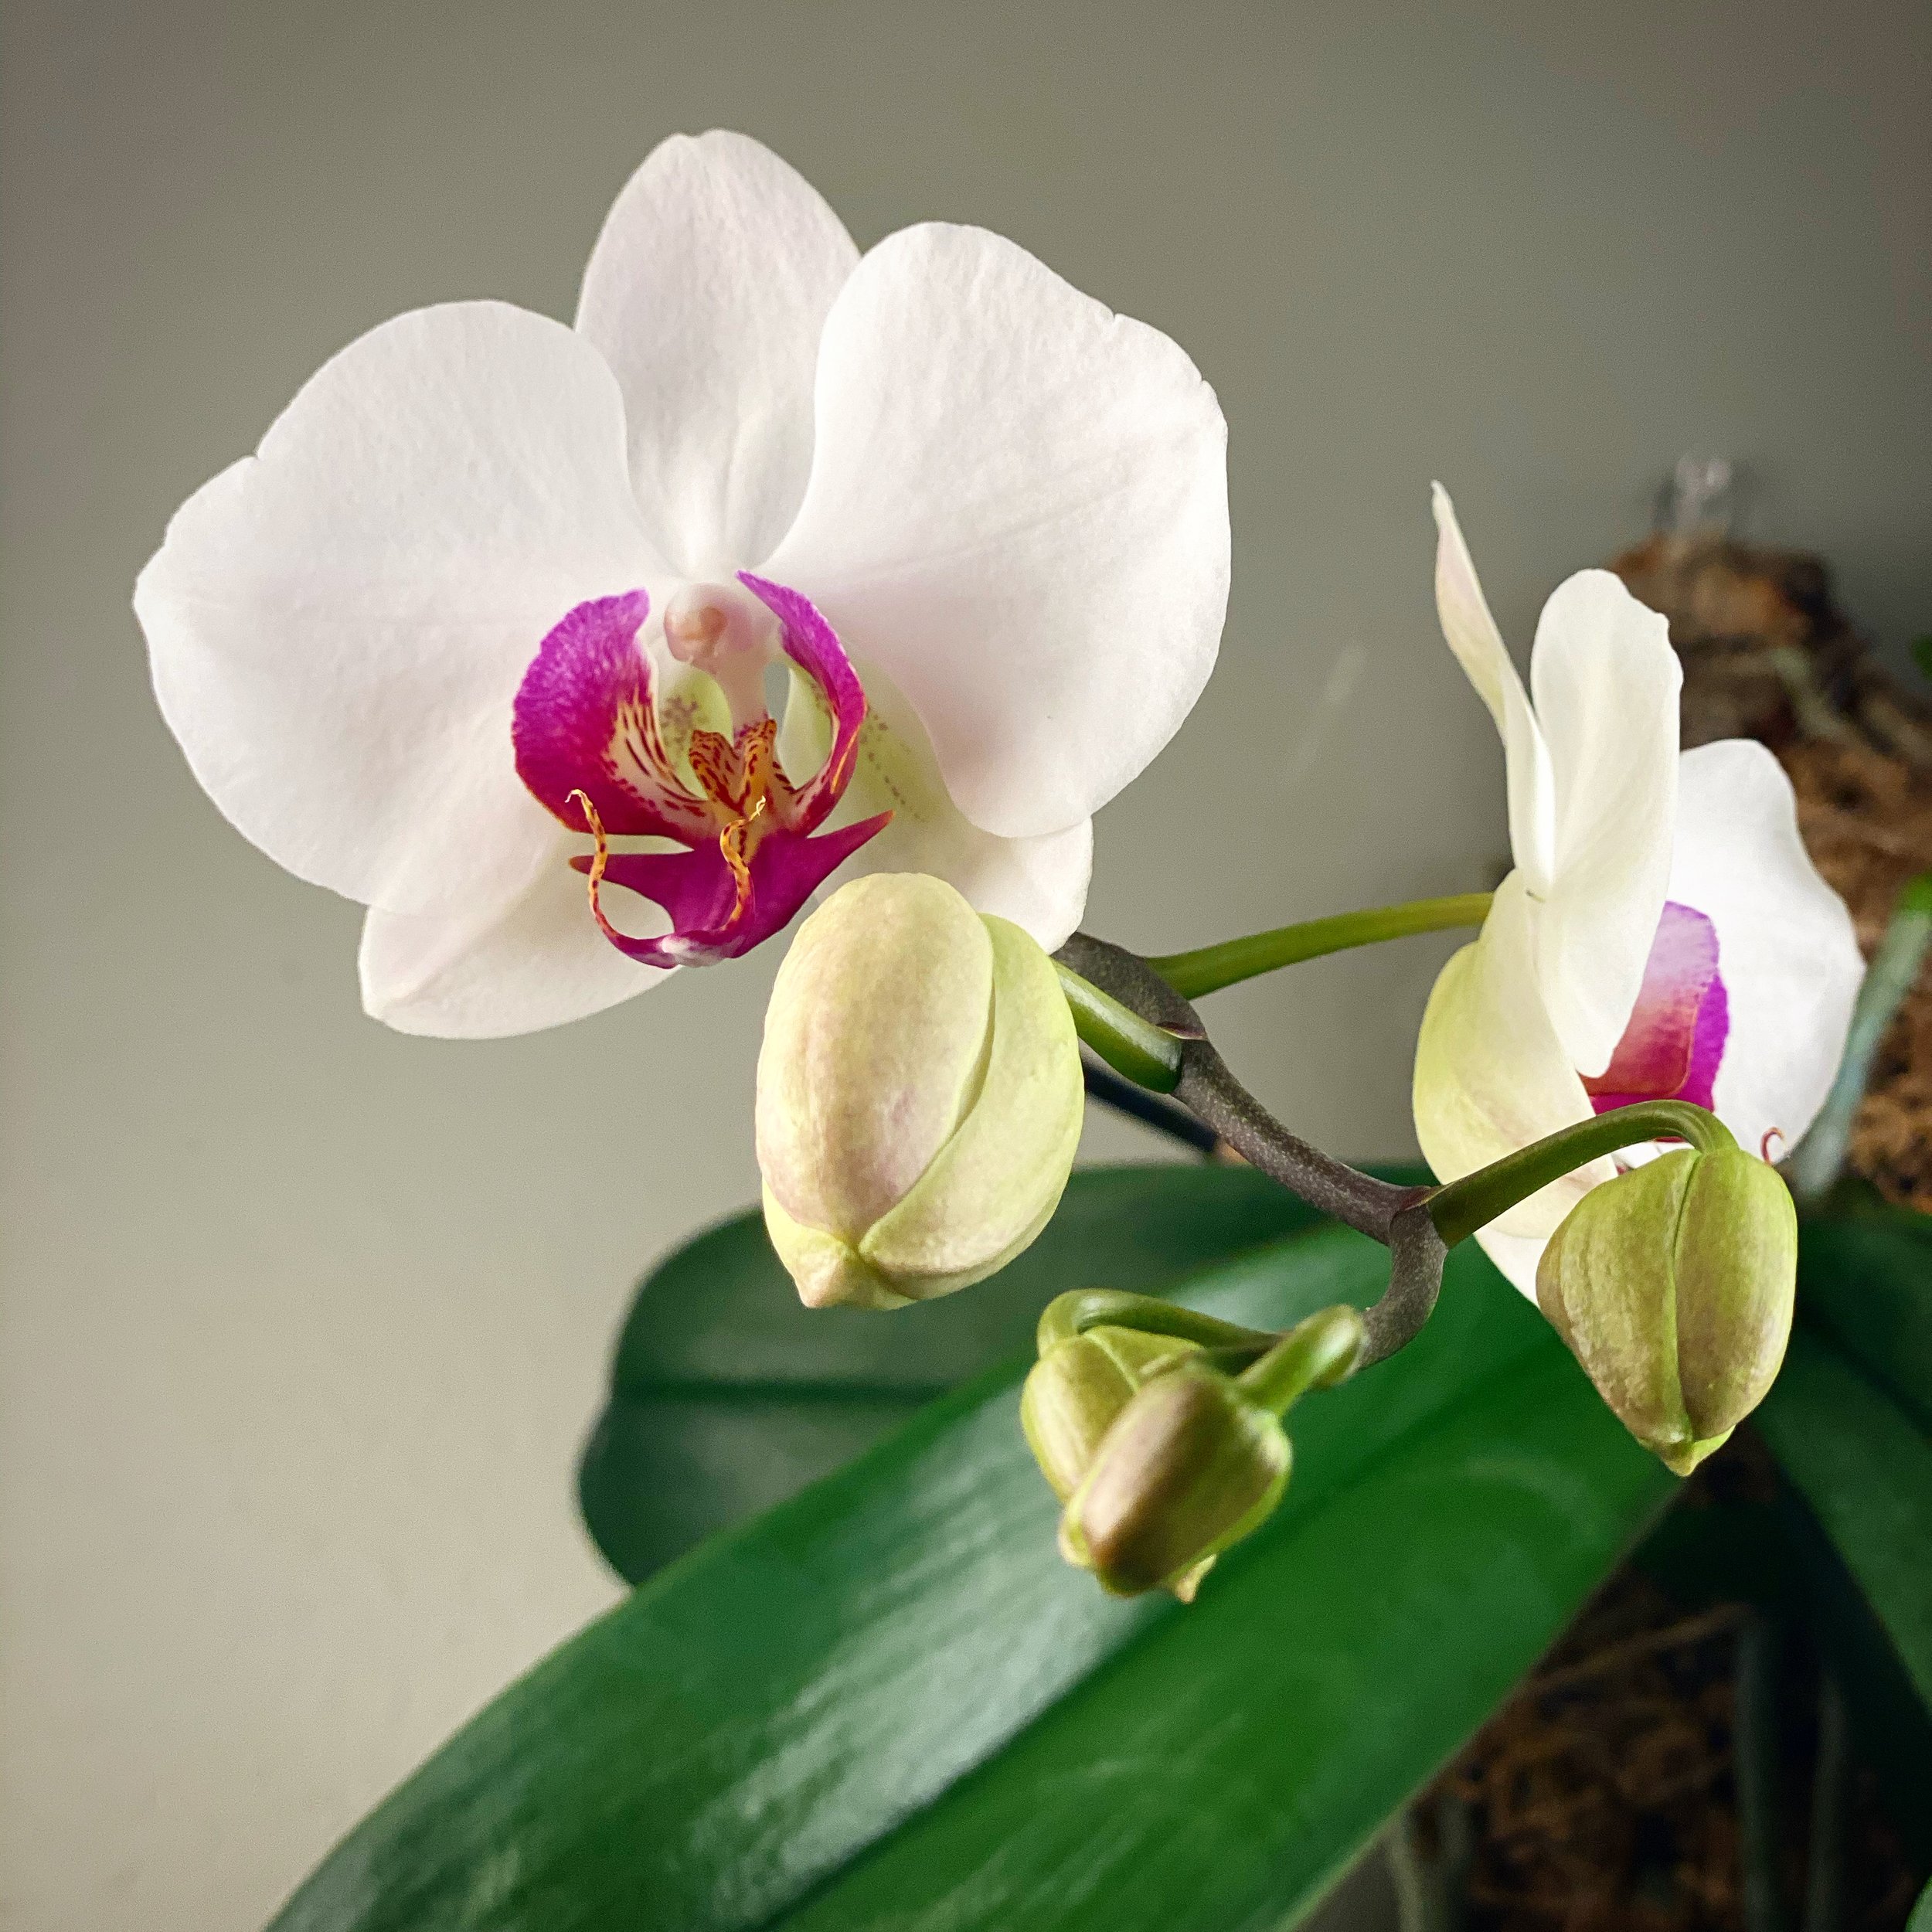
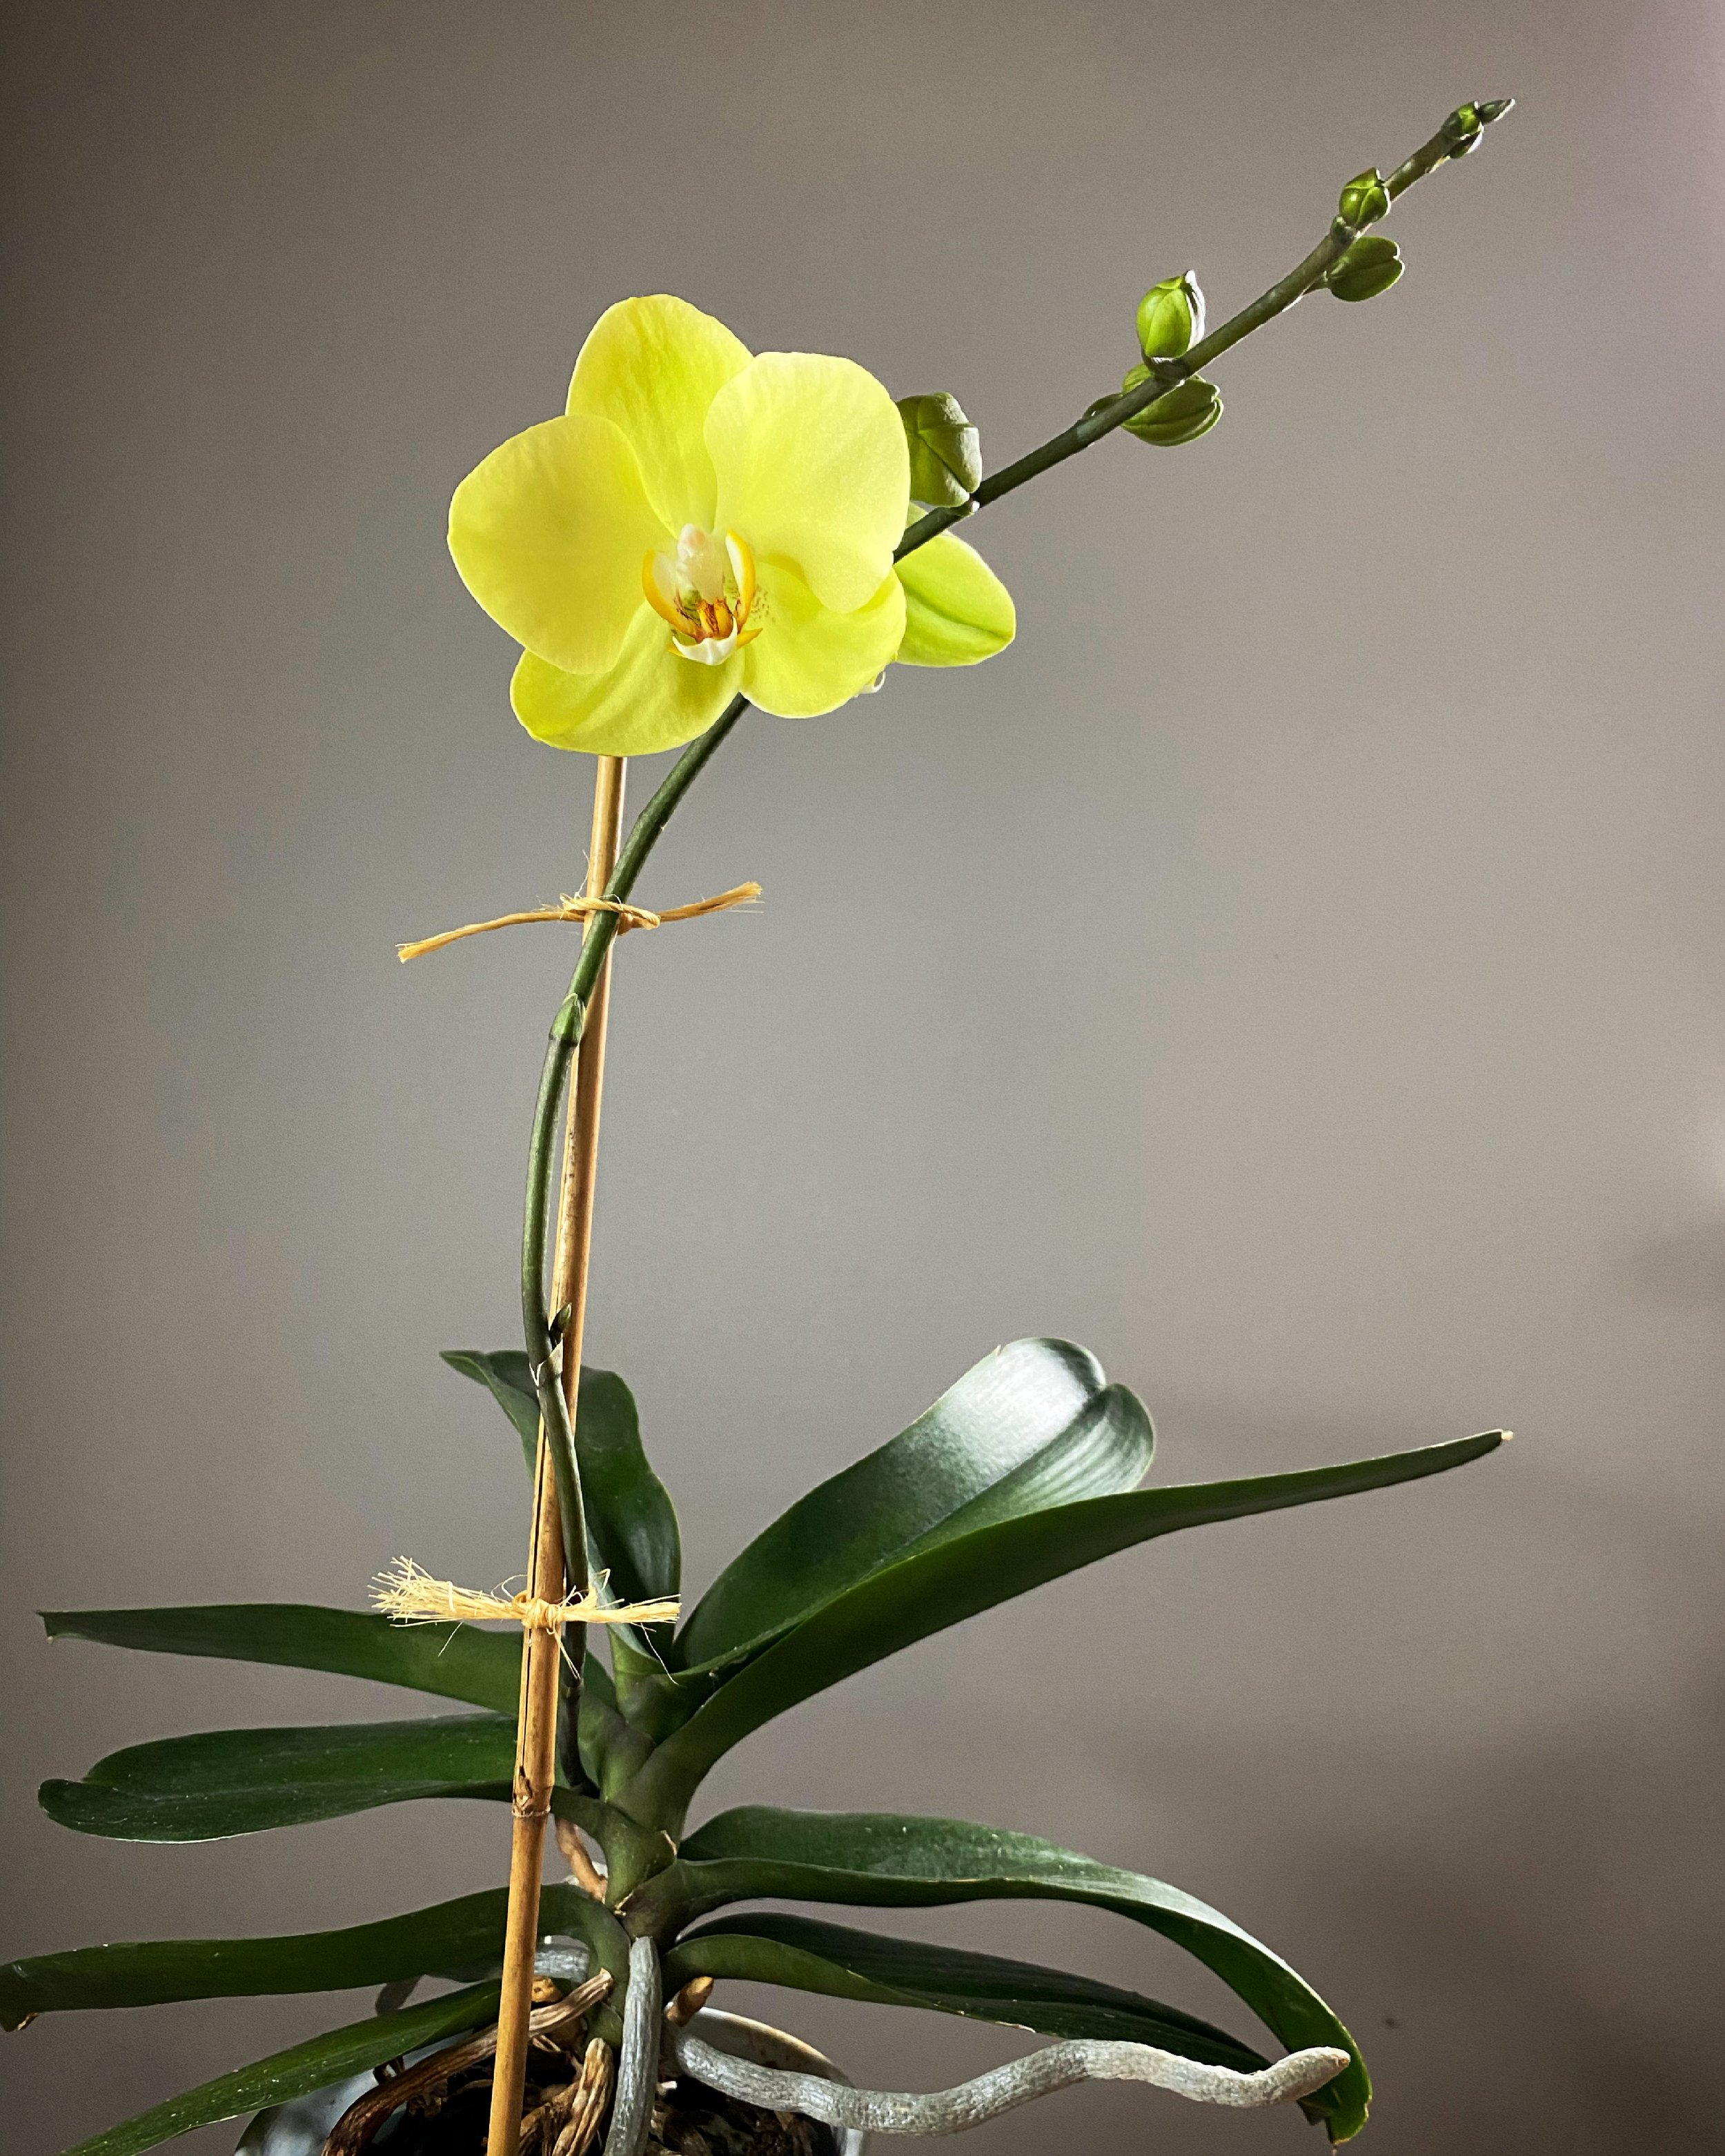
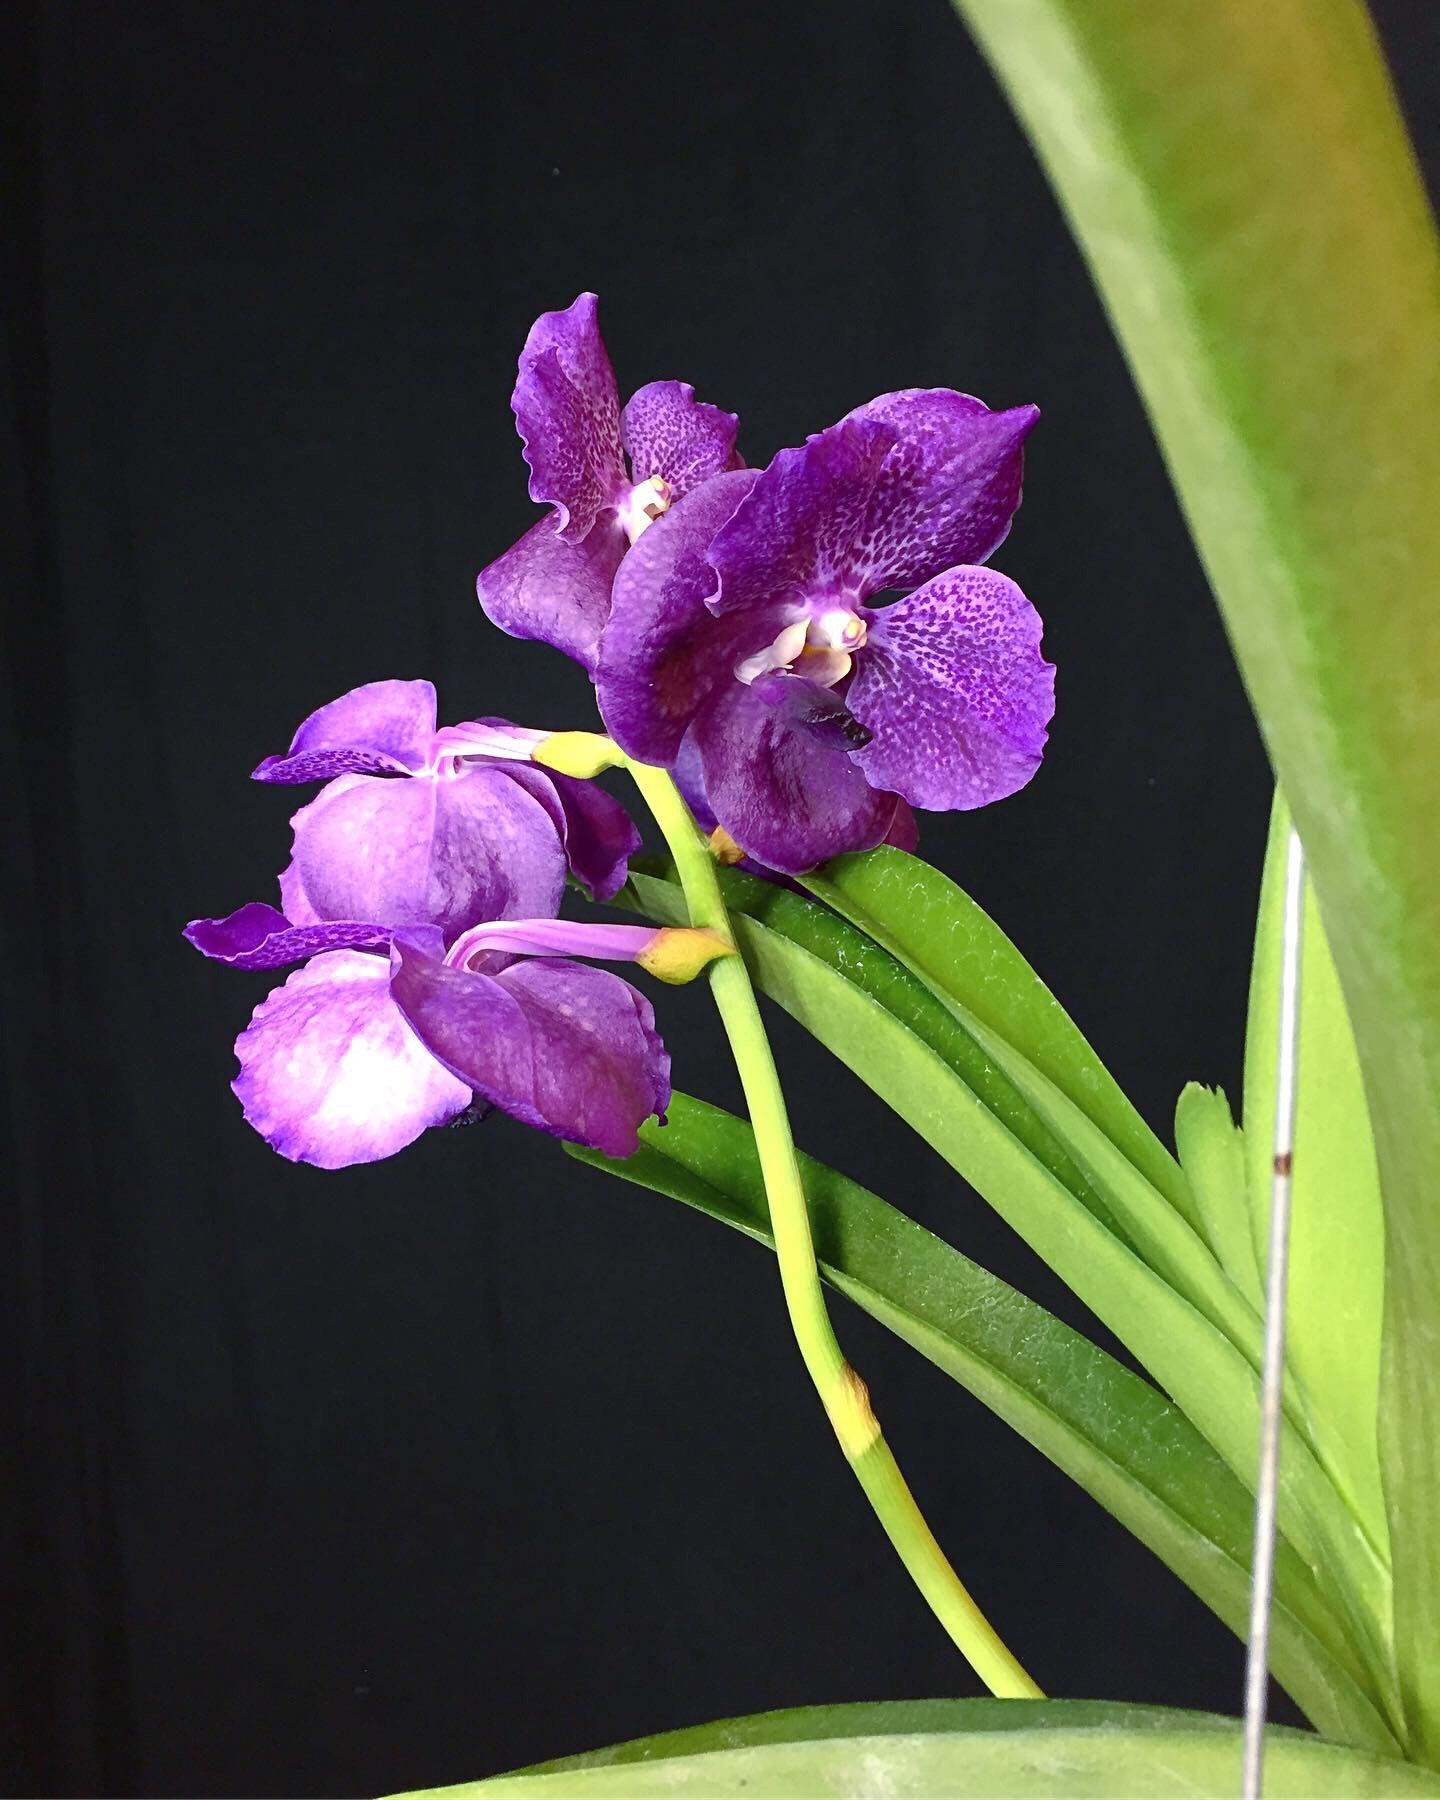
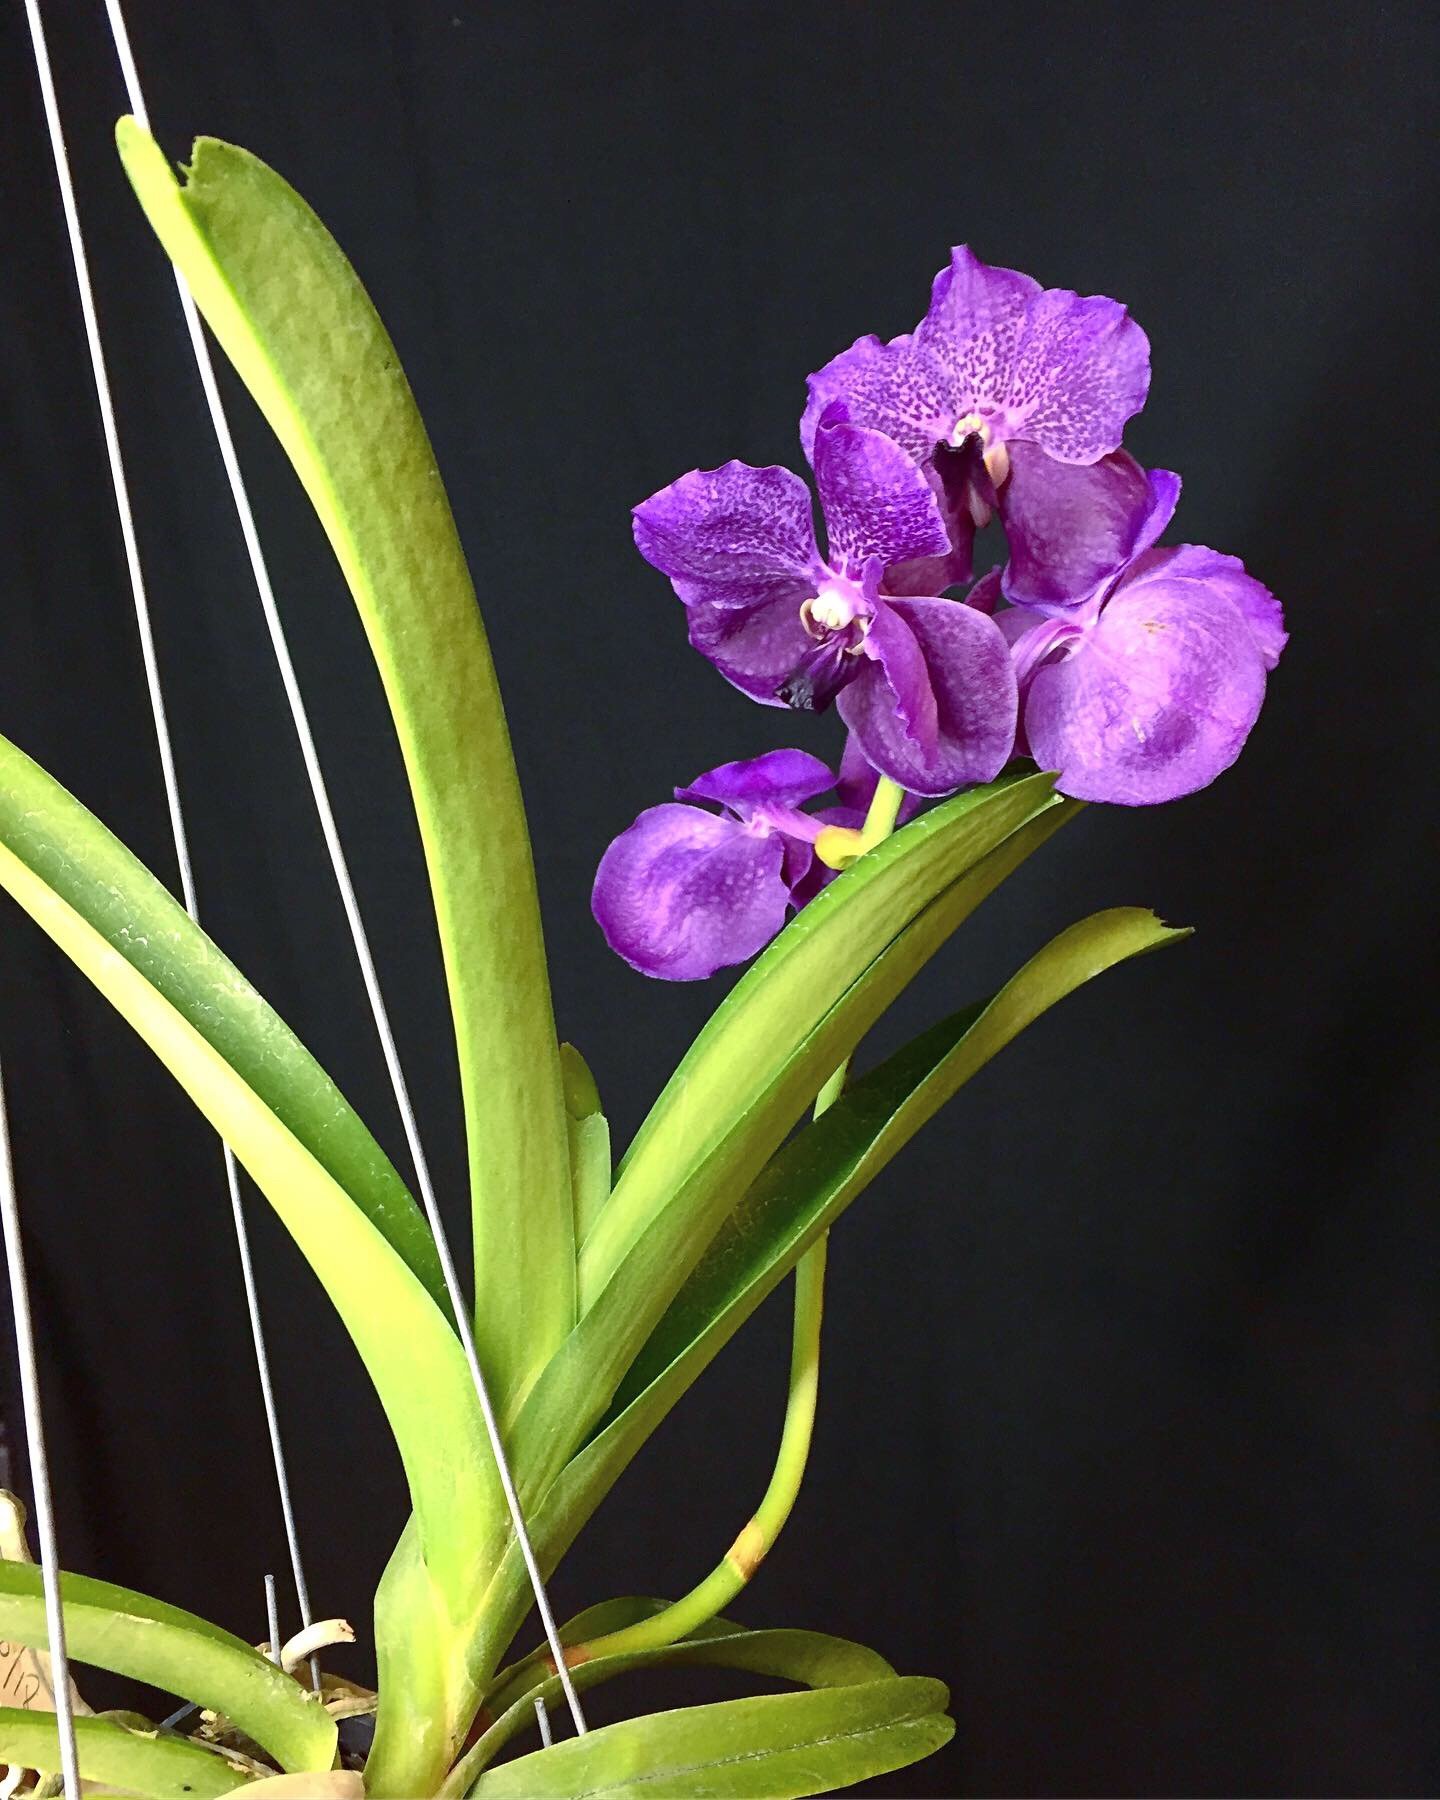
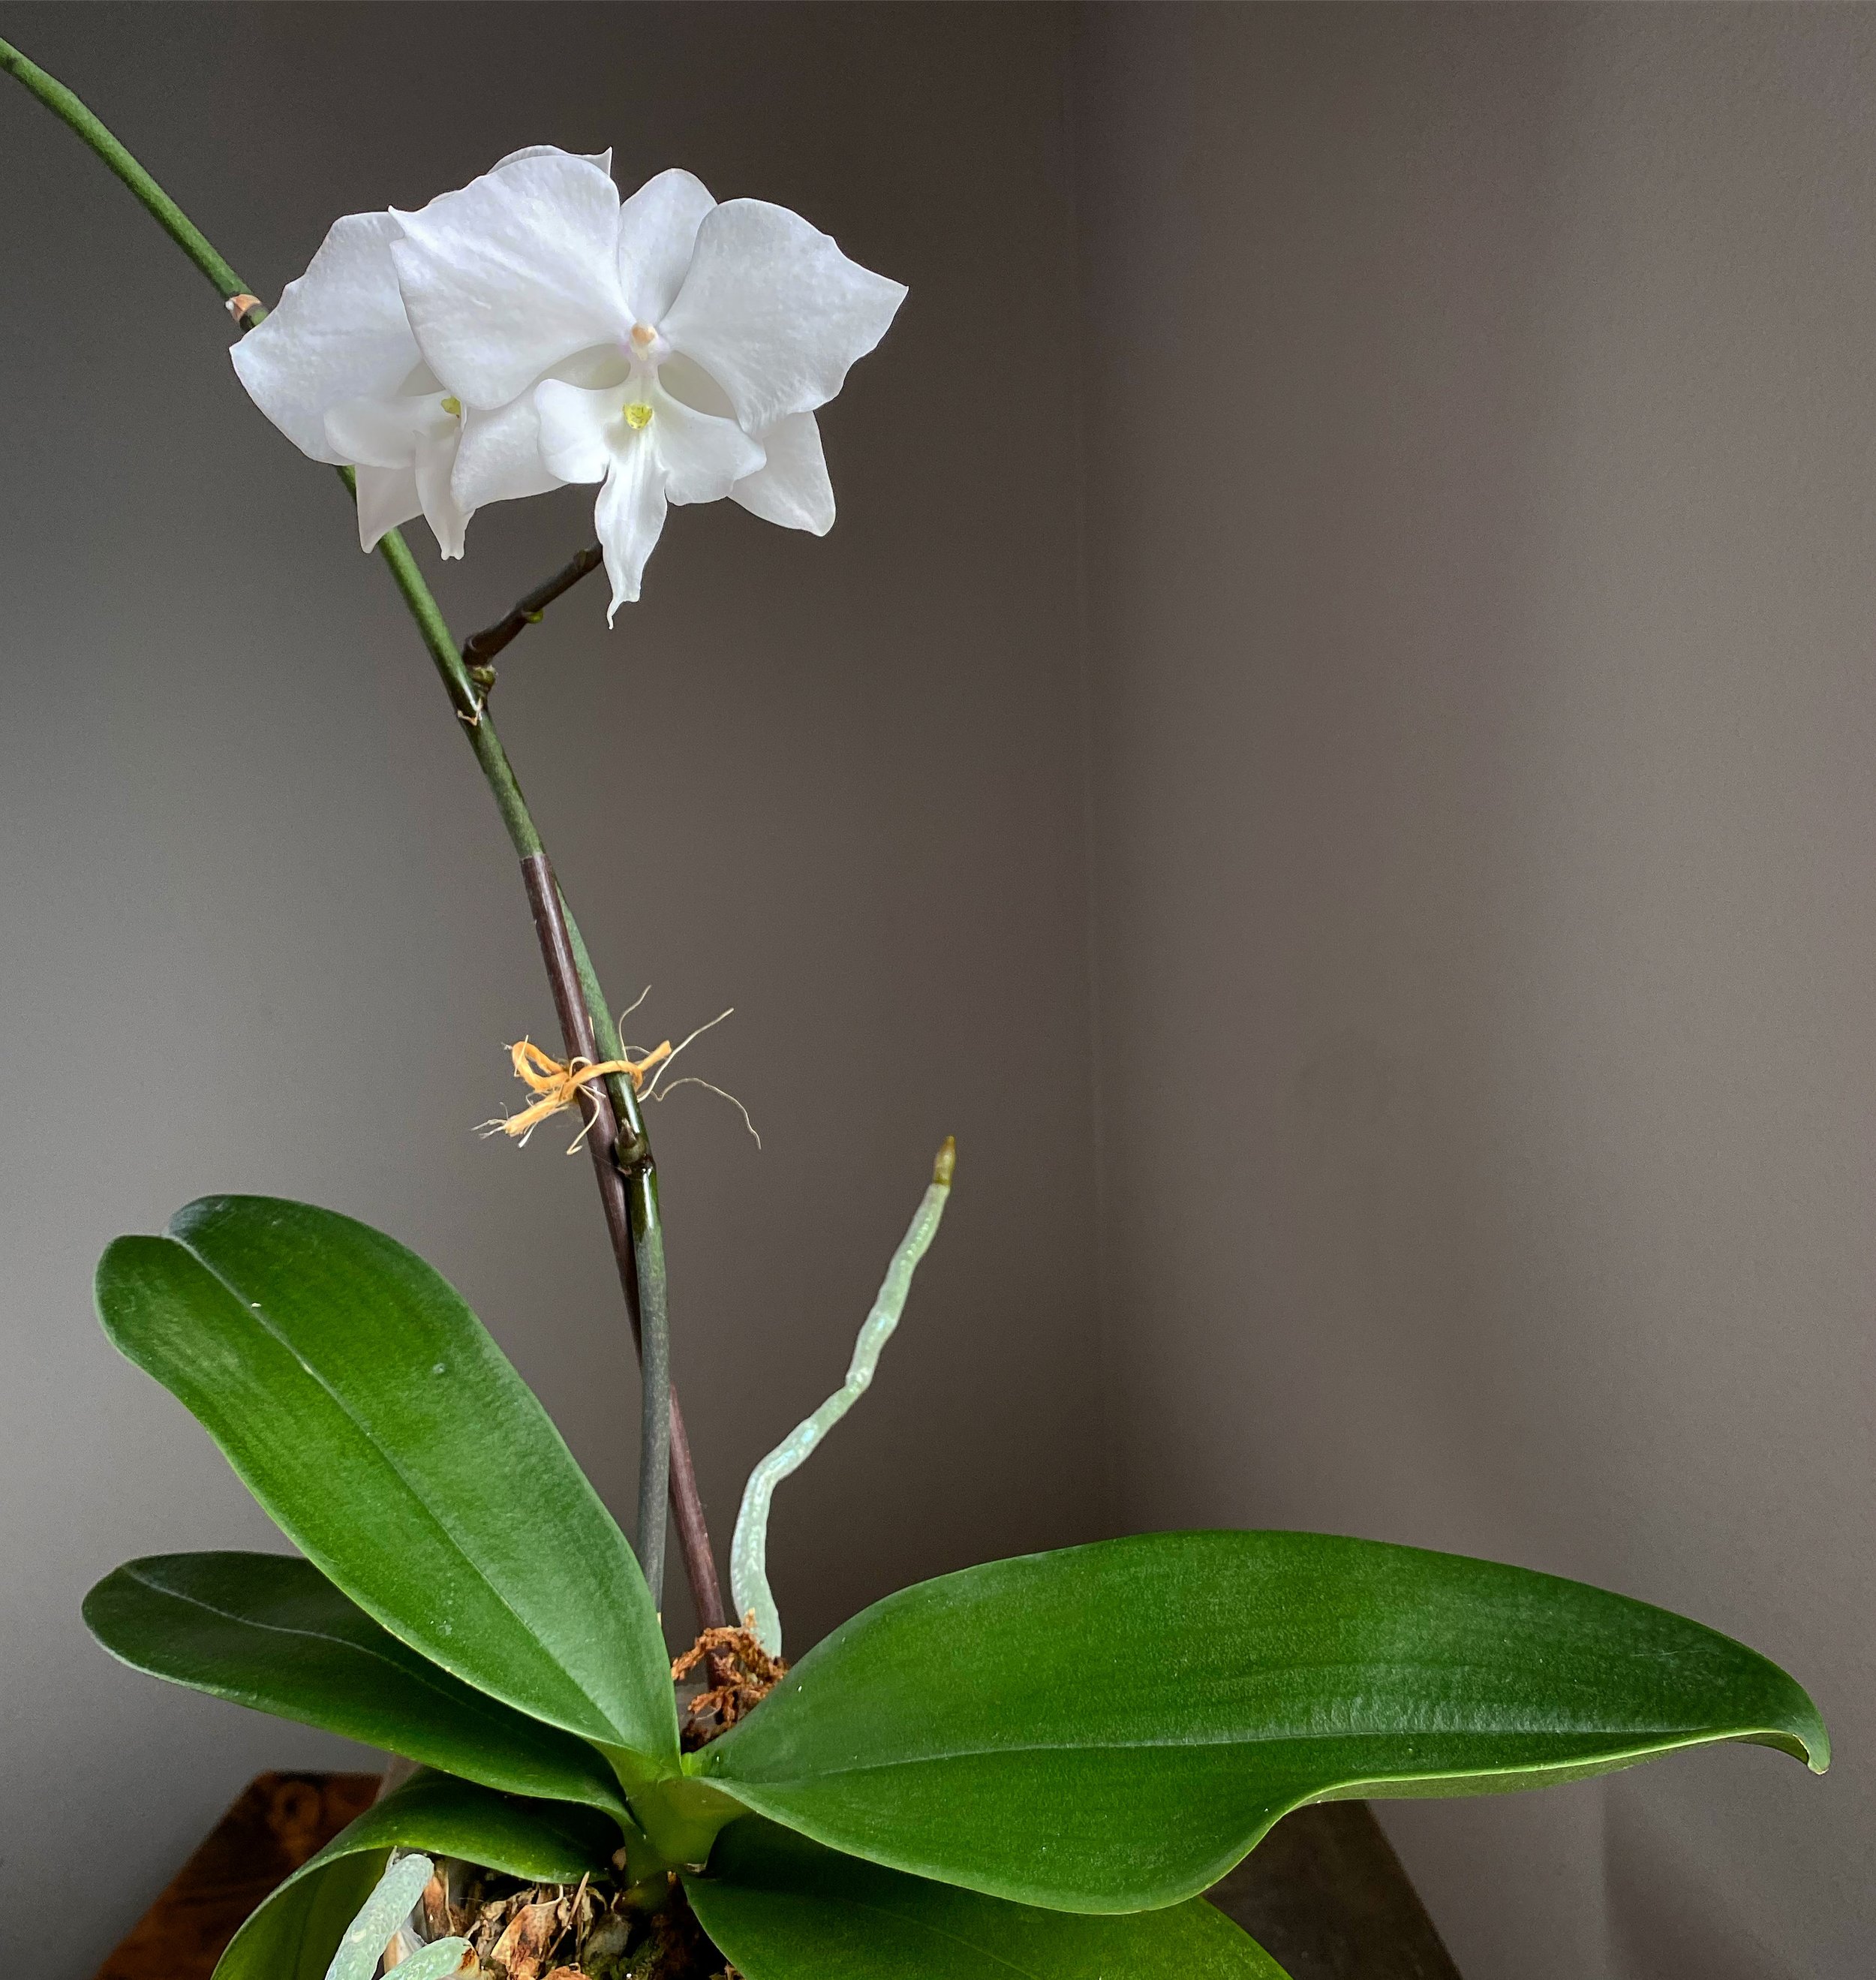
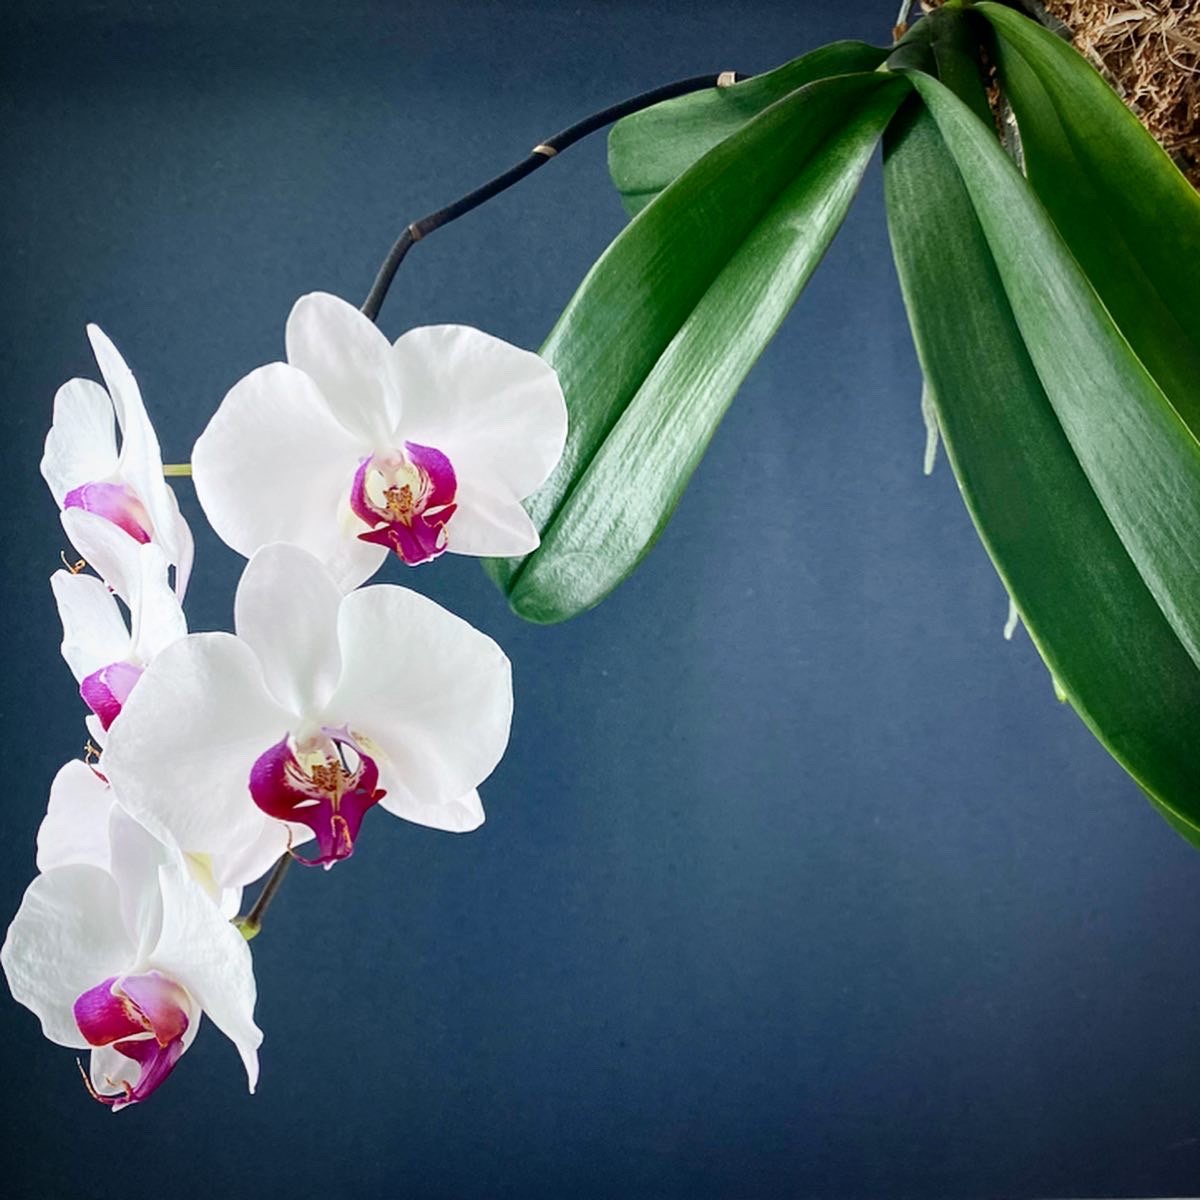
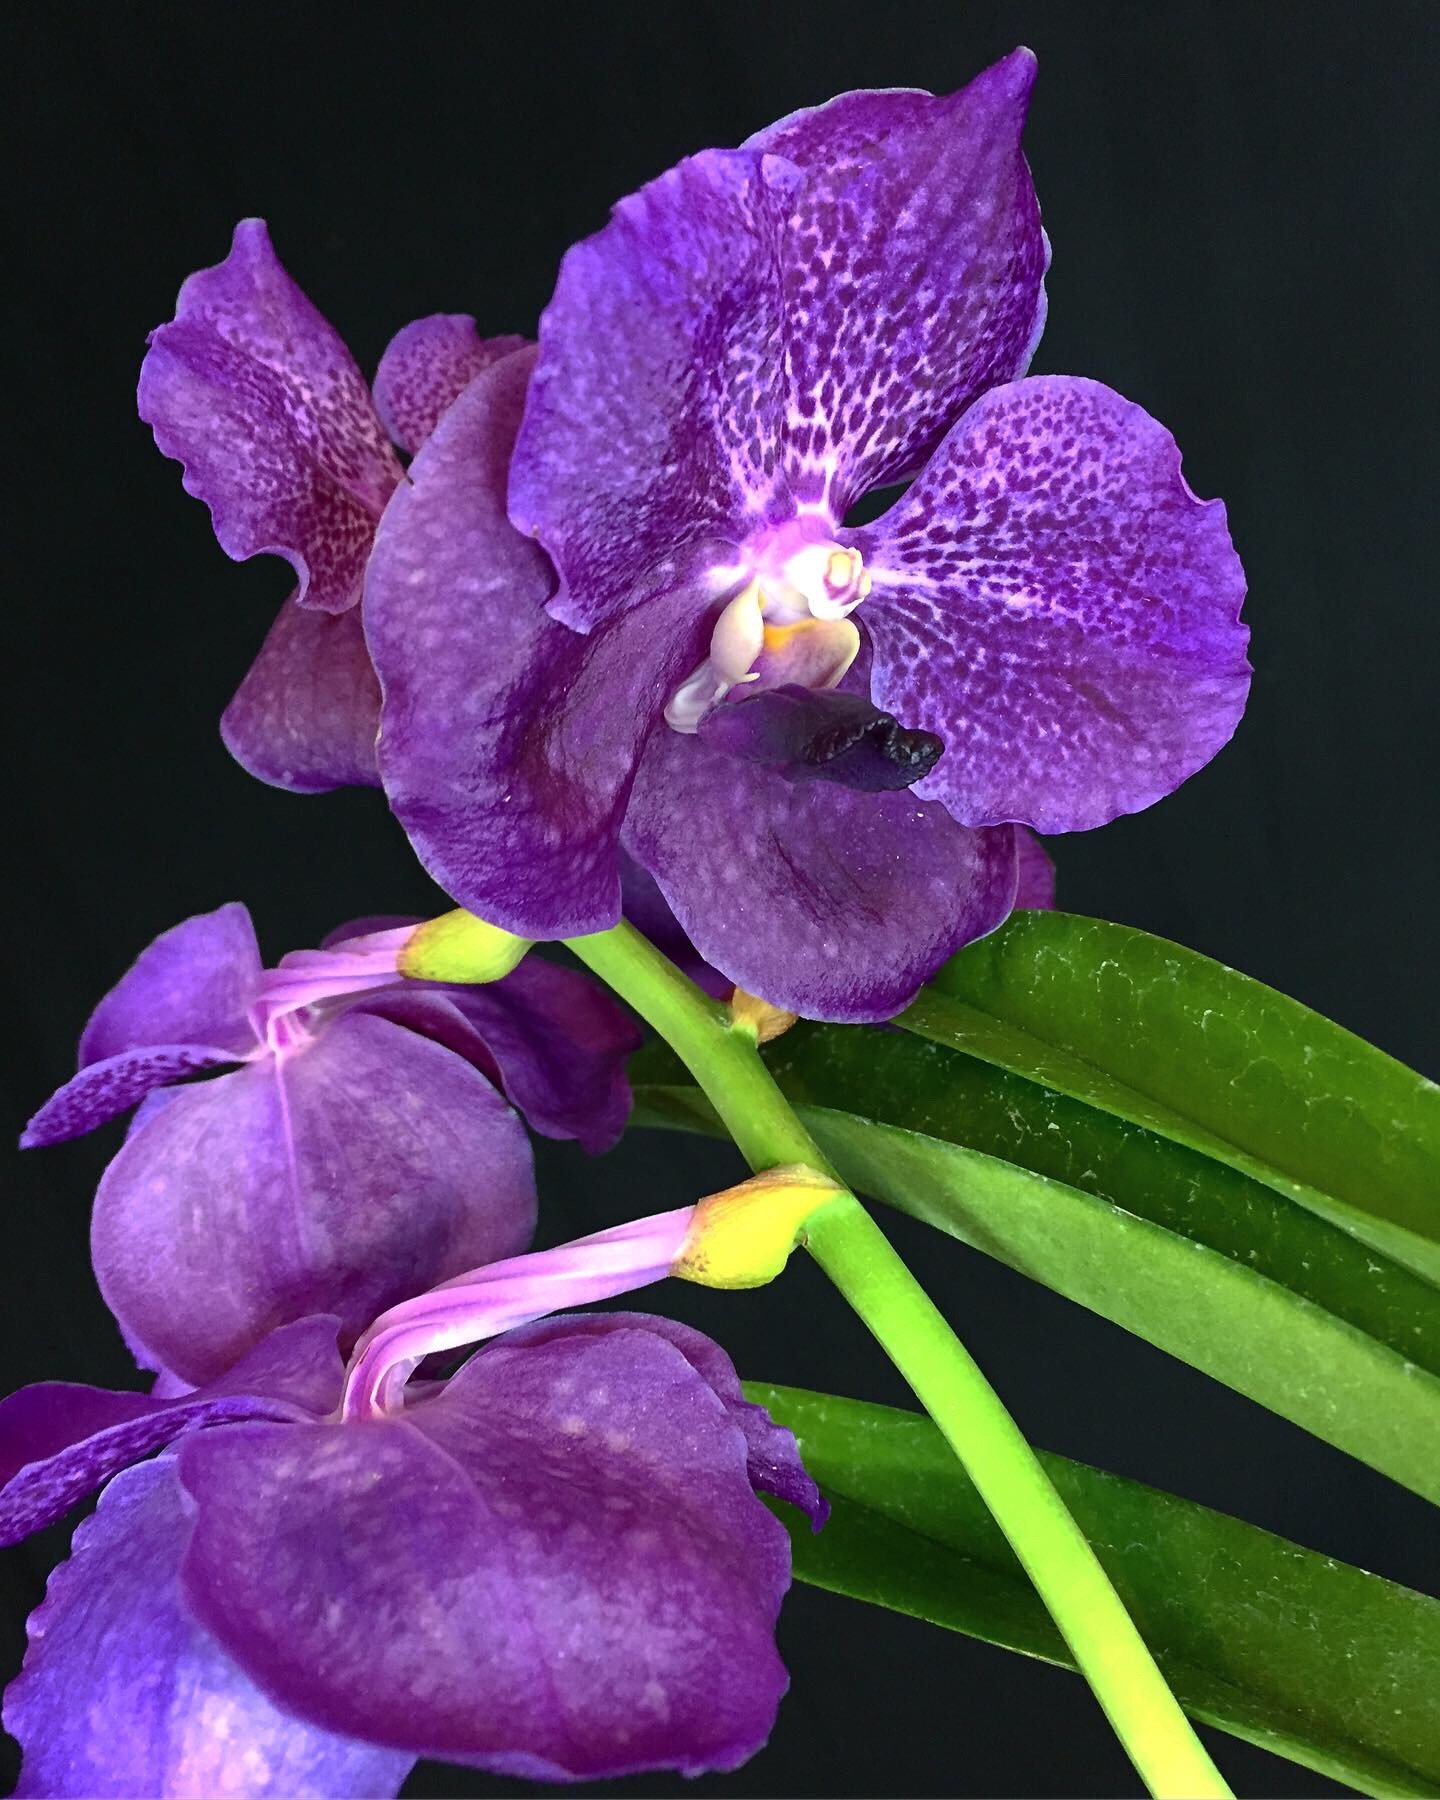
Another unique characteristic of orchids is their growth habit. All orchids are perennial herbs, meaning that they have no woody structures. There are two patterns of growth for orchid species: monopodial and sympodial. Phalaenopsis and the Darwin orchid are an example of monopodial orchids, along with Vanda and Vanilla. These orchids have a single growth point, with new leaves produced alternatingly from the apex of the stem, forming a fan-like shape. Some monopodial orchids remain short with several leaves, like the Phalaenopsis, whose leaves completely hide the stem, or hold many leaves at once on longer stems, sometimes visible, reaching several meters in length, like Vanda and the vining Vanilla species.
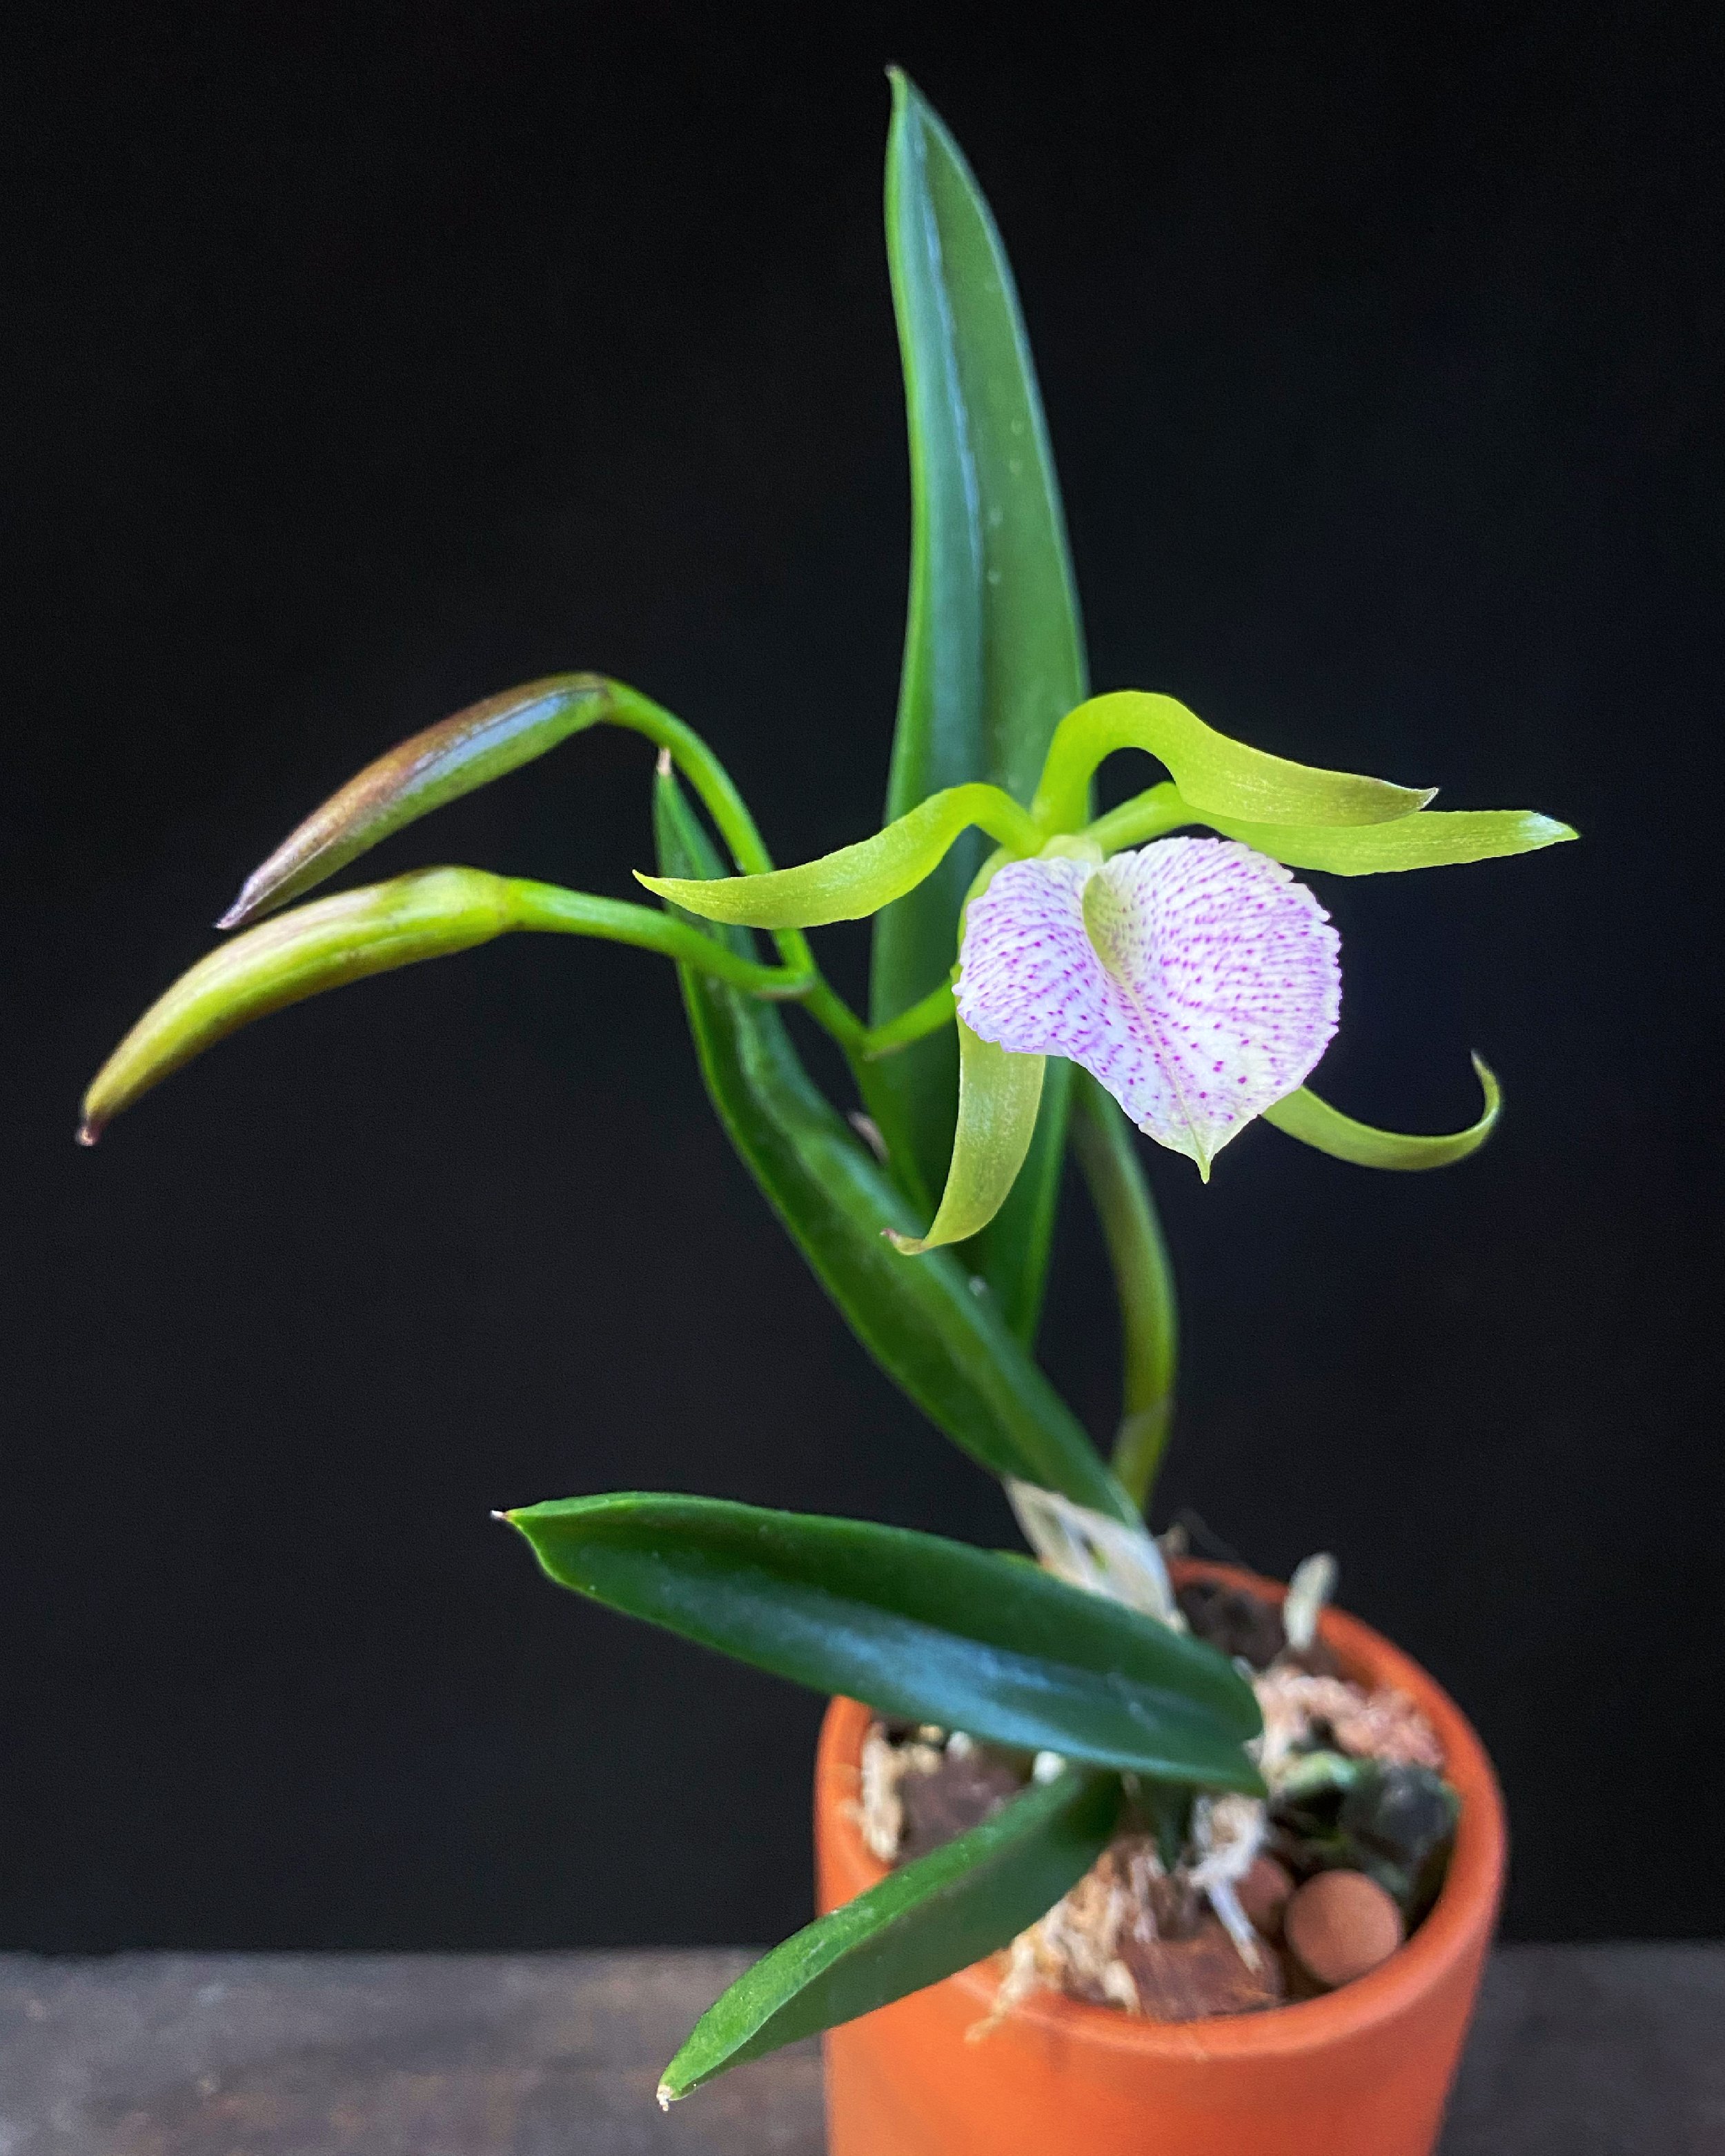
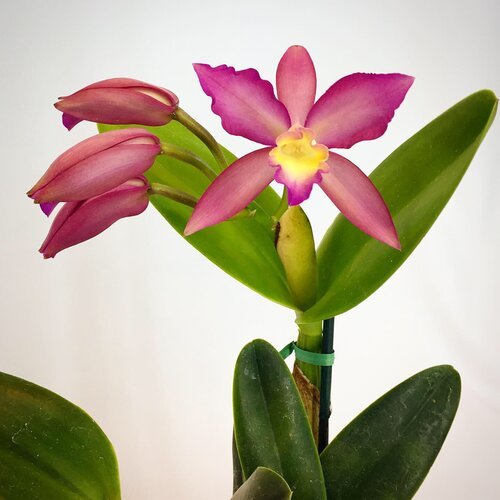
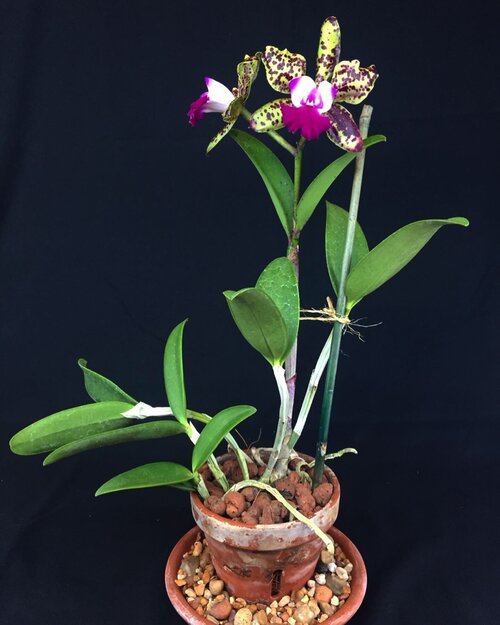
Orchids with sympodial growth have a front and a back, however. Cattleya, Cymbidium, Oncidium, Cymbidium, Miltonia, Dendrobium, and most of the orchids available for sale are sympodial. Their habit is to grow new foliage from creeping rhizomes, which are a portion of stem from which they produce roots. Most sympodial orchids have a modified stem structure called a pseudobulb, which is a thickened stem between leaf nodes, and it may be composed of just one or several internodes, known as heteroblastic and homoblastic, respectively. This serves as a storage vessel that contains nutrients and water for dry seasons. Typically, all leaves and flowers come from this structure. Heteroblastic pseudobulbs of one single internode produce leaves and flowers from the top, while homoblastic pseudobulbs may have leaves along its length and flower from nodes along the pseudobulb. The modified leaves that form a sheath for developing pseudobulbs often encircle the pseudobulb partially or completely, and become dry and papery ad the growth matures. These orchids grow new pseudobulbs from shoots that appear at the base of mature growth, and may grow one or several new leads at once while in active growth. The distance between pseudobulbs also varies, with some species forming tight, compact clumps, and others crawling along their growing surface. Because each new growth tends to grow, mature, flower, and then produce the next growth, these orchids sometimes appear to creep along a surface, as you have the newest front growth, and the older back growth, which over time sheds its leaves, and eventually withers. These older pseudobulbs are called backbulbs, and by separating these from a plant, a grower can propagate new plants as the older pseudobulbs still have dormant buds which may activate and begin new growth.
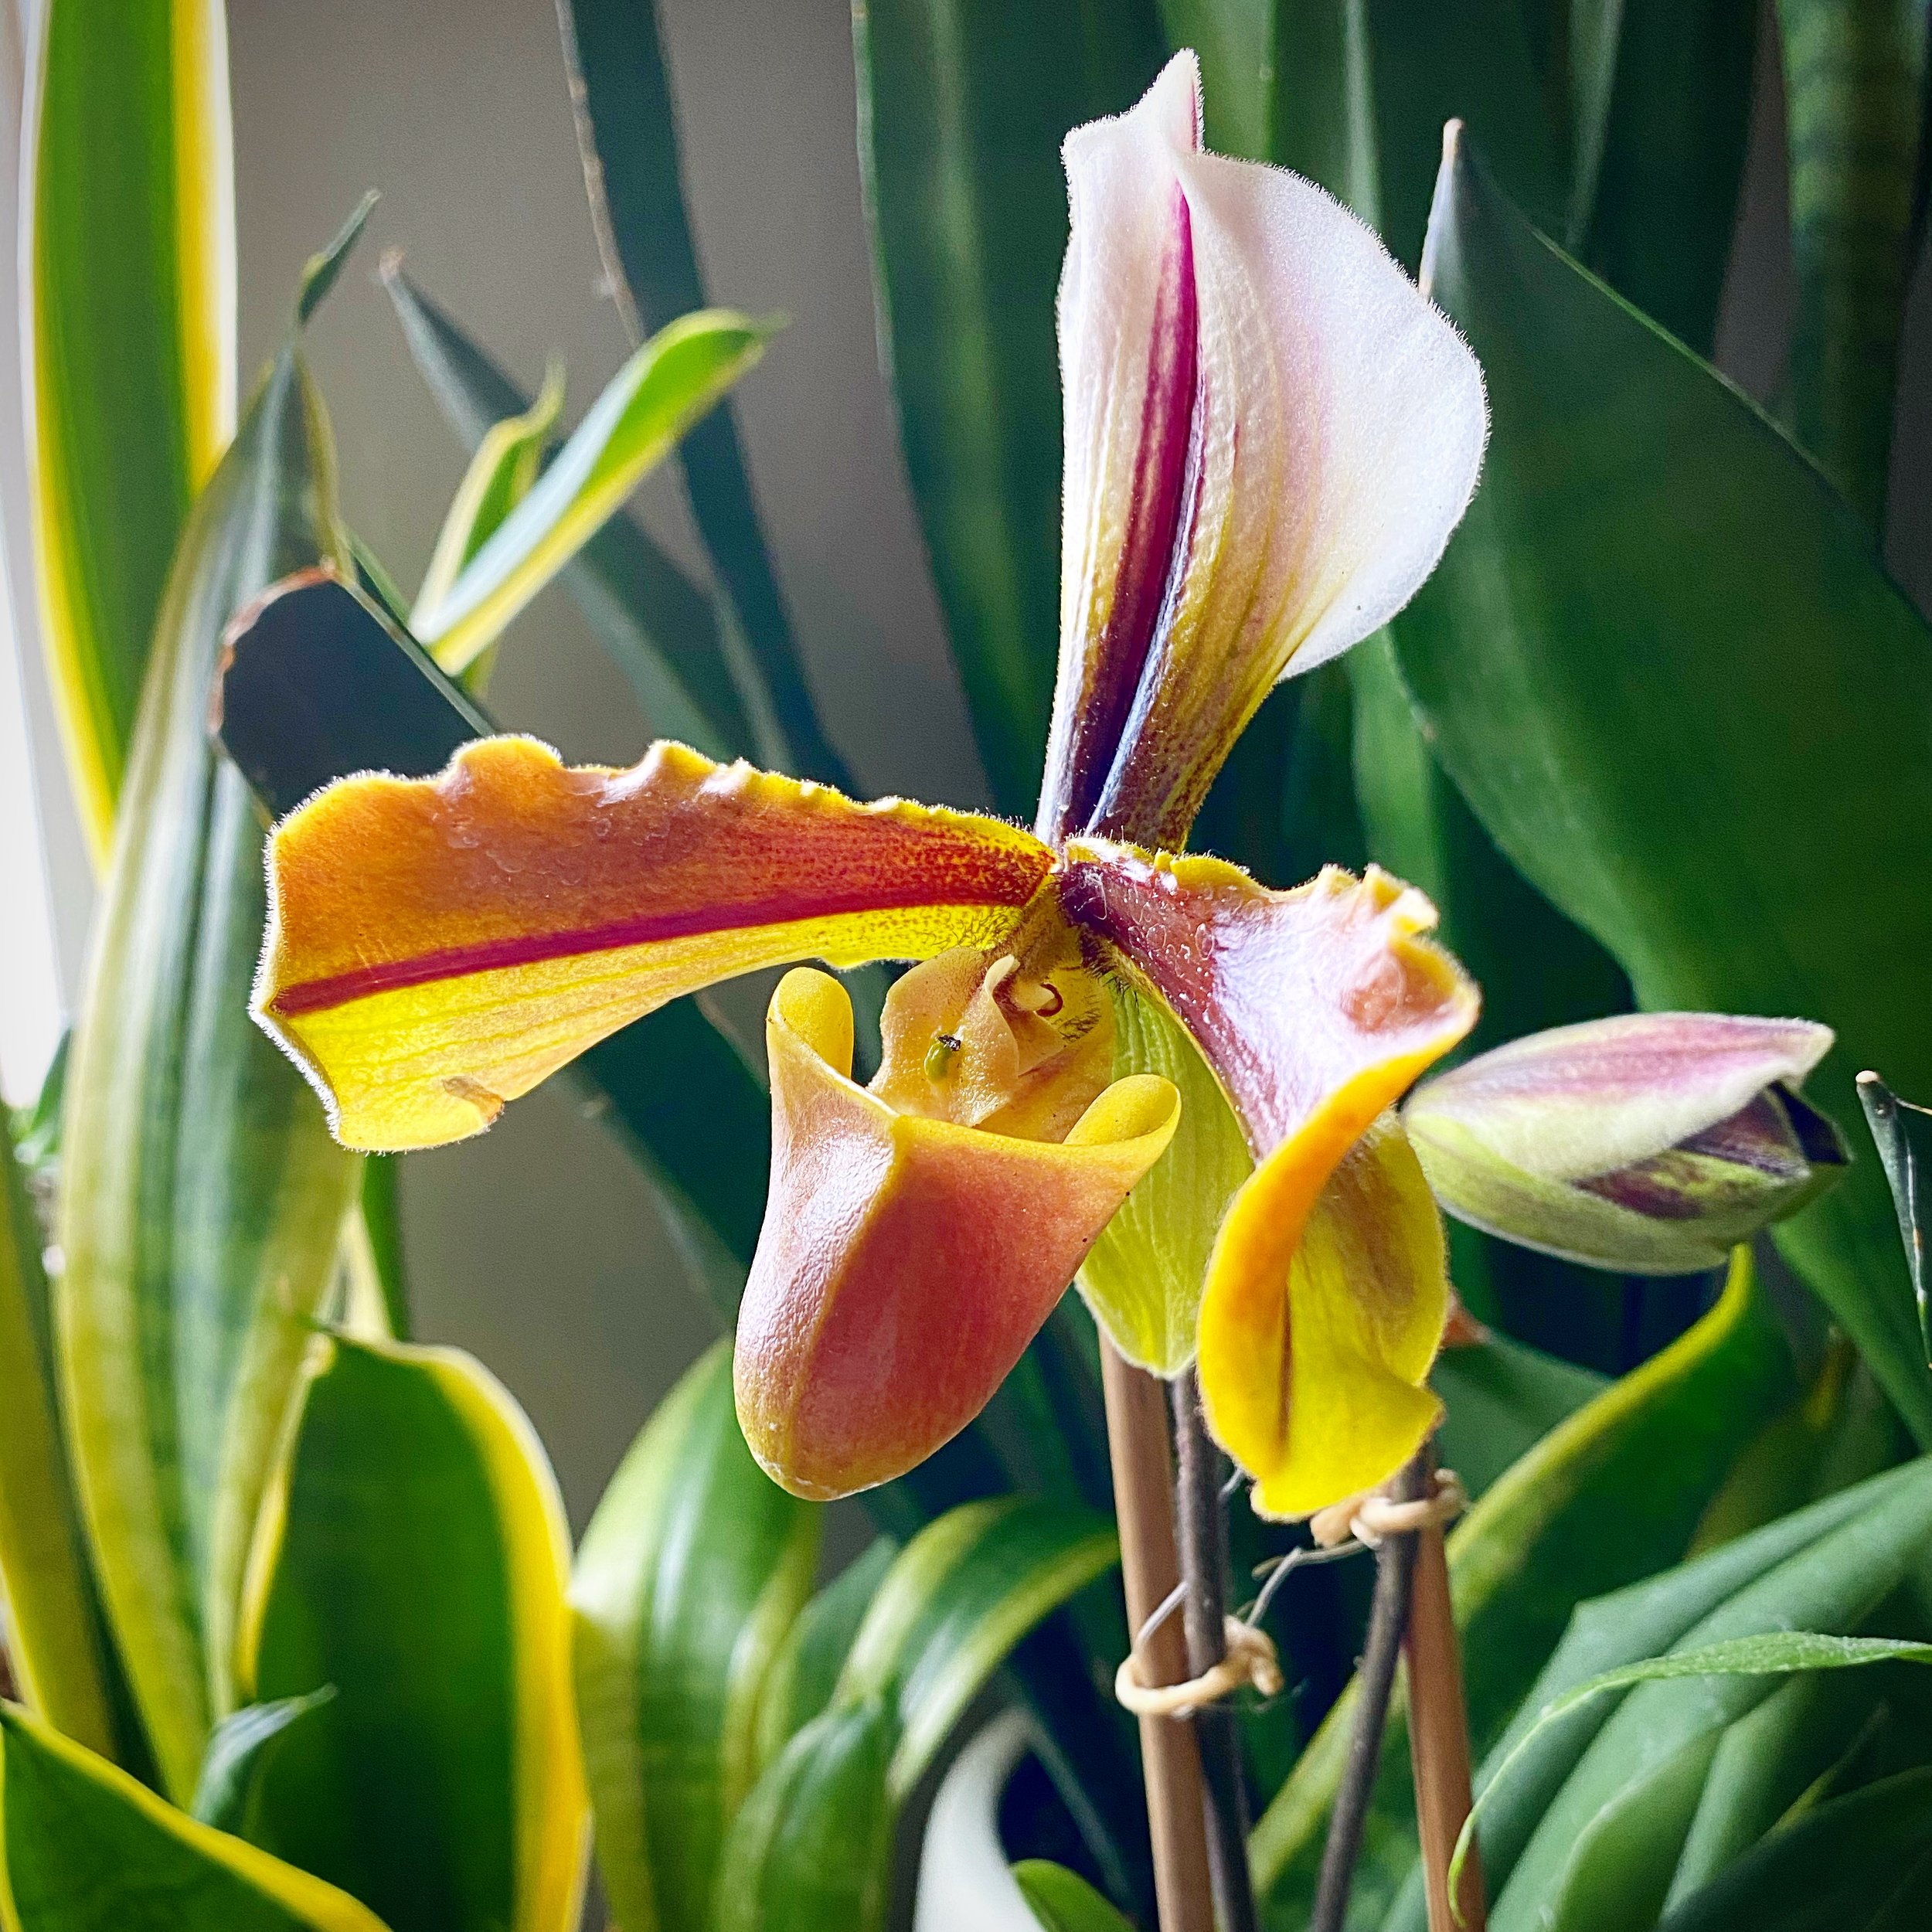
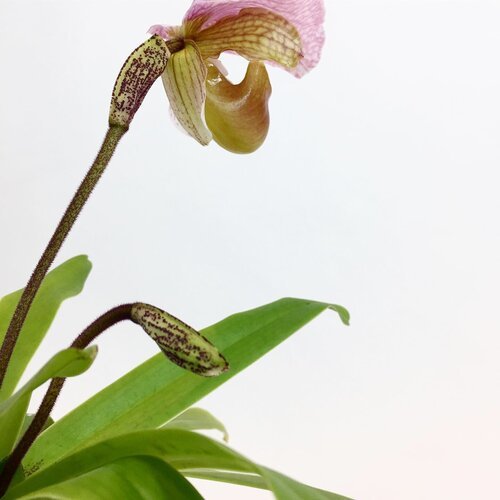
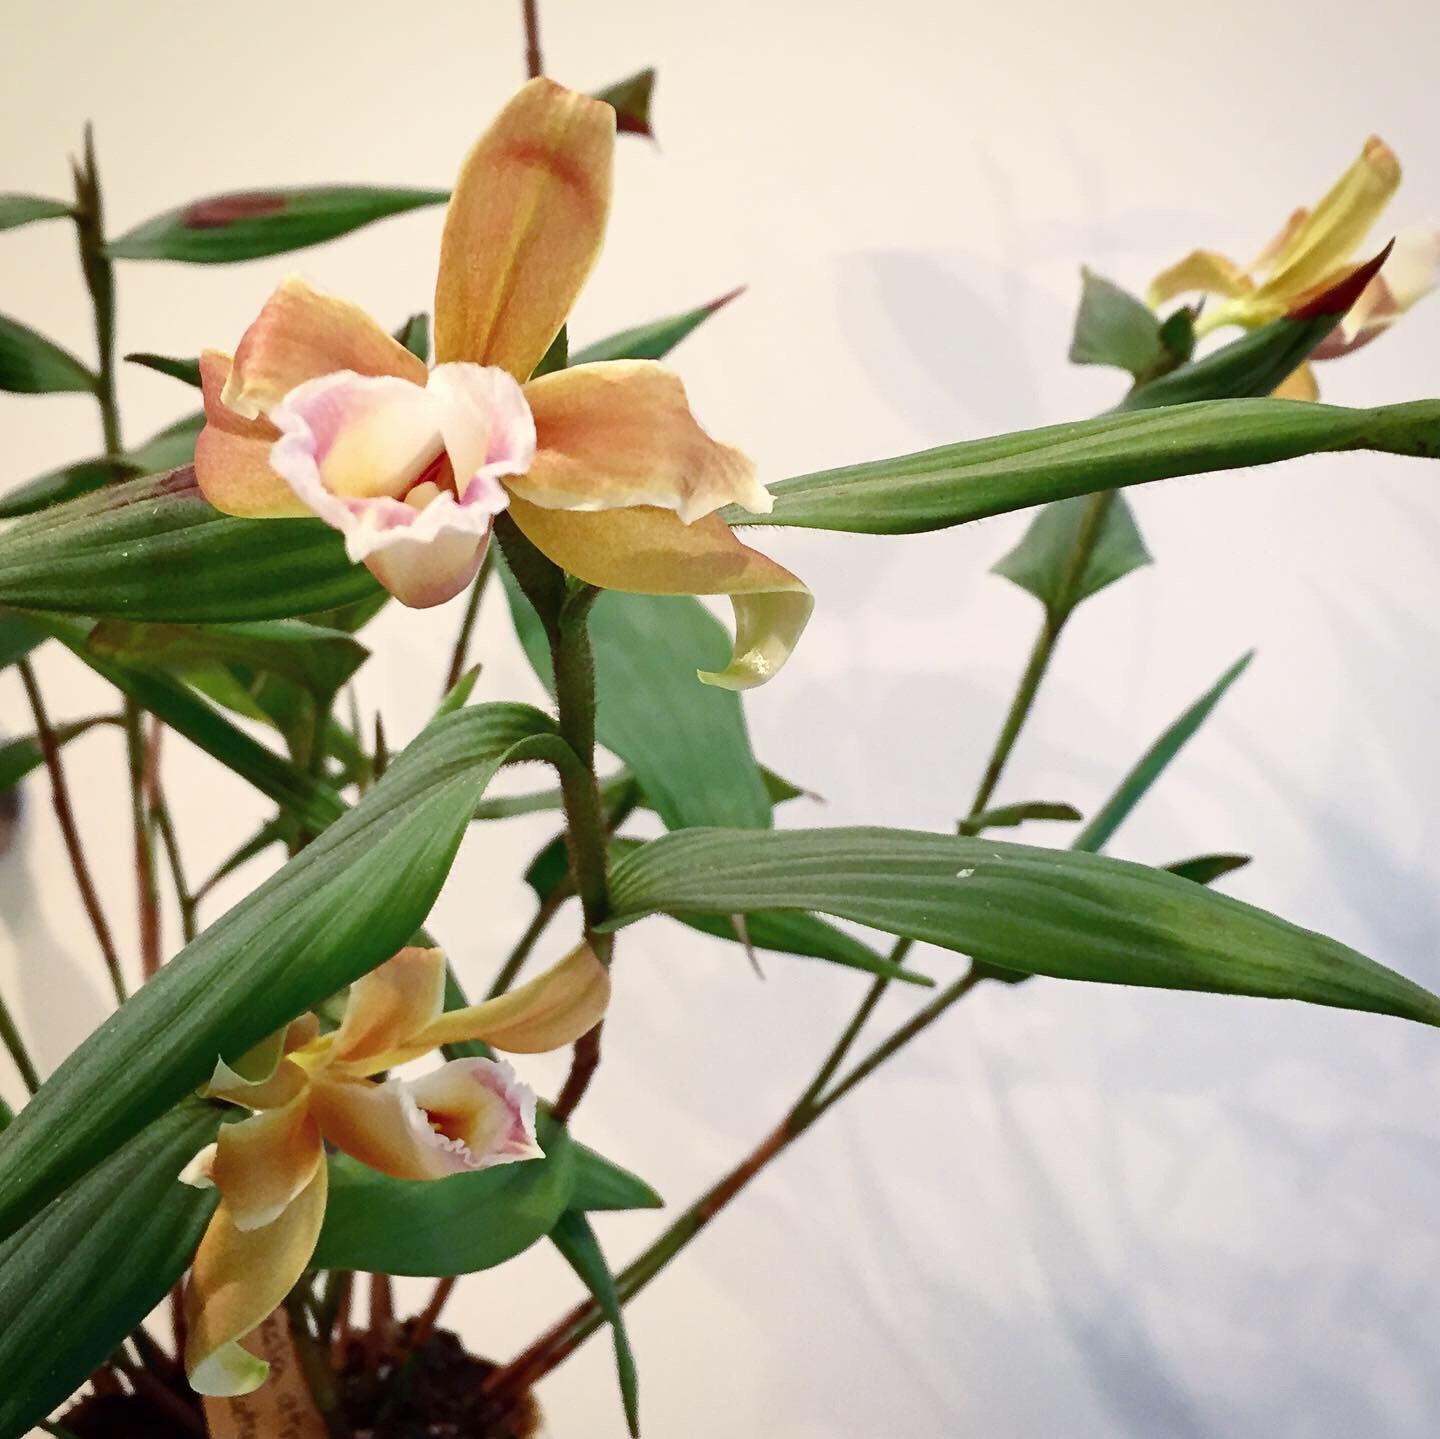
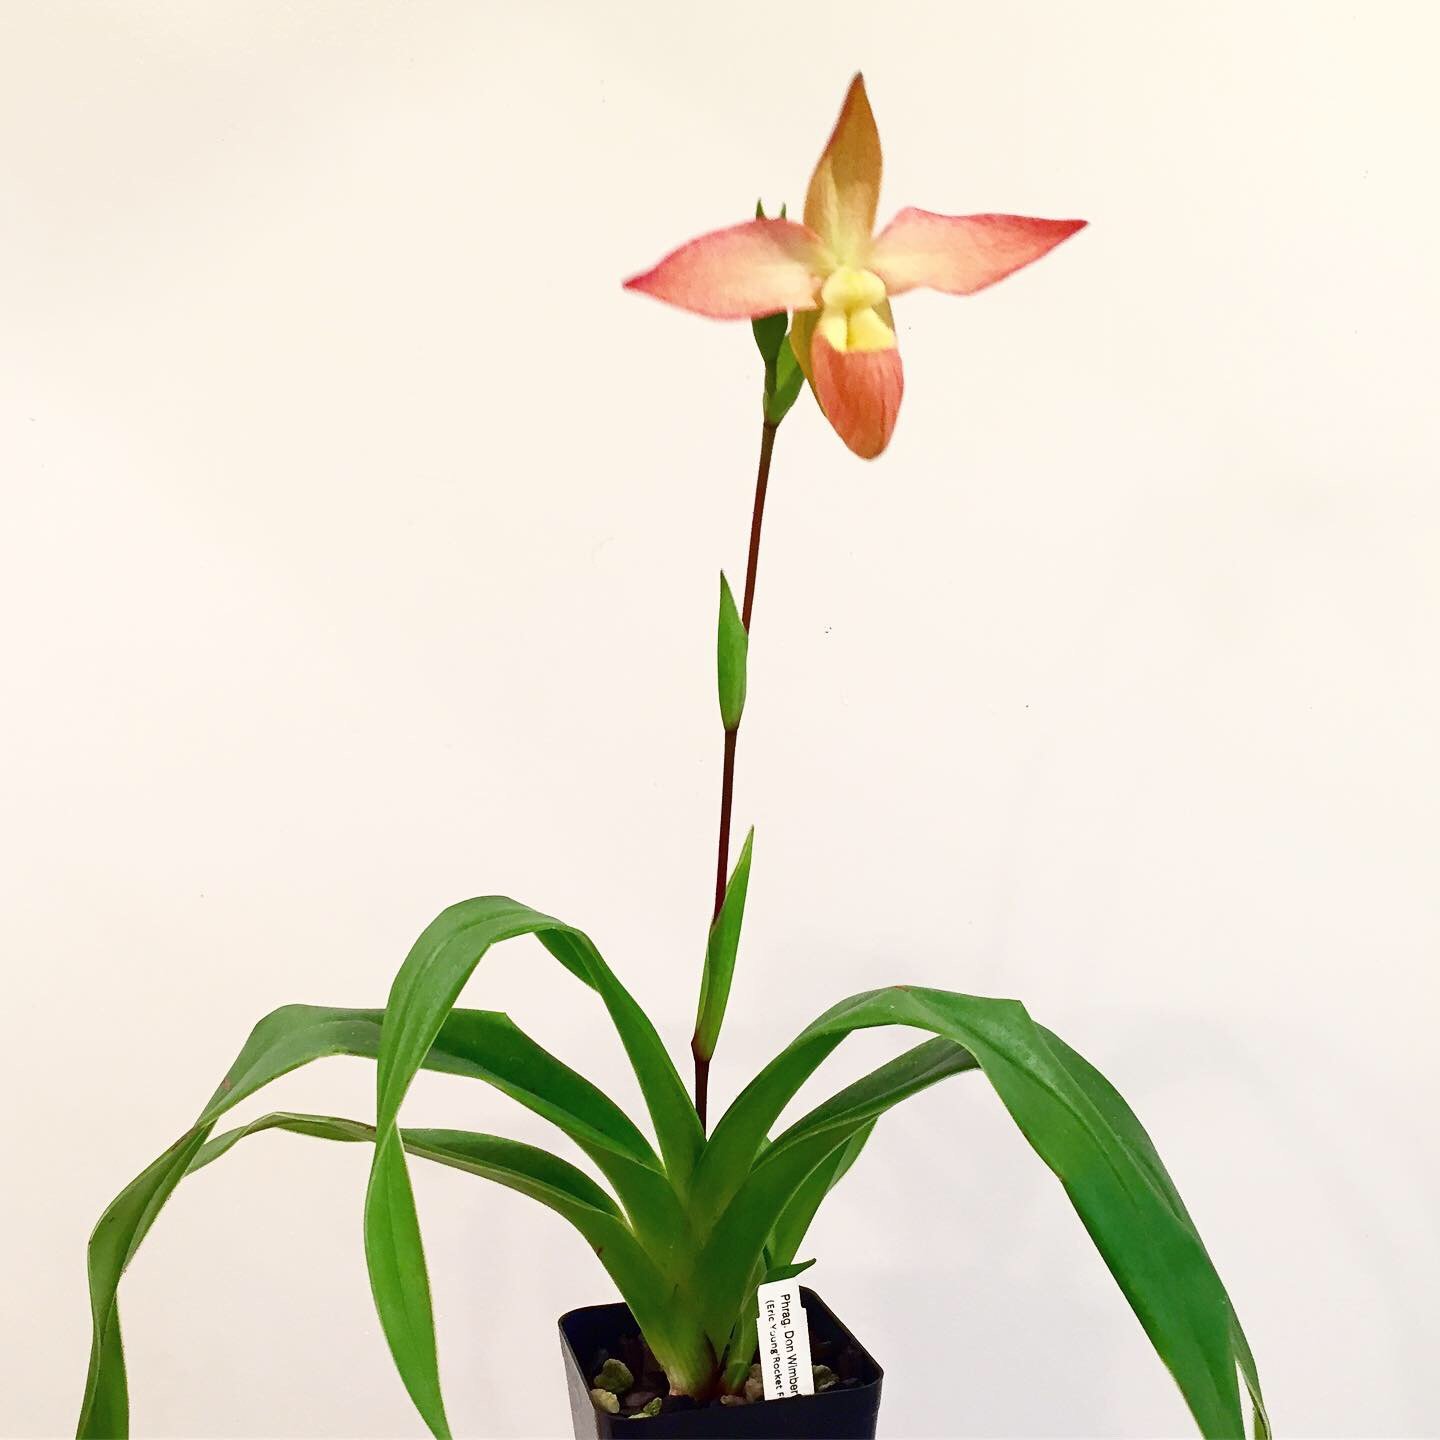
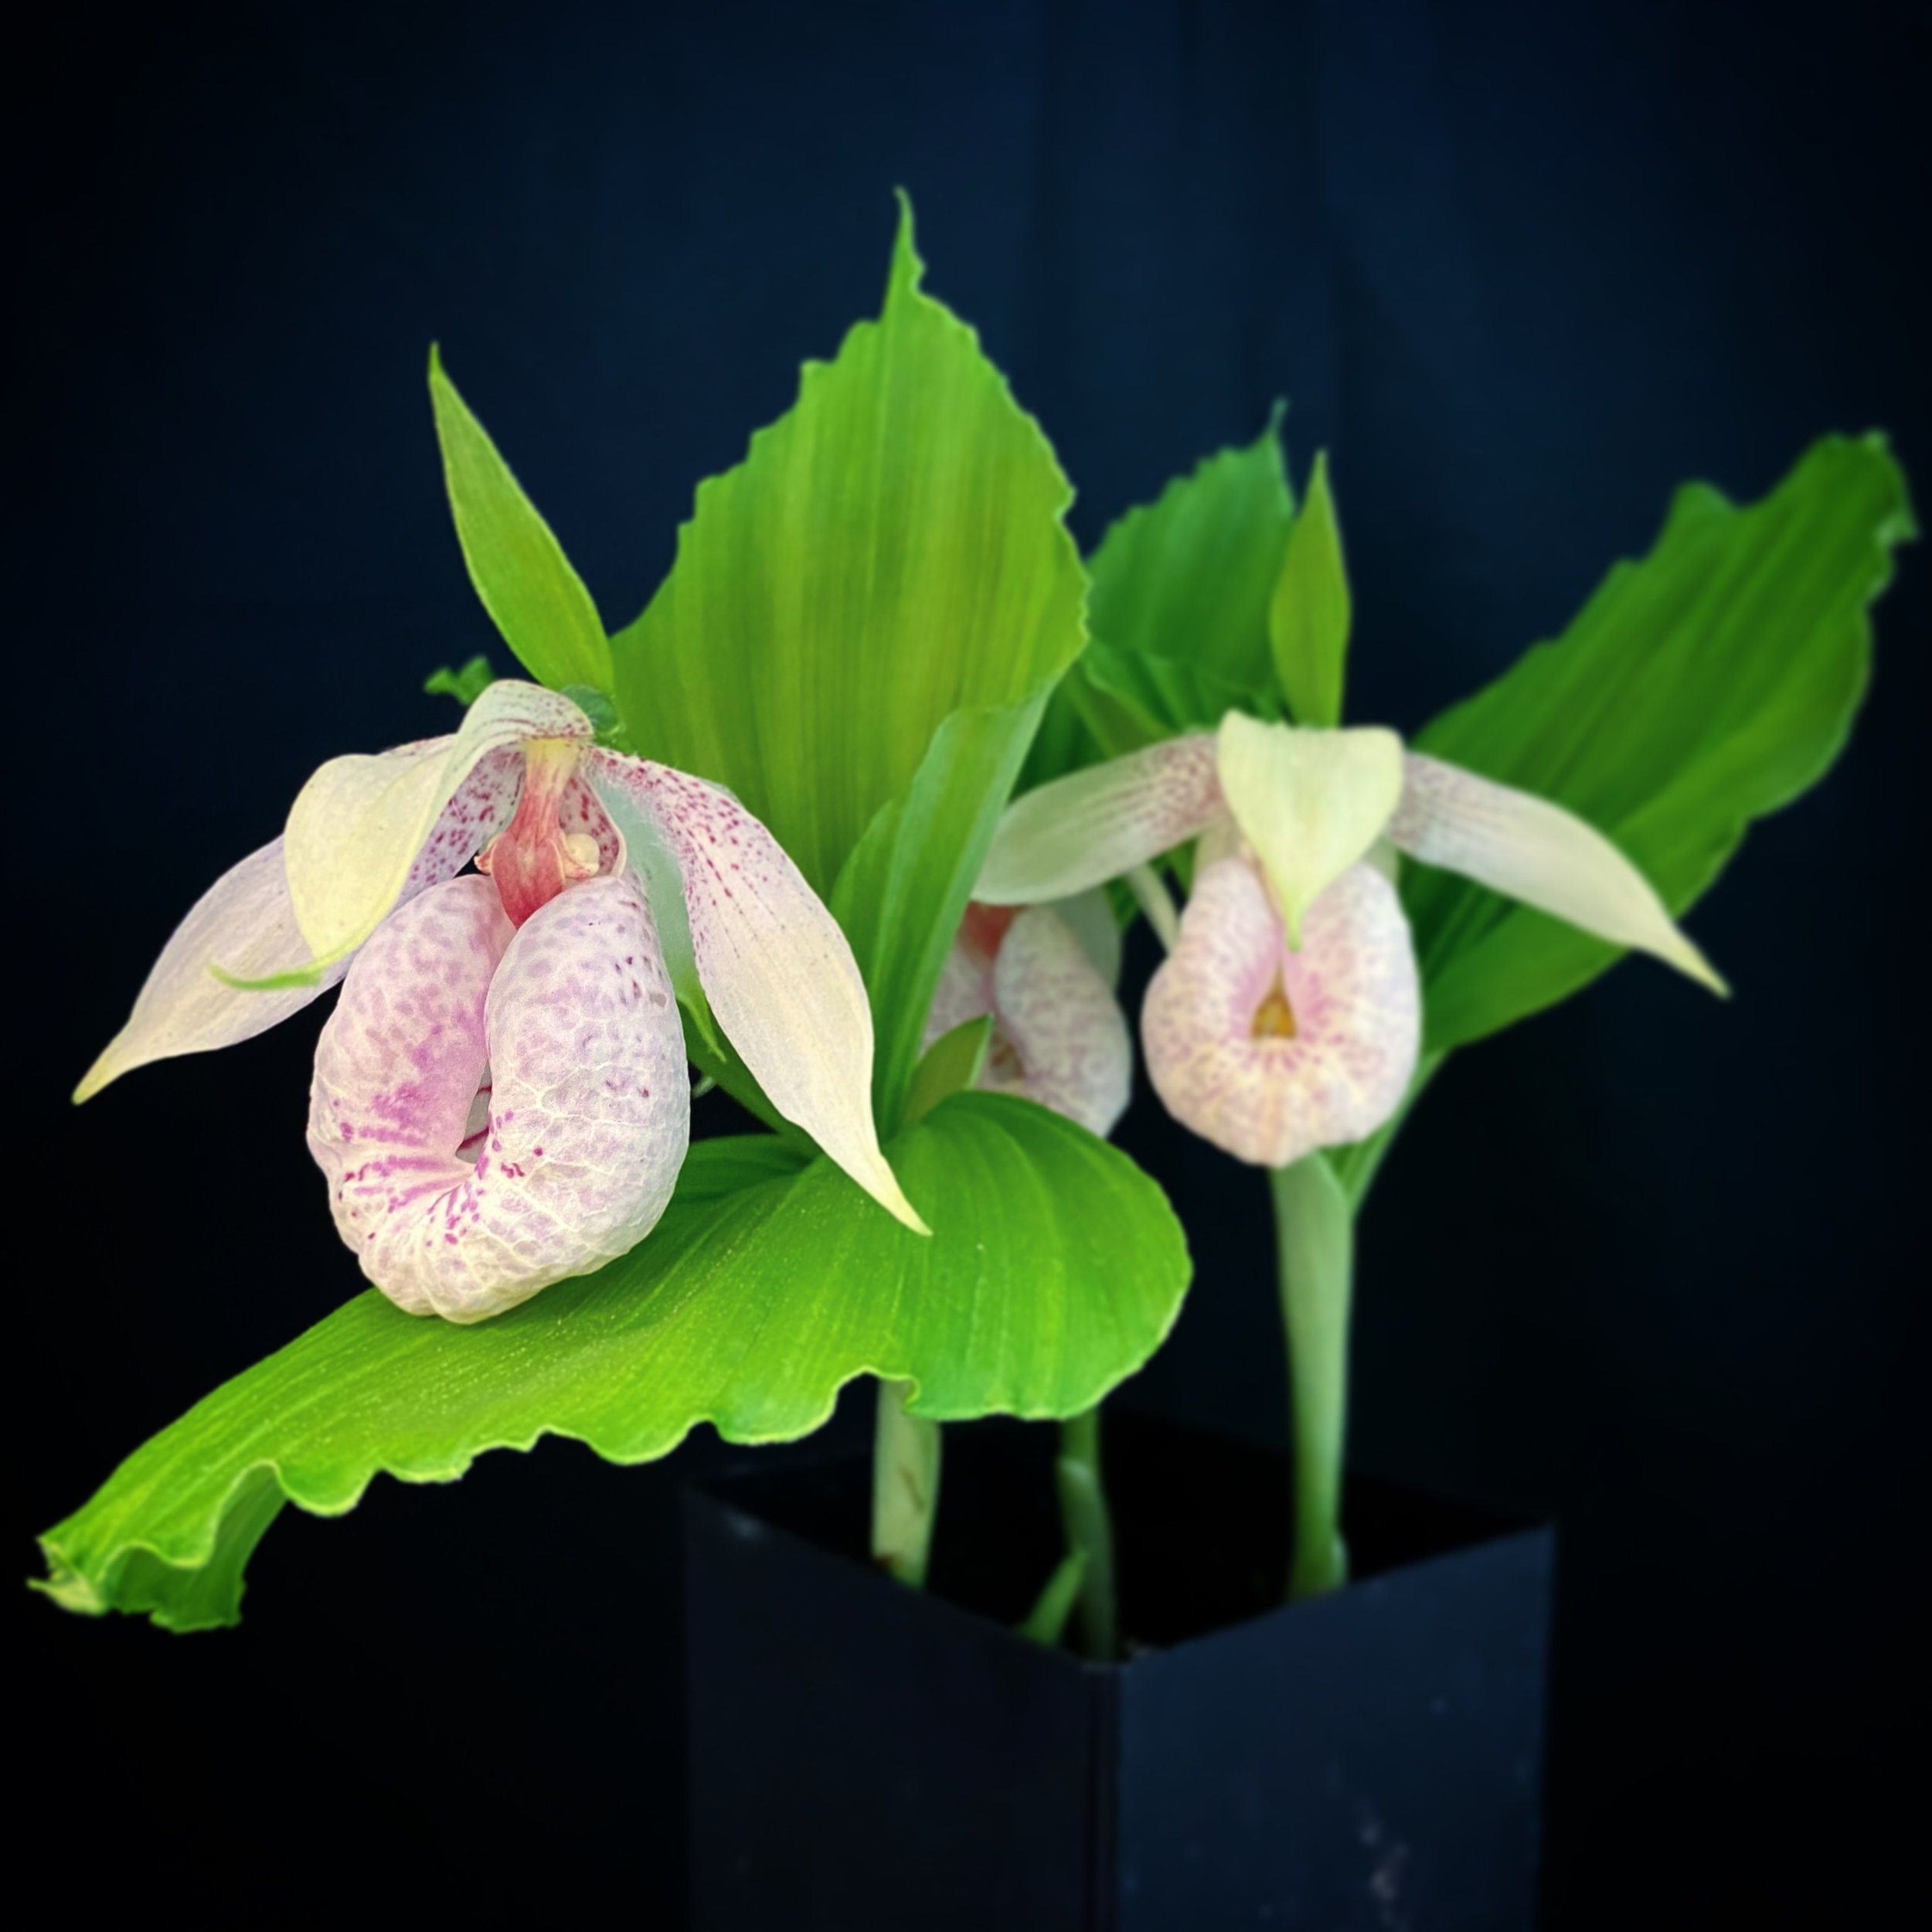
Many sympodial orchids have a cycle of active growth, and then a rest period. Blooming may occur before or after the rest period, depending on the plant, and understanding these cycles is crucial for a happy plant that reblooms in your care. Some sympodial orchids may not have a pseudobulb, like the slipper orchids, Paphiopedilum, which have a growth pattern superficially similar to a monopedial plant like Phalaenopsis. Growing in warm and consistently moist environments, they have no need for a storage structure, so their stem is very short and completely hidden with several leaves held in a fan-shape. Each growth will grow to maturity, and bloom if you are lucky, and then produce new growth from the side, forming large clumps over time. Others, like Sobralia and Epidendrum, grow reed-like stems that might be considered homoblastic, but without a swollen appearance, they are not generally recognized as having traditional pseudobulbs.
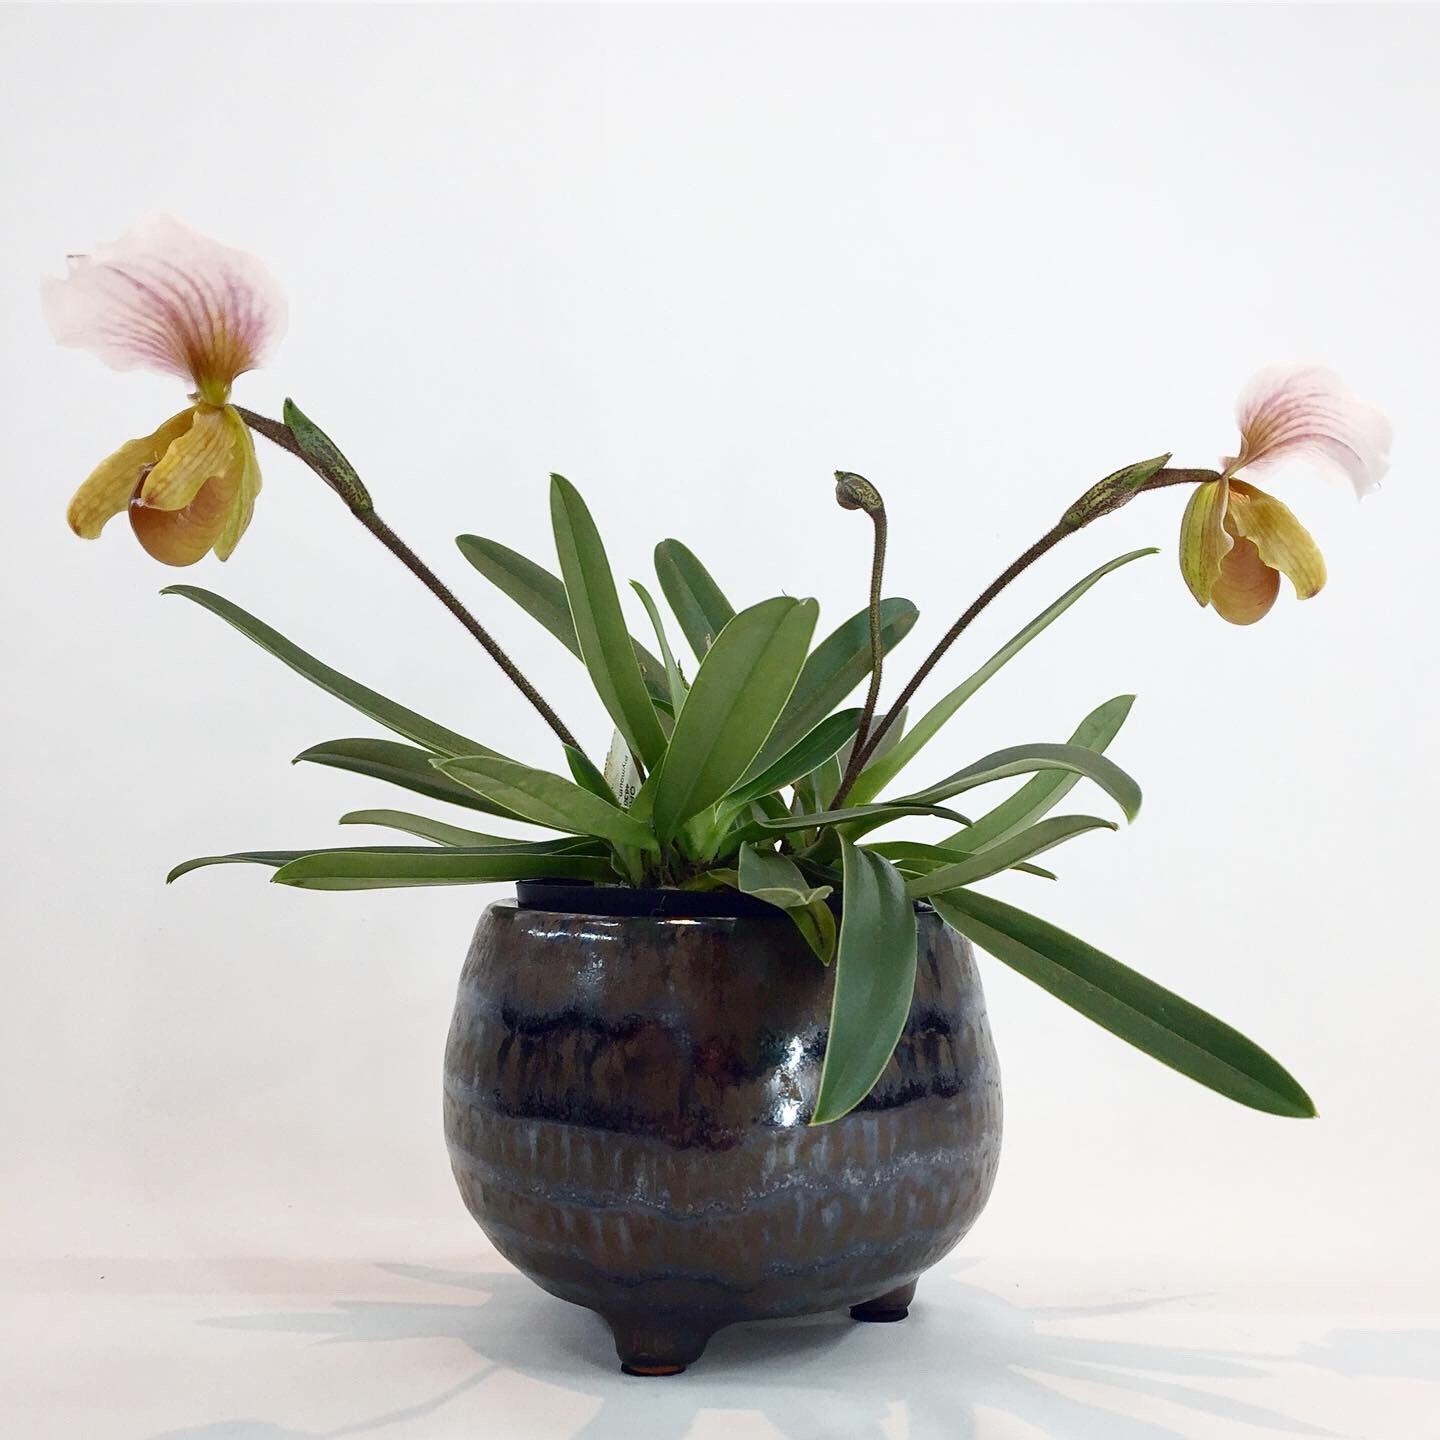
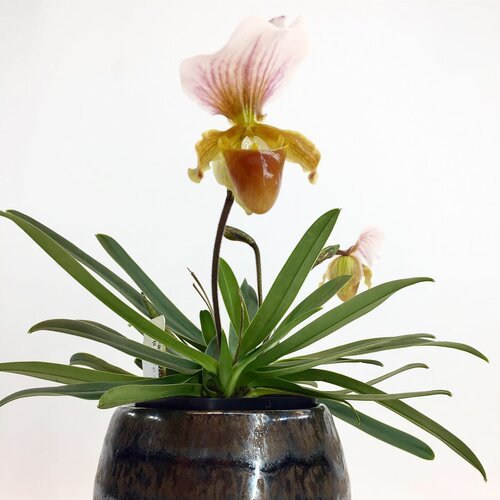

Regardless of growth pattern, orchids inhabit their environment in many different ways. Some are terrestrial, growing in the ground in soil like most plants, or in the rich forest detritus of their native homes, like the Paphiopedilum, but the most well-known orchids are almost all epiphytic. Not to be confused with a parasite, an epiphyte is a plant that grows on another, usually a tree, without harming the host. In a tropical rainforest, there is such a high level of competition for resources that orchids have joined many other epiphytes among the branches of trees as a means of accessing better light, air movement, positions for seed dispersal, and make use of space unsuitable for other plants. Some are primarily found growing on rocks, and are called lithophytes, while others grow opportunistically as either an epiphyte or a lithophyte. Many non-orchid tropical foliage plants also grow naturally as epiphytes, and we will have an episode where we talk more about them and this growth habit, because their adaptation for growing among forest canopies create certain challenges for home gardeners interested in ferns, Bromeliads, Anthuriums, Philodendrons, and many more.

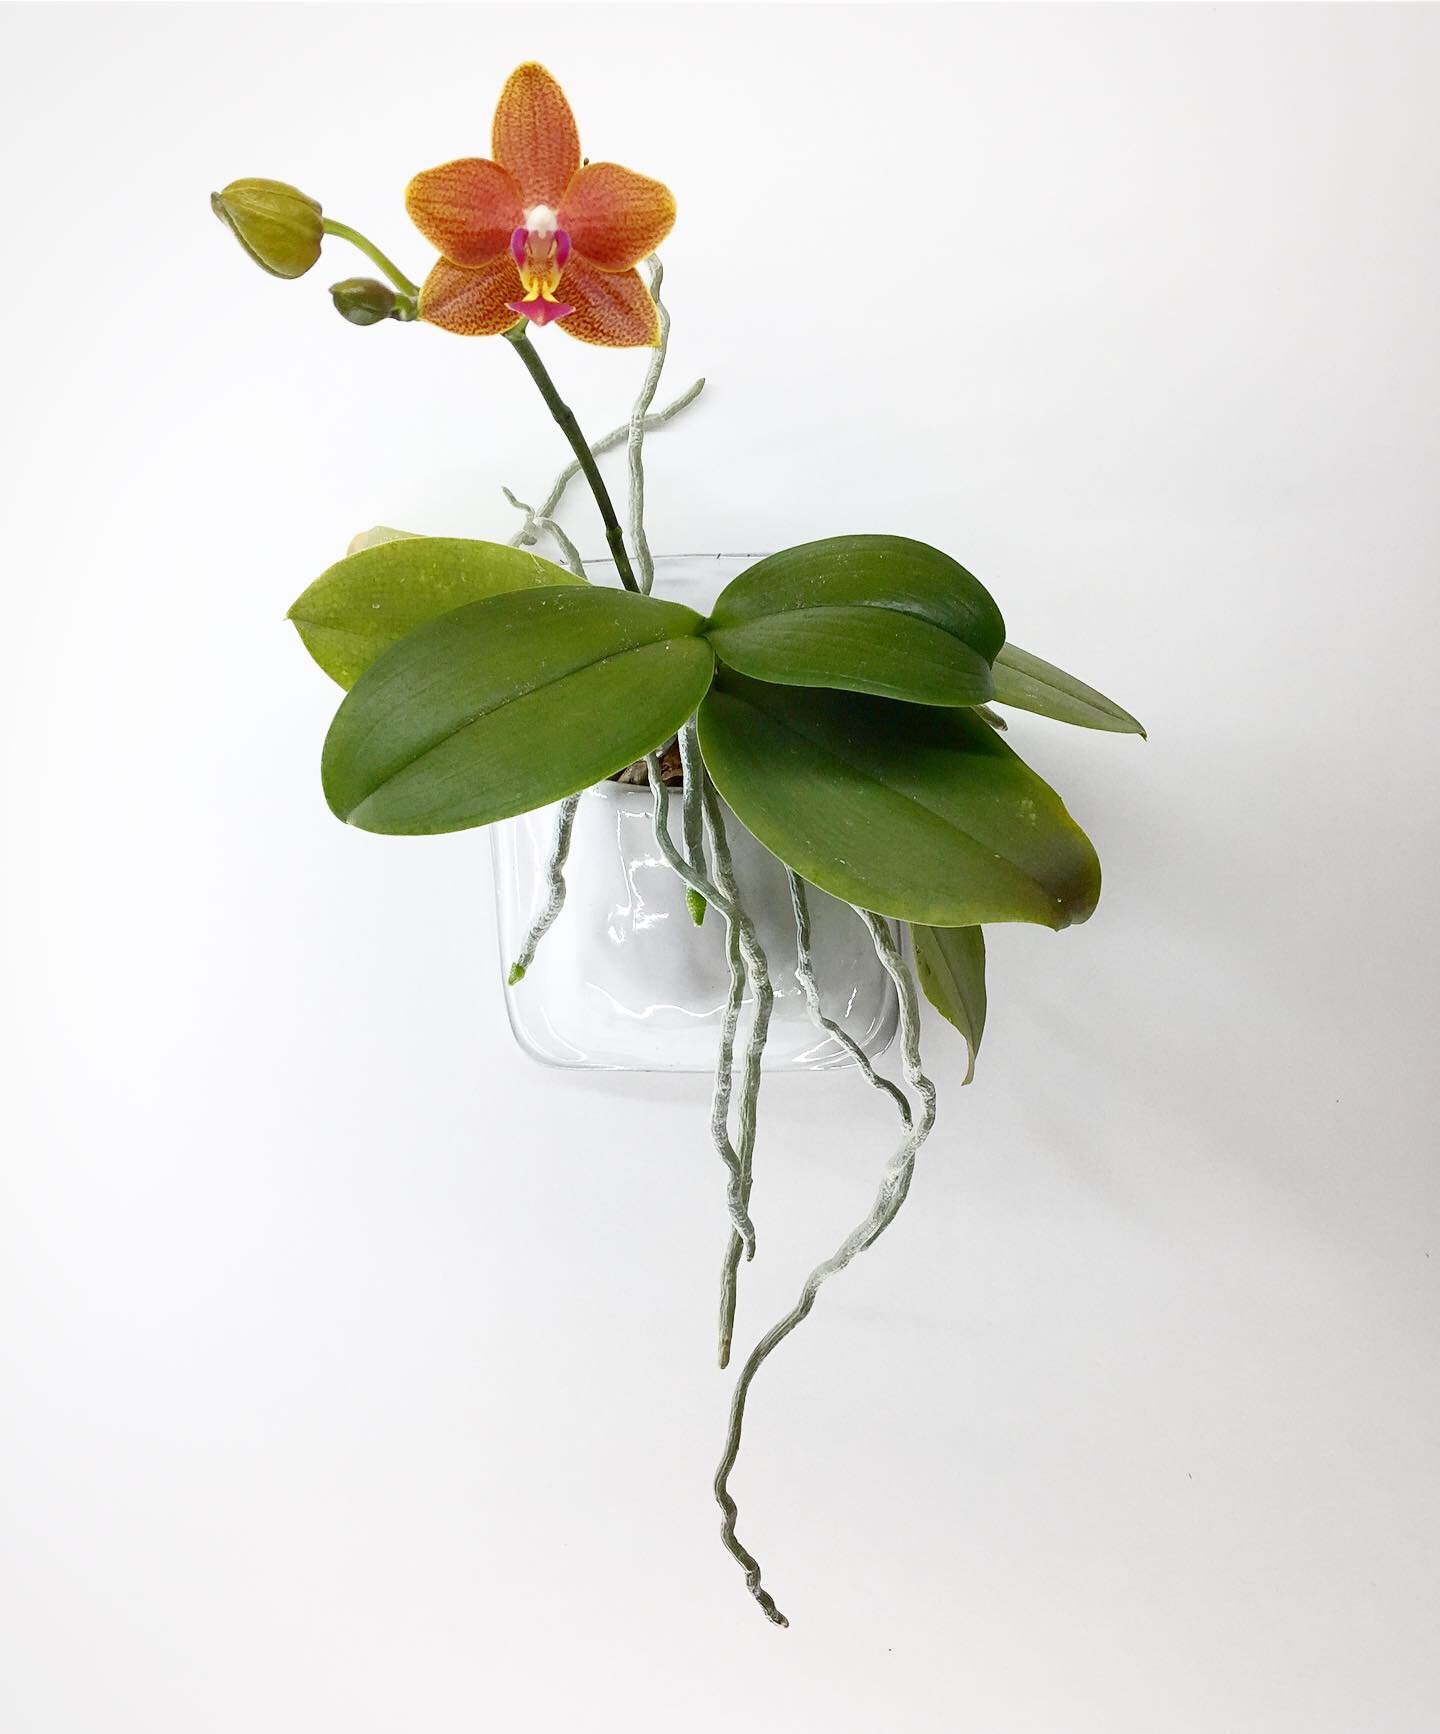
Growing as an epiphyte or lithophyte means that roots take on a different form and function. For the typical terrestrial plant, roots are a means of anchoring itself into the ground, draw nutrients and water, and sometimes spread to form colonies, and while terrestrial plants have many mechanisms for tolerating dryness or wetness, epiphytes start to get picky. Their roots also take up nutrients and water, but one of their key responsibilities is to anchor the plant securely to its site. Many orchids have comparatively few roots, and they are often thick, fleshy, and brittle. They may also grow aerial roots in order to extract humidity from the air, serving no supportive function. A few species colloquially referred to as trash bin orchids (Ansellia africana, and the Grammatophyllum genus) even strategically grow white, needle-like aerial roots pointed upright to form a sort of basket around the pseudobulbs that serves to collect leaves and detritus that then breaks down to mulch and fertilize the plant. The non-aerial roots have a very different appearance, being robust and cord-like to sufficiently support the plants, which may become so large that birds may nest in them. Orchid roots are essentially a core covered in spongy tissue called velamen, which helps the plant absorb atmospheric moisture. When dry, many orchid roots are white, silvery, grey, or brown, but when they become wet, they darken, as water is absorbed.
Terrestrial orchids often have corms, tubers, or other underground structures to help the plant deal with seasonal heat, cold, dryness, or other stresses in the way pseudobulbs support epiphytic orchids, but all orchids are fairly picky about the amount of moisture and air around their root systems. Imagine where a Phalaenopsis grows. Hailing from tropical Southeast Asia, they grow low in the forest canopy with fairly consistent low light, high moisture, and warm temperatures. Their roots are completely exposed to the elements, meaning that they might get rainwater multiple times a day, but with open moving air around them to facilitate rapid drying. They usually grow hanging with their growth point angled so as to not collect water, which can quickly cause rot. In a monopedial orchid, damaging the growing point is usually fatal to the orchid, as it does not have a store of dormant buds waiting at the base of its pseudobulb to activate as needed. When we grow these indoors, it’s almost never hanging upside down from a branch, getting watered several times a day with high atmospheric humidity. We put them in pots, root-side down, meaning that they are now at risk of water collecting in the growth tip, and having their roots suffocate. Additionally, most homes are far drier than a tropical jungle, and there is a big difference between the light levels wanted by low-light plants and our human-specific perceived brightness of a room. So how do we succeed with these plants?
Conveniently, Phalaenopsis are fairly hardy and adaptable, able to tolerate low humidity, and survive getting too dry without much damage, but after the blooms fade, it’s just a plant with large floppy leaves that look like beaver tails. Since the flowers are the reason to grow most orchids, we want them to thrive well-enough to rebloom, and rebloom reliably, rather than just clinging pitifully to existence. The key factors in getting a Phalaenopsis to rebloom come down to a healthy root system, sufficient water, and sufficient light, but it helps to start out with a healthy plant.

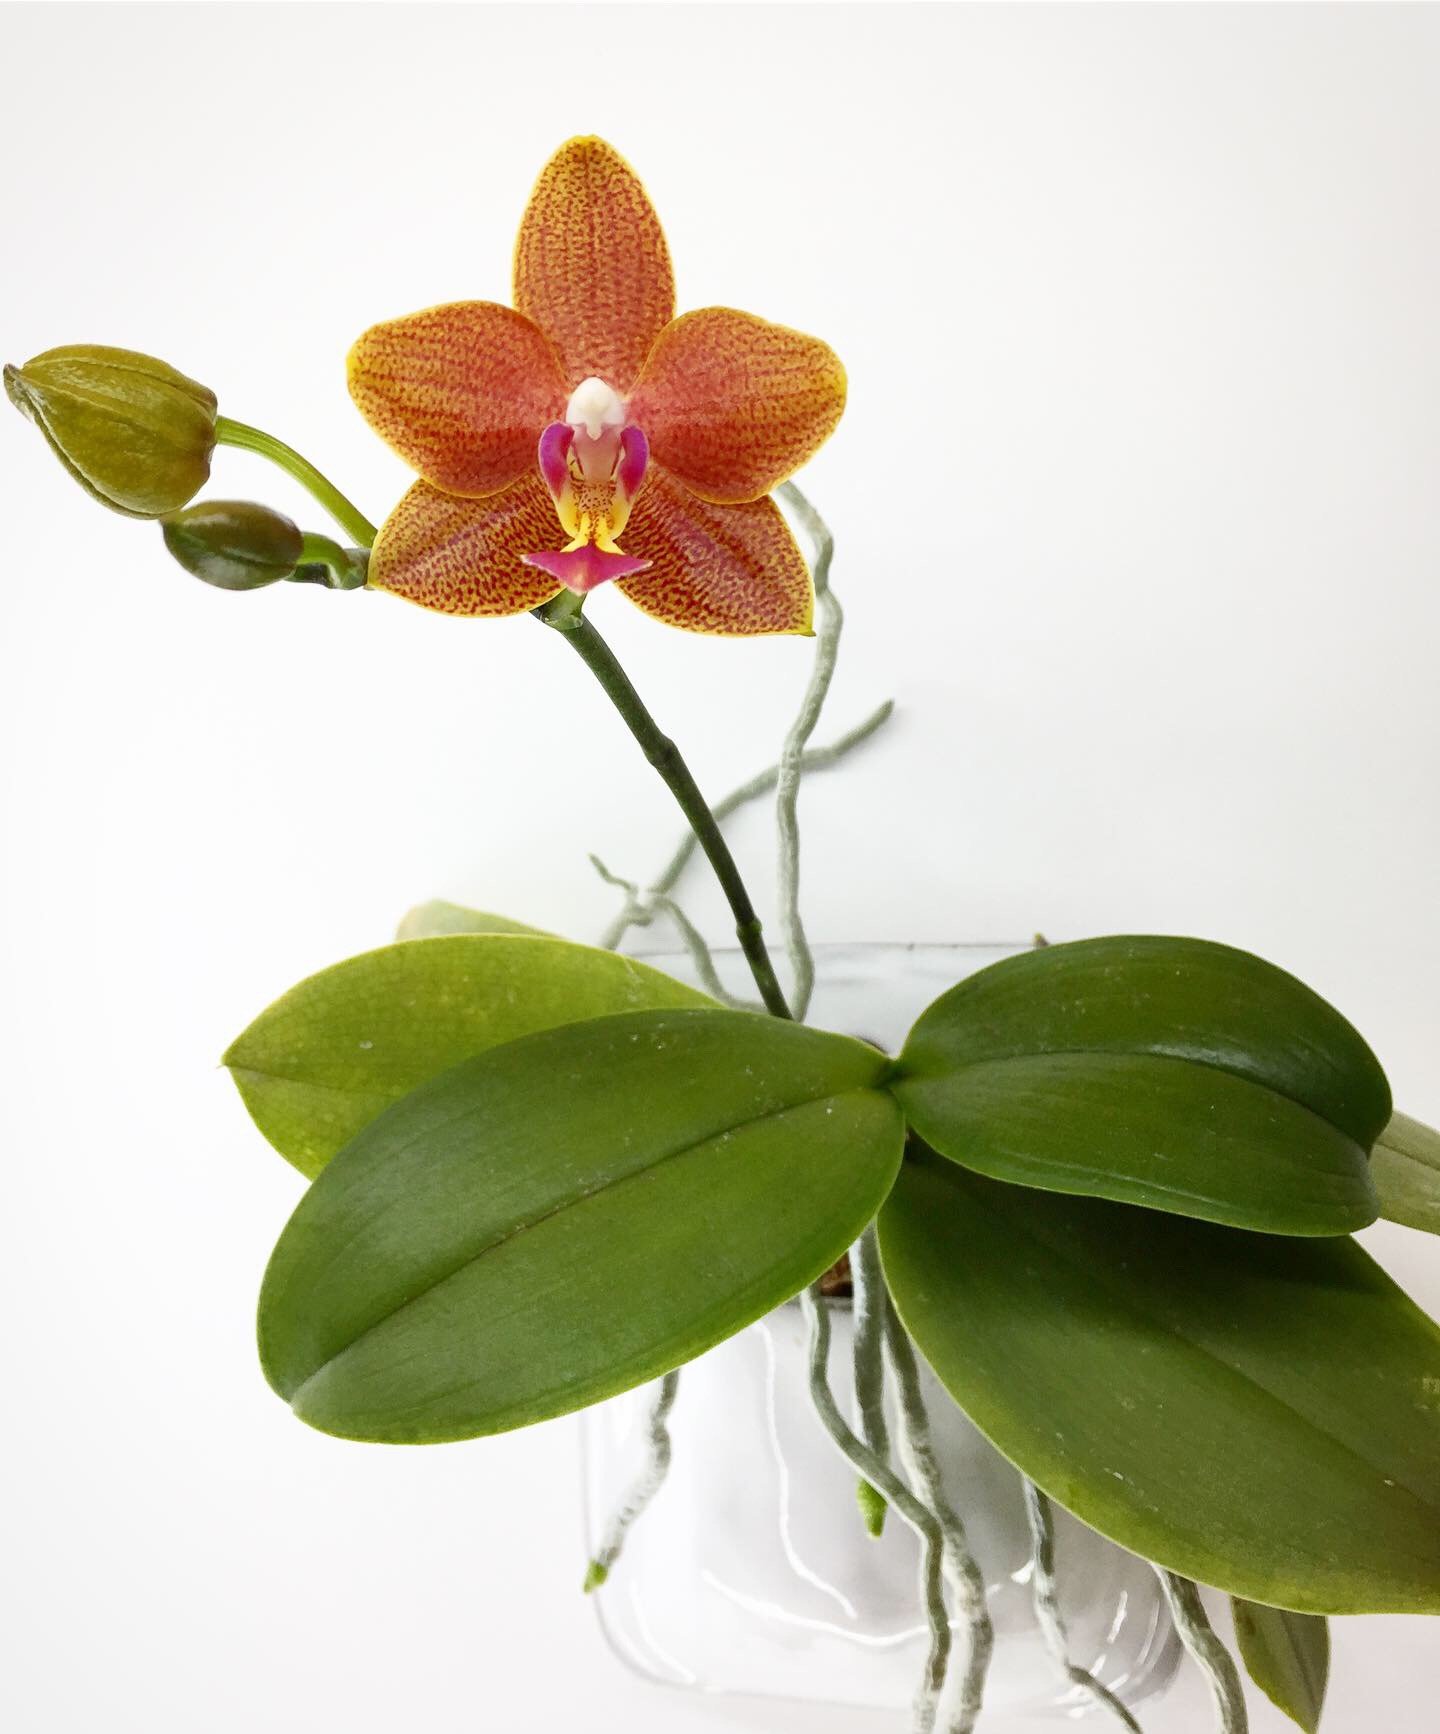
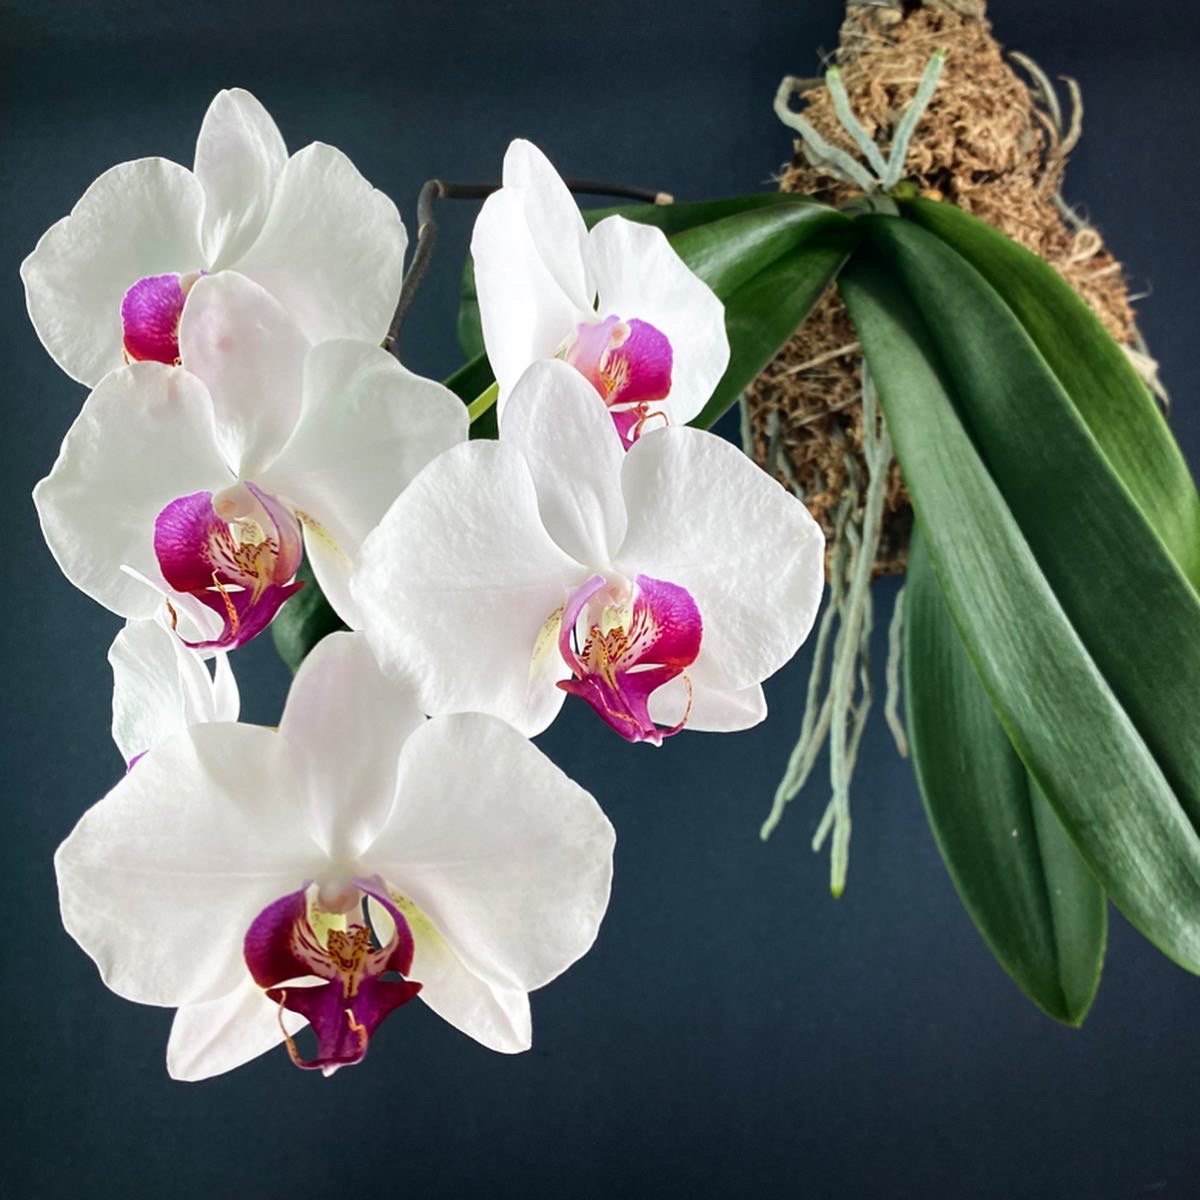
The first thing to do when picking out an orchid is to buy one with healthy, bright green, unblemished leaves.
The crown should look firm and plump, with no signs of dark blotches or yellowing that could indicate rot. Roots that are visible should be plump and thick, silvery grey to white, with green tips for active growth. I always look for a plant with about half the flowers open, as this will give immediate impact, and ensure that I have a long time before the last flower fades. The first thing I do when I bring it home is inspect the roots and planting medium, and water if the plant is dry. I water them in the sink, flooding their pot several times, but always letting all of the excess drain away so as to avoid the roots ever sitting in water. While the orchid is blooming, just sit back and enjoy her. She doesn’t want to be bothered while she’s blooming - to do so may cause her to abort flower buds, an exasperating phenomenon known as Bud Blast. Before they open, buds may yellow, wither, and dessicate, and fall off before they open. Reasons for this include low humidity, letting the plant dry too much, keeping the plant too wet, putting it in a drafty spot, getting too cold or too hot, too much sun, or too little sun. So the best thing to do is to pick a bright spot near a window without any direct sunlight, and keep the Phalaenopsis watered often enough to never fully dry. The flowers should last at least a month, and with a well-branched flower spike, you can have them in bloom for several months.
Eventually though, all good things come to an end, and when the last flowers fade, it is time to repot your plant.
First, clip the flower spike back to the last node before a flower, as this spike might activate another node and continue to bloom from the same stalk. Next, unpot the orchid carefully. The roots are designed to cling to a surface, so it can be easier to unpot, and damage less of the root system if you water it thoroughly an hour before you begin. Gently tease the roots apart. Often, they will circle the inside of the pot, and may be growing through drainage holes, so this can be a little challenging, but take your time, and don’t be afraid to trim any roots that are inhibiting the plant from releasing the plant from the pot. I usually swish the rootball in a large bowl of water or in the sink once it is free from the pot in order to loosen the substrate and roots. Working gently, start with the obviously loose roots, uncoil them and inspect for brown, squishy rotted roots, broken or desiccated roots, or any that are particularly long. The objective is to remove all of the previous potting substrate, remove all the dead roots, and trim back broken and overly long roots to encourage new growth. Basically, any healthy root I would need to coil inside the pot will get trimmed back, so that when you are done, you should have a clean, tidy orchid ready to establish in its new home.
Most people pot their Phalaenopsis, but that’s not your only option.
Some people grow them in vases of water, like hydroponics, and swear they have outstanding success. I have not tried this more than a couple of times, and those times were failures. Another method is to mount your plant, so that it grows in an epiphytic fashion. So, knowing that this is how these plants grow in the wild, why are Phalaenopsis grown in pots, given the unnatural way it forces the plant to grow, and the risk of problems associated with rot of the roots and growing tip? For one, it is easier to grow plants tidily in pots since they are contained and we can move them around easily. But just because plants grow a way in nature does not mean that they won’t grow in other manners as well. The key comes down to understanding what they need, and still provide it on a windowsill, in different ways than their native habitat.
Root health is promoted by regular access to water and air.
Phalaenopsis don’t like to dry for long, but won’t thrive if they can’t breathe. A mounted orchid inside a typical apartment will not stay wet for long. That rapid drying is great, but unless it is watered daily or more often, it will likely dehydrate in the long term, stunting new roots, leaves, and flowers. We use pots as a means of creating a humid, moist microclimate for the root system instead. To keep air access to the roots, we use a coarse fir bark that doesn’t pack down tightly. It absorbs water, but doesn’t tend to remain soggy for long. The roots can freely and easily stretch out and remain healthy, especially if you use a special orchid pot with drainage holes on the sides as well as the bottom.
I tend to keep my orchids on the drier side, out of concern for root rot, but for a plant like a Phalanenopsis, this often means it gets too dry too often, so there are some tricks to adapting your process to your habits. Since we know that Phalaenopsis don’t want to get dry too often, you could use a plastic or glazed clay pot, which does not absorb and disperse moisture the way unglazed clay does, keeping the roots wetter longer, which is ideal if you tend to water insufficiently. Conversely, you would want to steer clear of an orchid pot with side drainage if you anticipate watering too much, since these pots are the fastest to dry, given the extreme openness of them. Substrate additives can be used to help the orchid medium retain more water, like sphagnum moss, and for those who are heavy-handed with the watering can, it is best to find ways to promote the fastest and most even drainage possible, knowing that the excessive water will have plenty of chance to dry between waterings.
Fir bark and sphagnum are both organic, and while they’re both great at holding moisture, that also means that they break down over time, and faster with more moisture. Degraded potting substrate can easily suffocate a plant’s roots, remain wet too long, increase the acidity, and cause other problems, so most Phalaenopsis should be repotted every couple of years to prevent decline. You can extend the life of your potting mix with inorganic additives that serve to aerate the mix and that won’t break down, like horticultural charcoal, coarse perlite, expanded clay pellets, chunks of cork, volcanic rock, shards of broken pots. These will help reduce the compacting of your media. You’ll eventually settle onto a mix that works well for you and your watering and care routine through trial and error.
A good rule of thumb is that the coarser the orchid roots, the coarser the substrate you should use.
For orchids that want sharp drainage, and detest staying wet, err on the coarse side, and opt for a mix that doesn’t hold water. For the fine delicate roots of an Oncidium, Miltonia, or Miltonopsis, or a plant that wants to dry less between water, finer textured fir bark is better. Given the increased surface-area of smaller bark pieces, they will break down more rapidly, making it a good choice to add pumice, charcoal, perlite, or expanded clay pellets to keep the mix from breaking down too rapidly.
Your Phalaenopsis is going to be resilient, and should begin sprouting new roots within a few weeks, as well as new growth from existing roots.
To give it the right conditions to get your plant off to a good start, consider the variables we just talked about, and use an appropriate pot that is just large enough to hold the root system, so the lowest leaves are level with the edge of the pot. It’s fine if the roots bend a little to fit. Add your substrate a little bit at a time, working to carefully arrange it loosely around the roots, while keeping air pockets to a minimum. Use the end of a bamboo stake to help tuck the medium into tight areas. Continue working up to the top of the pot, and once you reach the lowest leaves, check to make sure the substrate hold the plant steady, and if necessary, stake it in place. This is made easier if you left the old flower spike, and worth it even if it does not end up produce additional flowers.
Give the orchid a solid, thorough soaking, let it drain well, and then give it a nice warm, bright but direct-sun-free place to establish itself. You’ll figure out a watering schedule that works with your environment. The goal is to let the pot almost get dry, but always stay a little moist. Some people swear by putting an ice cube on the surface of the bark every day, offers a little water as it melts, but you can also just give it little sips every few days. Of course, if your humidity is high, it will dry more slowly, and your plant will love that, but if it’s arid, the orchid will need watering more often, and could even benefit from being placed on a deep dish or shallow bowl of gravel to catch the water runoff. As this water evaporates from the gravel, it will help boost the humidity for your orchid, and you can schedule your watering for when the gravel is almost dry. Just try not to let the roots sit submerged in water for long. At least for a plant that likes moisture as much as a Phalaenopsis, it won’t hurt the roots if they’re sitting in water right after you water them. This will mostly get absorbed by the planting medium, and terra cotta, if you’re using an unglazed pot.
As you begin to see new roots poking out their apple green tips, you know the plant is establishing well, and will soon be ready to grow new leaves, and later, bloom. If your plant already has active root growth when you begin repotting, be very gentle with them, as they are brittle, and once damaged, will stop growing. The tip is especially sensitive and fragile, so you might try to “bubble wrap” these with damp long-fiber sphagnum moss and avoid direct contact with rough bark or charcoal.

Most Phalaenopsis bloom once or twice a year, and will do so more faithfully if given the brightest indirect light you can provide.
They like to be kept warm, around 75-85 degrees during the day, and around 60-65 degrees at night. For many orchids, blooming is triggered by a dry, cooler season, and if your Phalaenopsis doesn’t bloom again within the next year, try letting her dry slightly between waterings for a couple months, and try to keep her on the cooler side as well, particularly at night. This will frequently trigger a flower spike to begin growing, but a happy Phalaenopsis will often just bloom when it wants without much involvement. You can fertilize them with a balanced fertilizer, diluted to half or quarter strength, while they are actively growing.
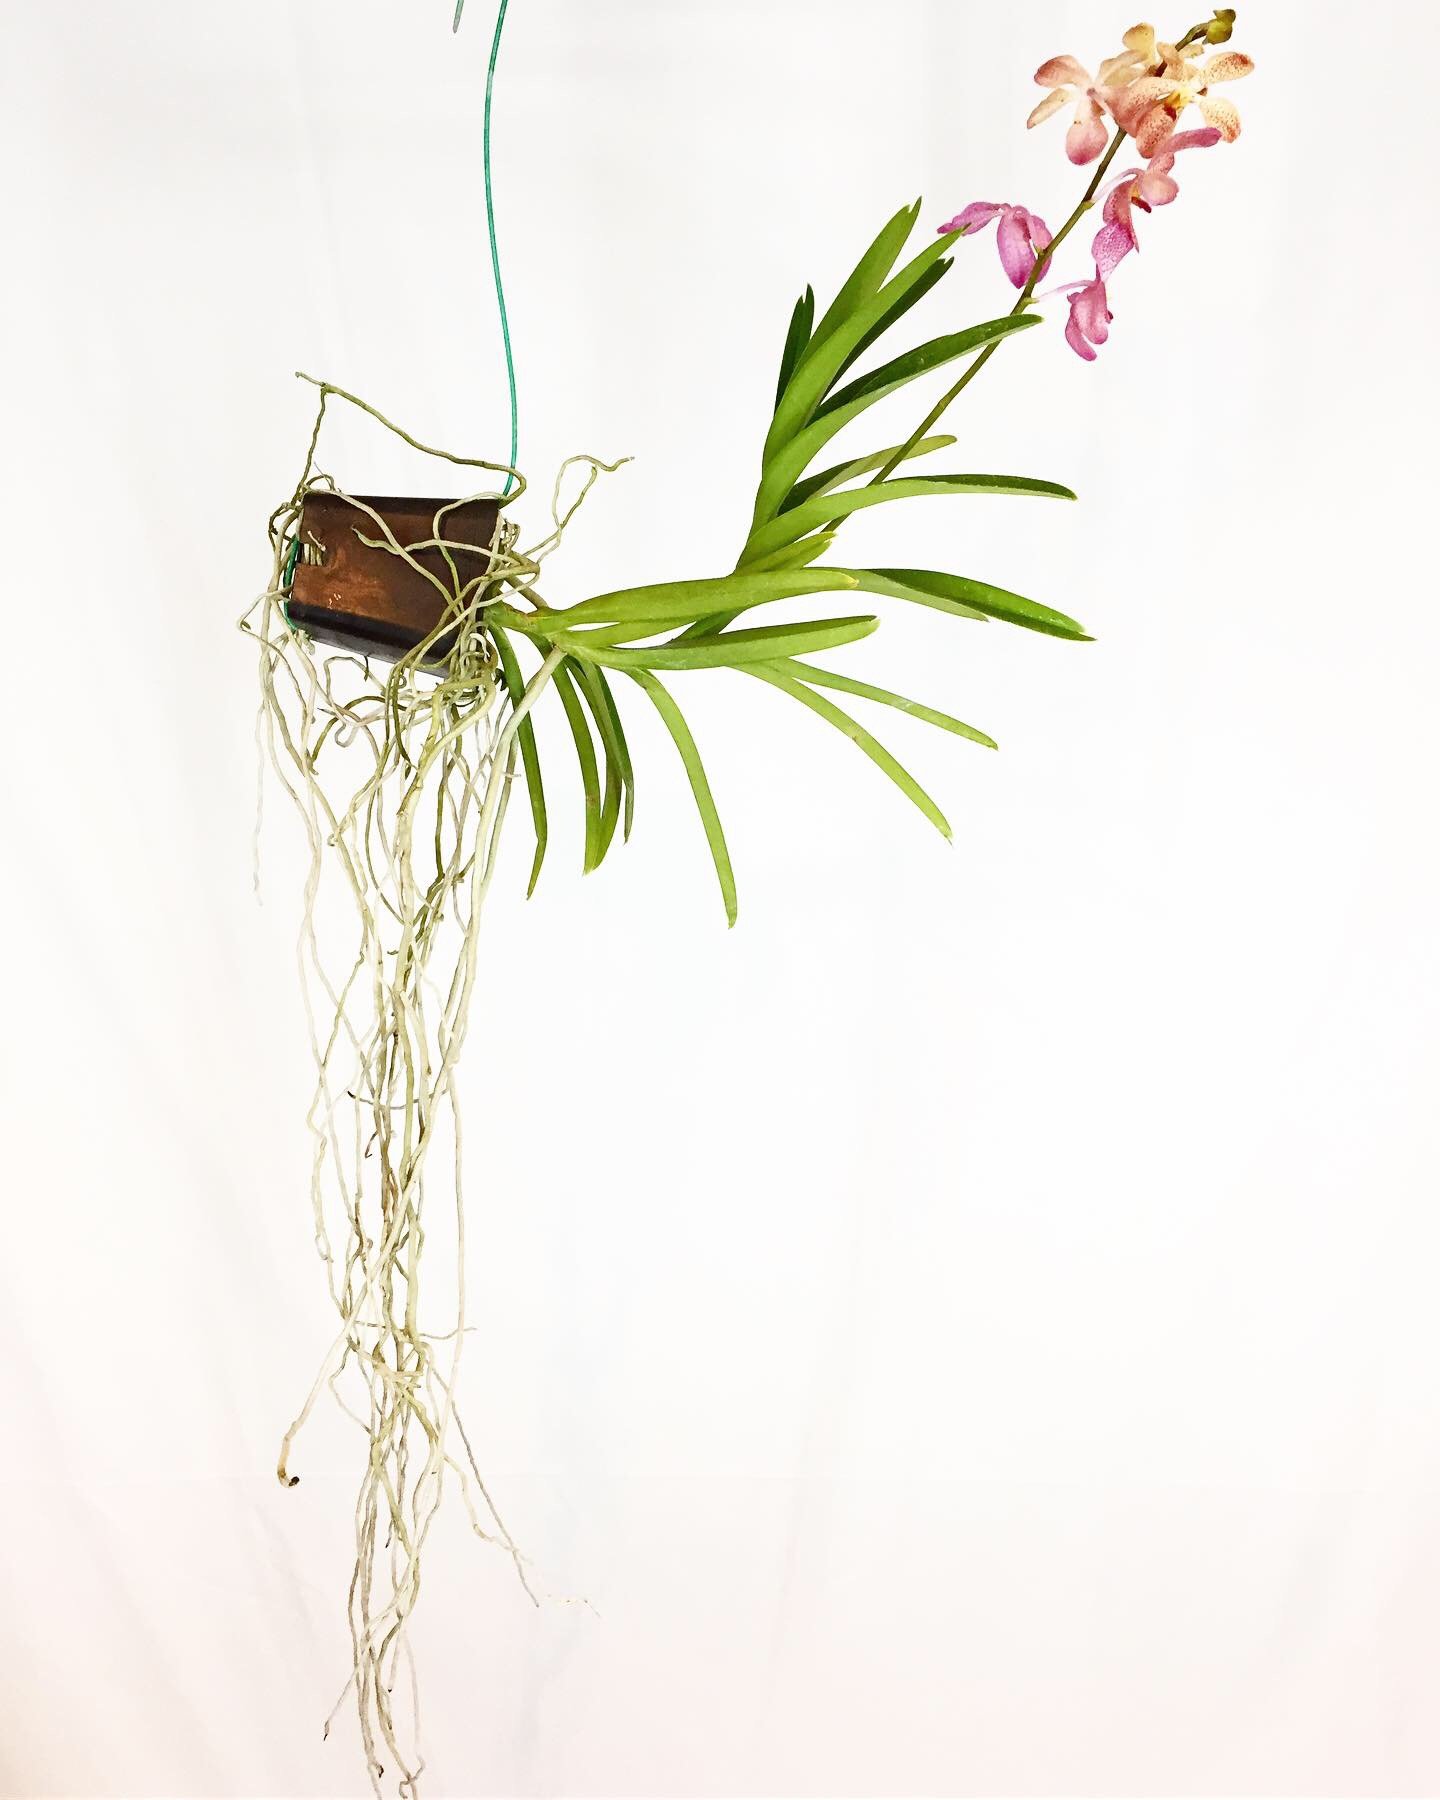
Some orchids in particular hate having their roots in pots, as no amount of medium coarseness and pot drainage holes will give them as much air as they want at the roots, so for these plants, growing them in slatted baskets, in small, shallow dishes, mounted, or even in clay pots without any medium are all approaches growers take to ensure the healthiest roots of their plants. These options allow for maximum air circulation, and allow the orchid to grow undisturbed in the same spot for years, which means it never diverts energy and time into establishing itself, which often means missing a bloom cycle or two. Some orchids resent having their roots disturbed so much that doing this can set a plant back years as it sulks and refuses to bloom. For these plants, an inorganic mix is ideal, one that will never break down, and permit a plant to remain in the same pot for its whole life. Long-lasting materials are important, as it can be difficult to reestablish a plant that has its mount rot out from under it. Vandas are an orchid that are often grown hanging either bare root, or in an open teakwood slatted basket to support the plant and its extensive aerial root system, because to repot a plant could keep it from blooming for a very long time.
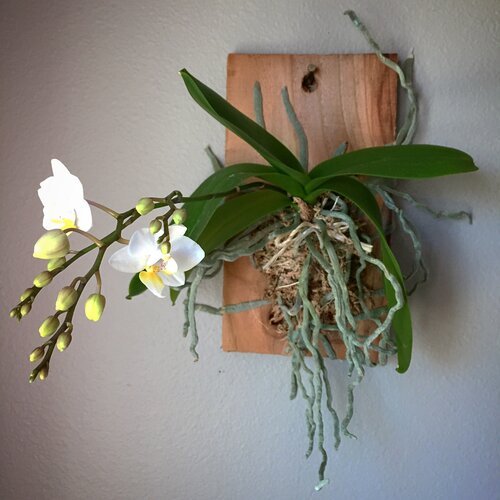
Mounting a Phalaenopsis is another option for growing, but they are fairly resilient plants that don’t require this treatment for optimal health, and you might find it significantly more trouble than it’s worth to care for a mounted orchid inside an apartment. They dry rapidly, and need far more regular watering than a plant in a pot, but the reward for your extra trouble is a plant that shows off its natural growth habit, where you can see the roots doing their job, and the flower spikes hang in graceful arcs instead of being staked upright.
To mount an orchid, unpot and clean up the plant just as you would when repotting. You will need an appropriate mounting plaque, which can be natural cork, thick fir bark, or milled cedar, and long fiber sphagnum moss, plus some jute string.
There are different ways to do this, but the end goal is to provide a small pad of sphagnum between the orchid and the mount, but not so much that it prevents the plant from being able to establish itself securely. Add more sphagnum on top of the root ball, to provide it a moisture-retentive environment, and then secure the whole thing to the plaque. You can do this by securely wrapping the twine around the mount, being sure to hold the root ball and moss firmly in place. You can also pound a handful of nails into the mount, leaving about an inch of the nail head exposed, arranged in a U-shape. Place the orchid and moss inside of this U, and then use the nail heads to hook the twine as you cross back and forth over the roots. You can also drill holes in a similar U-shape, and use a bent paperclip as a needle to string the twine through the holes to hold the orchid securely in place. Some growers prefer fishing line, as it doesn’t break down, and is fairly inconspicuous. I like jute twine because it does break down, but not before the plant has a chance to establish itself. Keep the plant well-watered since it will dry rapidly, and adjust your watering schedule so that the sphagnum approaches dryness, but never gets bone-dry. The easiest way to do this is to just let it soak in the sink for a while, then let it drain well before returning it to its bright, warm location. You will see new roots starting within a few weeks, and once they appear, you can keep the orchid fairly wet without harming it. Mist the plant heavily between soaks in the sink, and enjoy watching your orchid thrive!
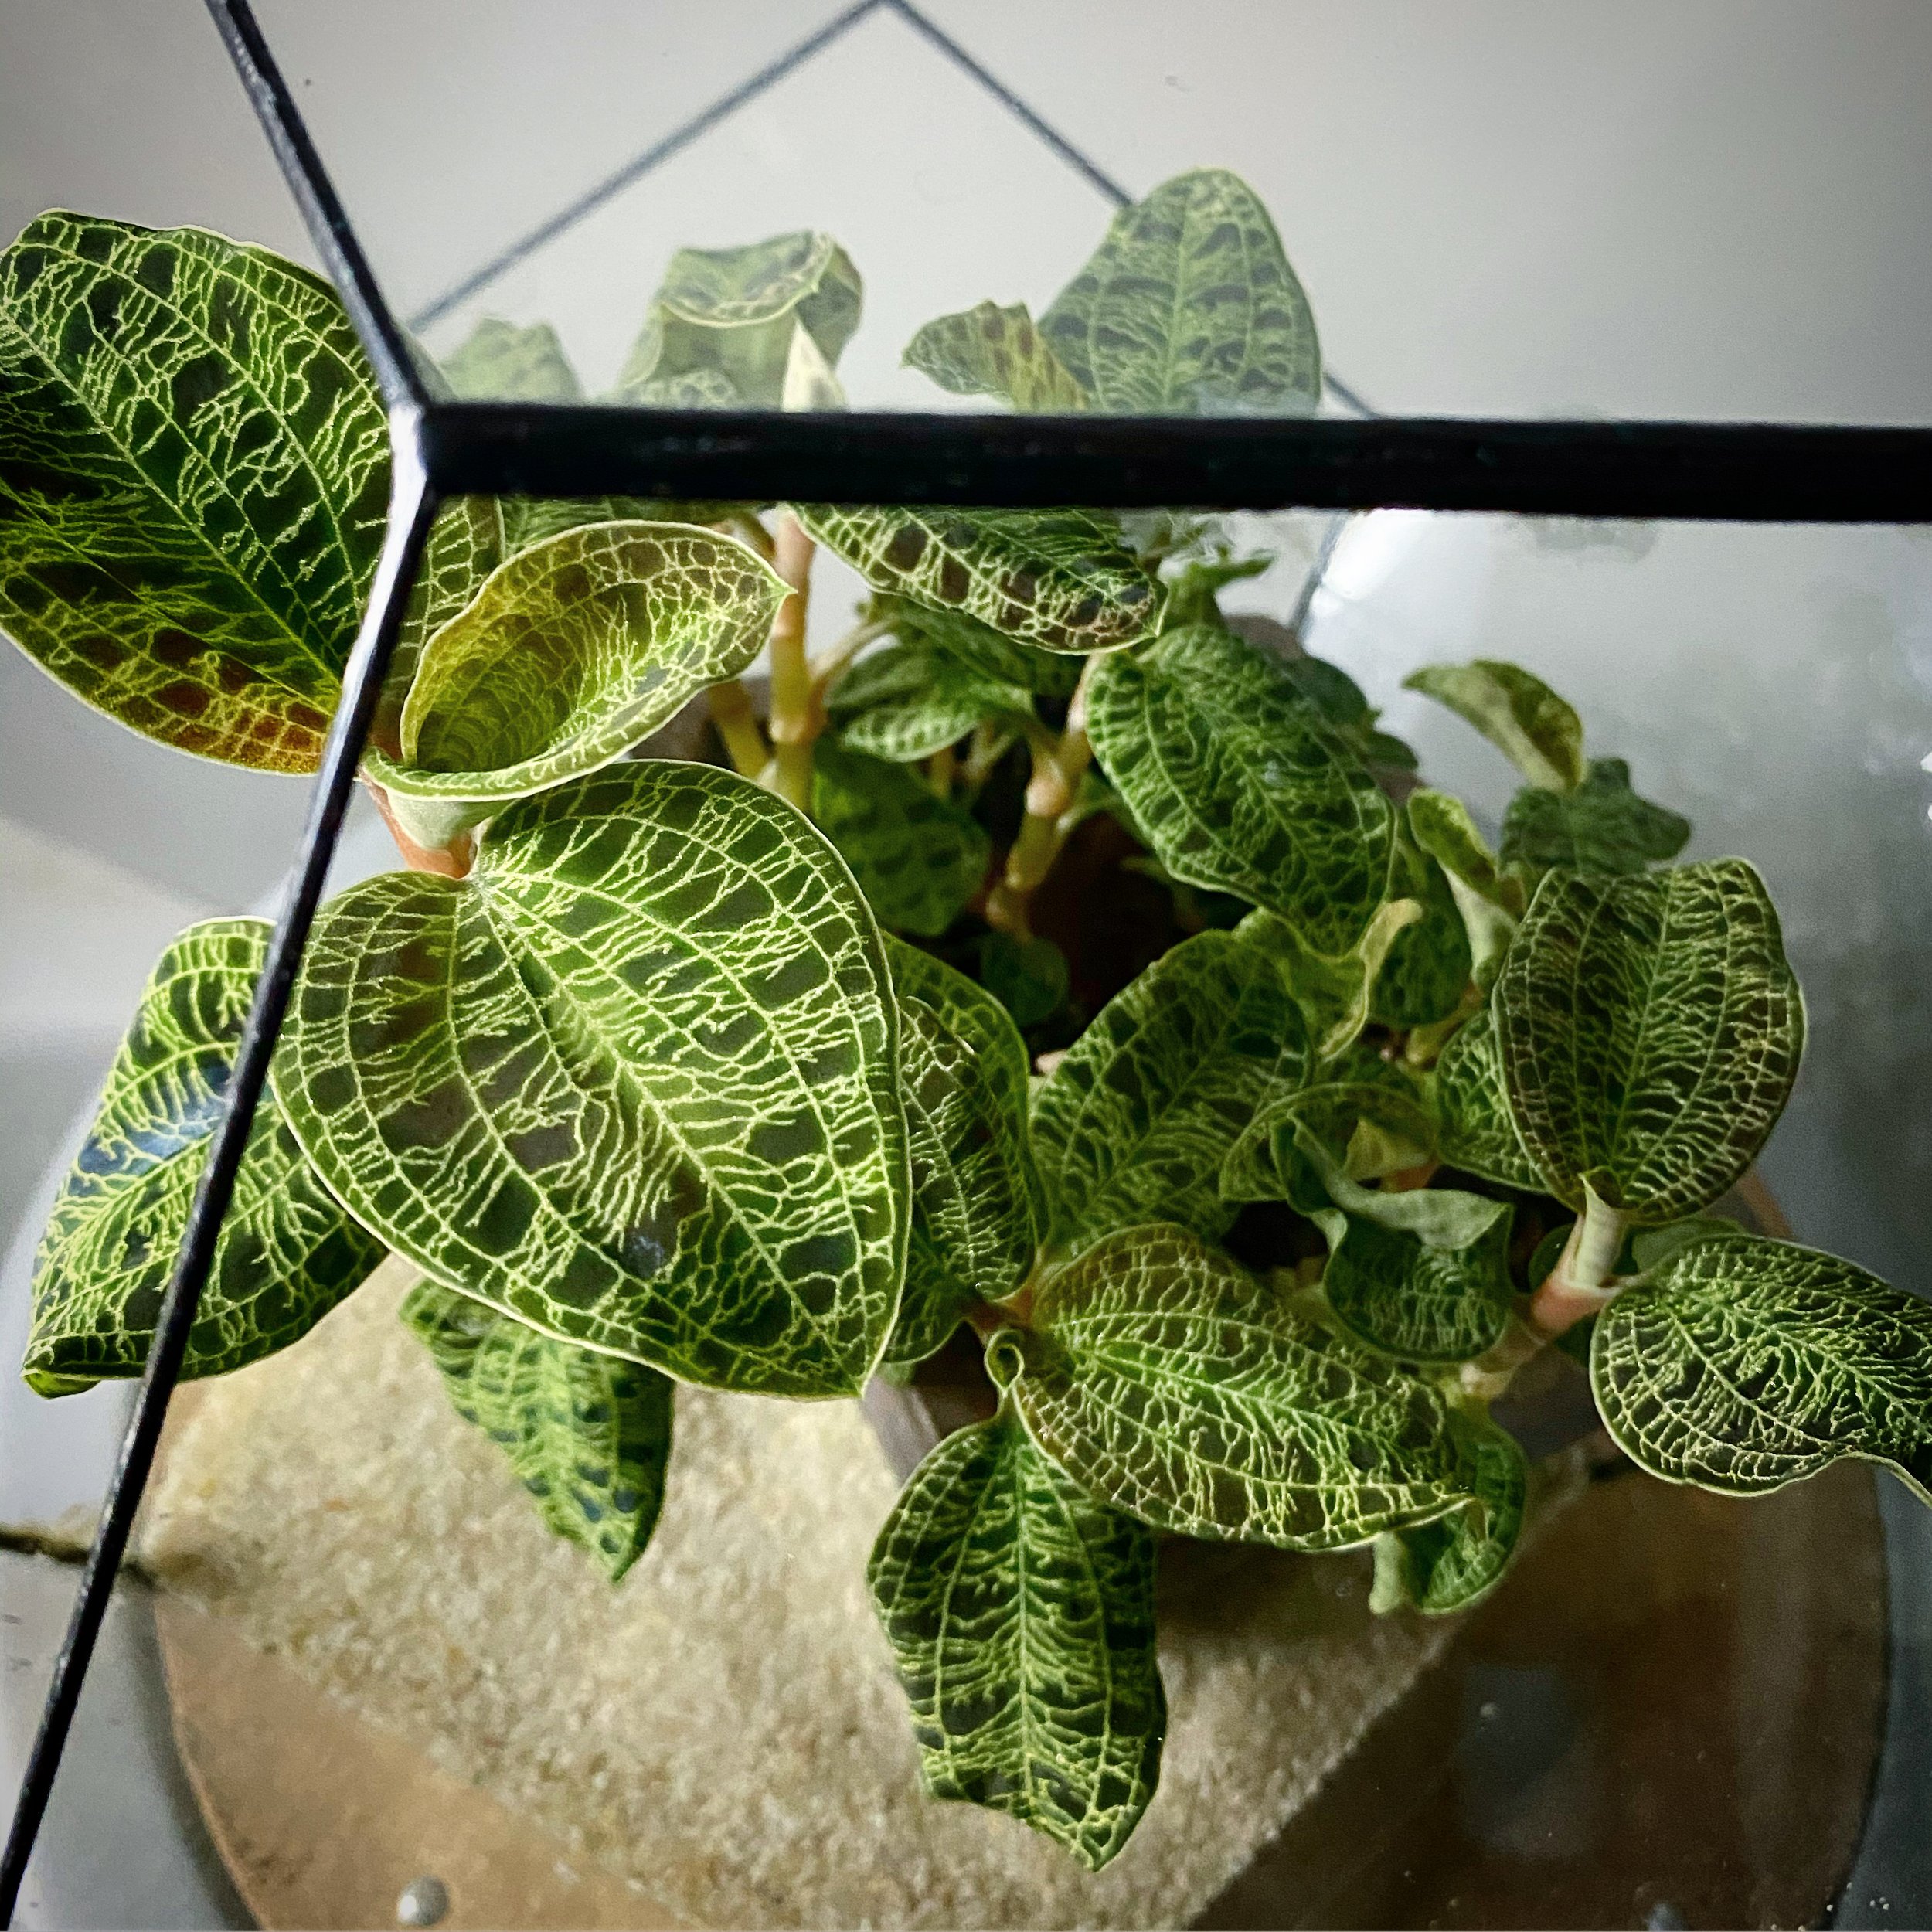
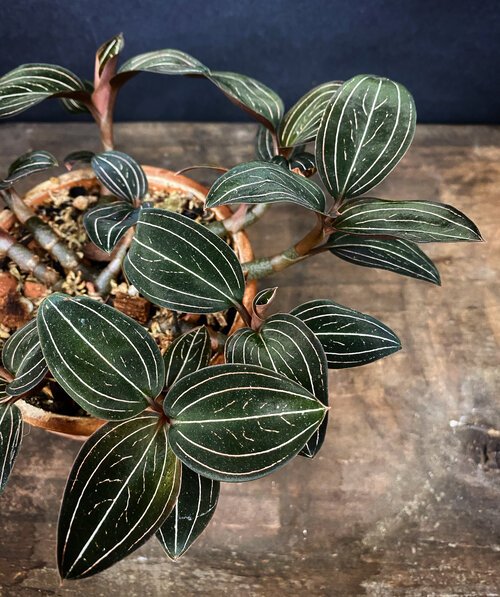
This is just the tip of the iceberg when it comes to orchids and their care, and is by no means a definitive or complete resource. There is a lot more to explore with orchids, like the discovery of the South American Cattleya orchids that sent Europe into a frenzy for exotic species, how to grow those, the temperate garden varieties, and so much more. We’ll definitely revisit other parts of this topic later. Additionally, there are always exceptions to the rules, like orchids with pseudobulbs that do not like to dry out, ones with flowers that last only a day, and there are many species grown just for the foliage. There are plenty of orchids that defy conventional wisdom and general knowledge. At the very least, I hope that we have inspired you to read more about these on your own, and tune in when we cover more specific topics about this fantastic family of plants.